Today, we’ll cover how to create Custom Plans & Policies and add them to a Custom Proposal. You can watch the view or access step-by-step instructions below.
Step-by-Step Instructions
Create a New Plan
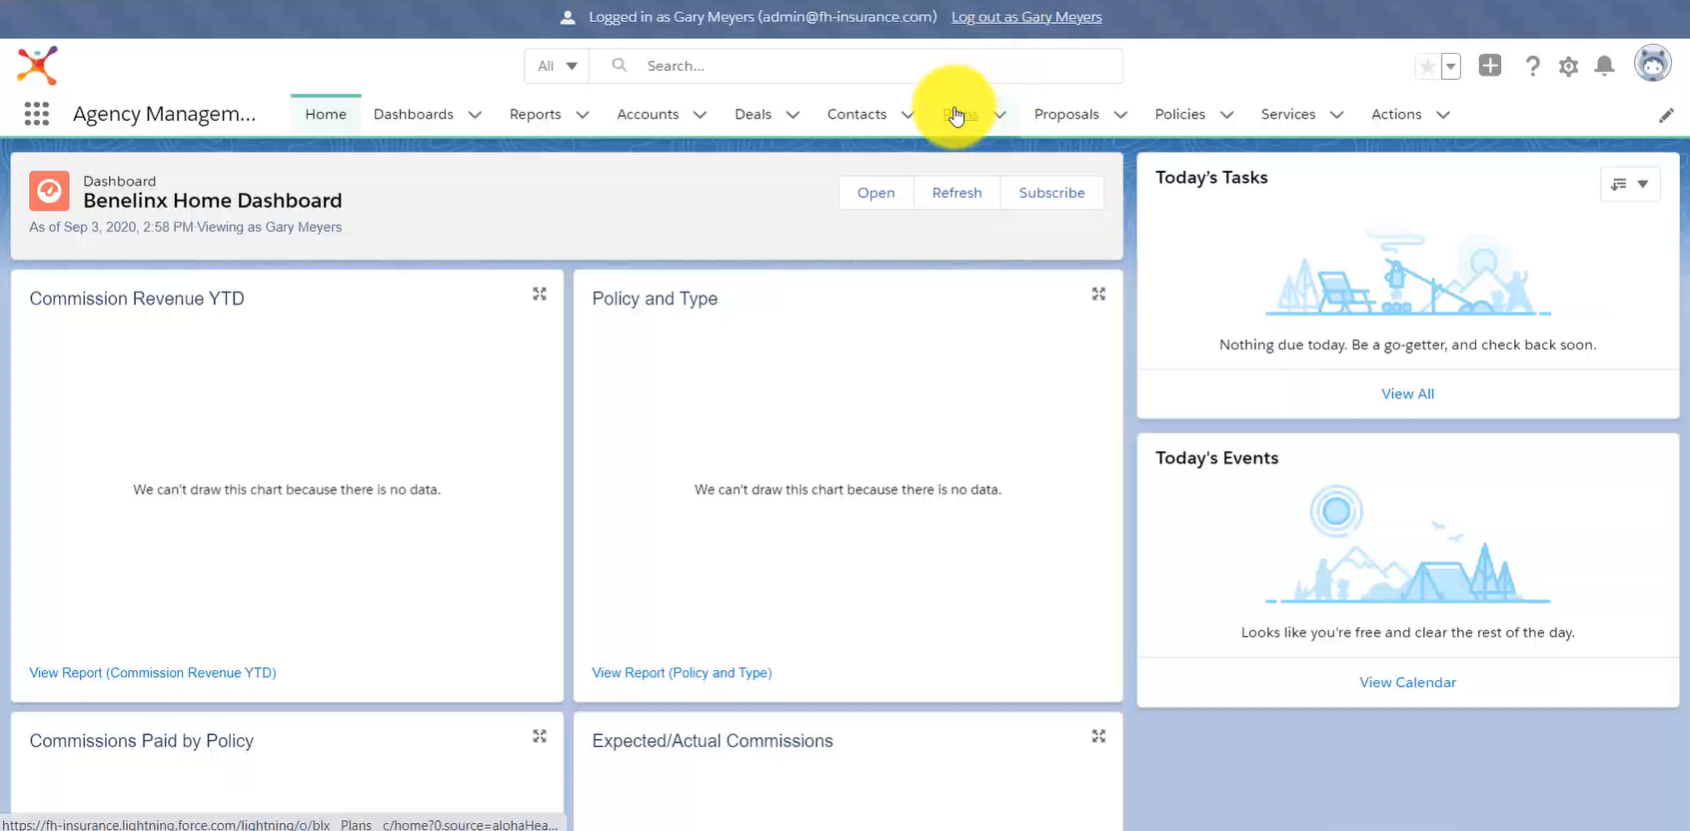
To create a Custom Plan, click on the Plans Object in the Navigation Bar.
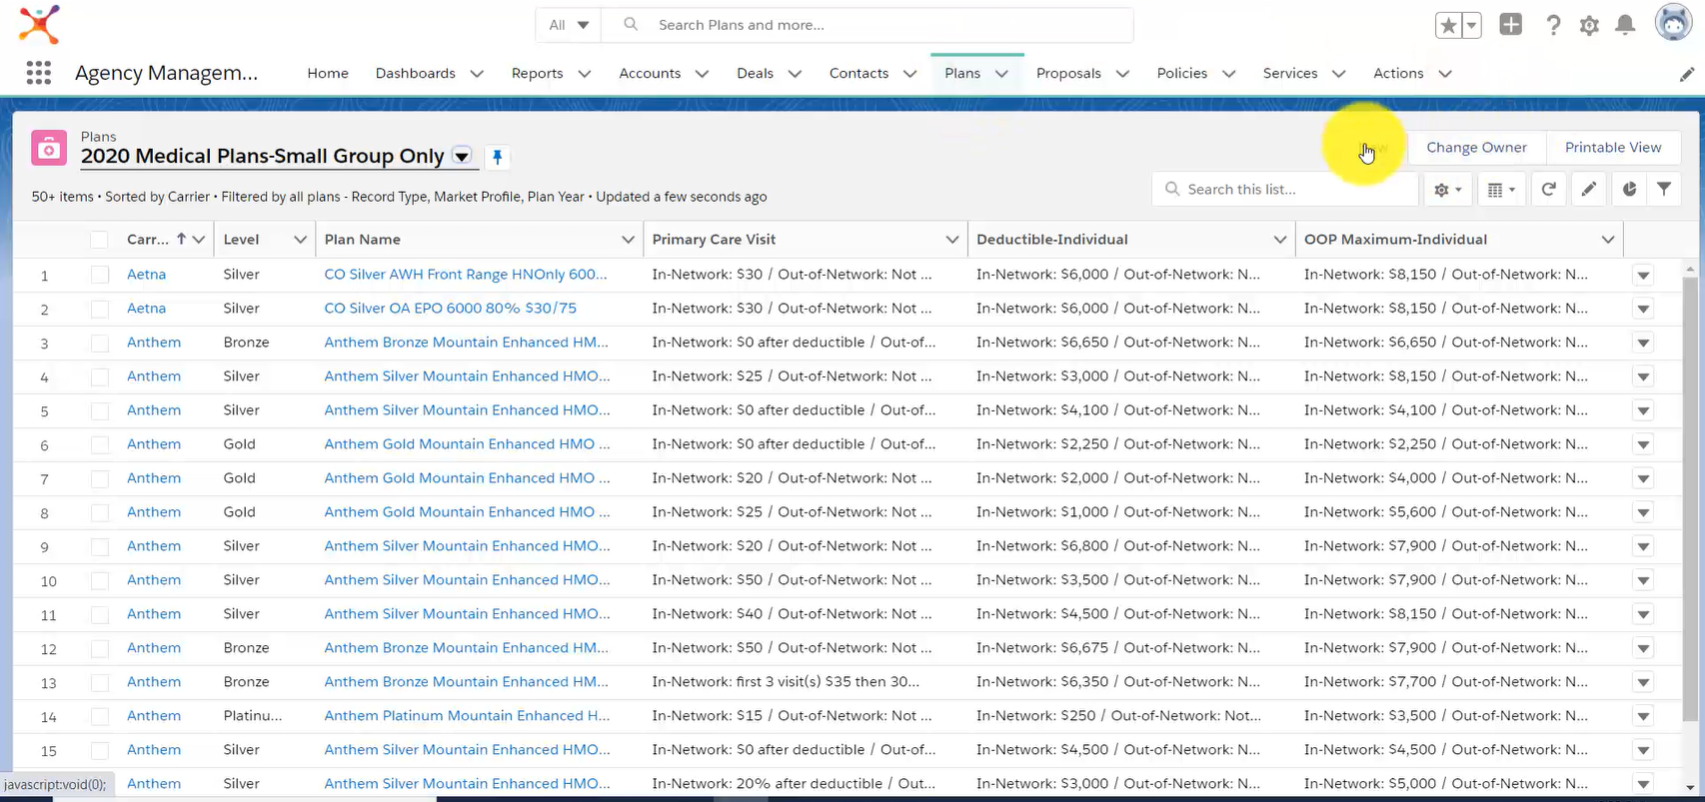
To create a new Plan, click on the New button on the right side of the platform.
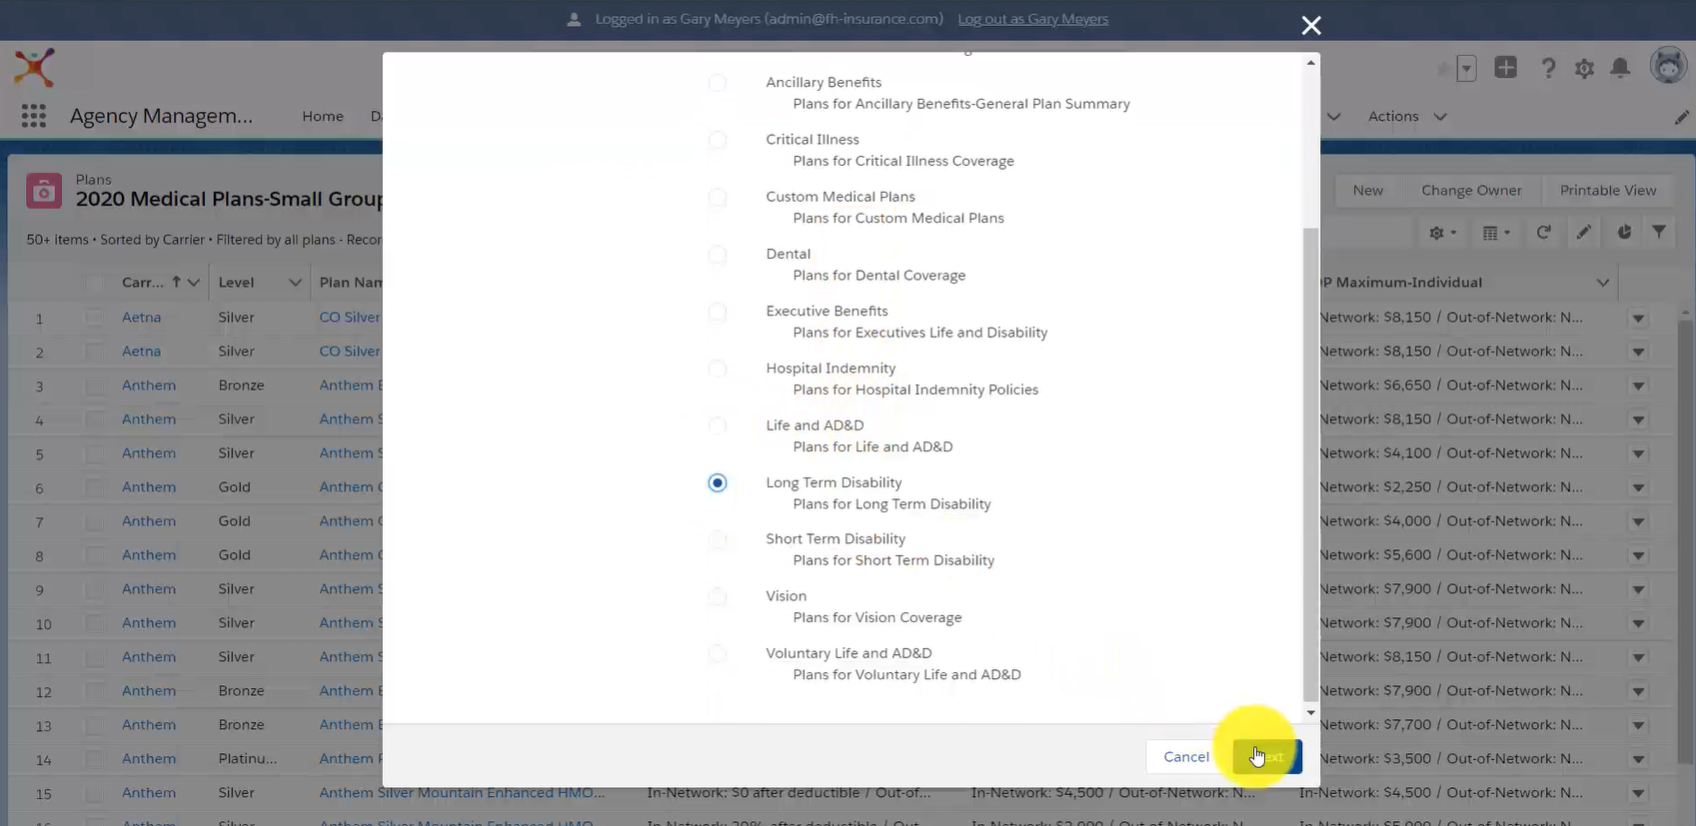
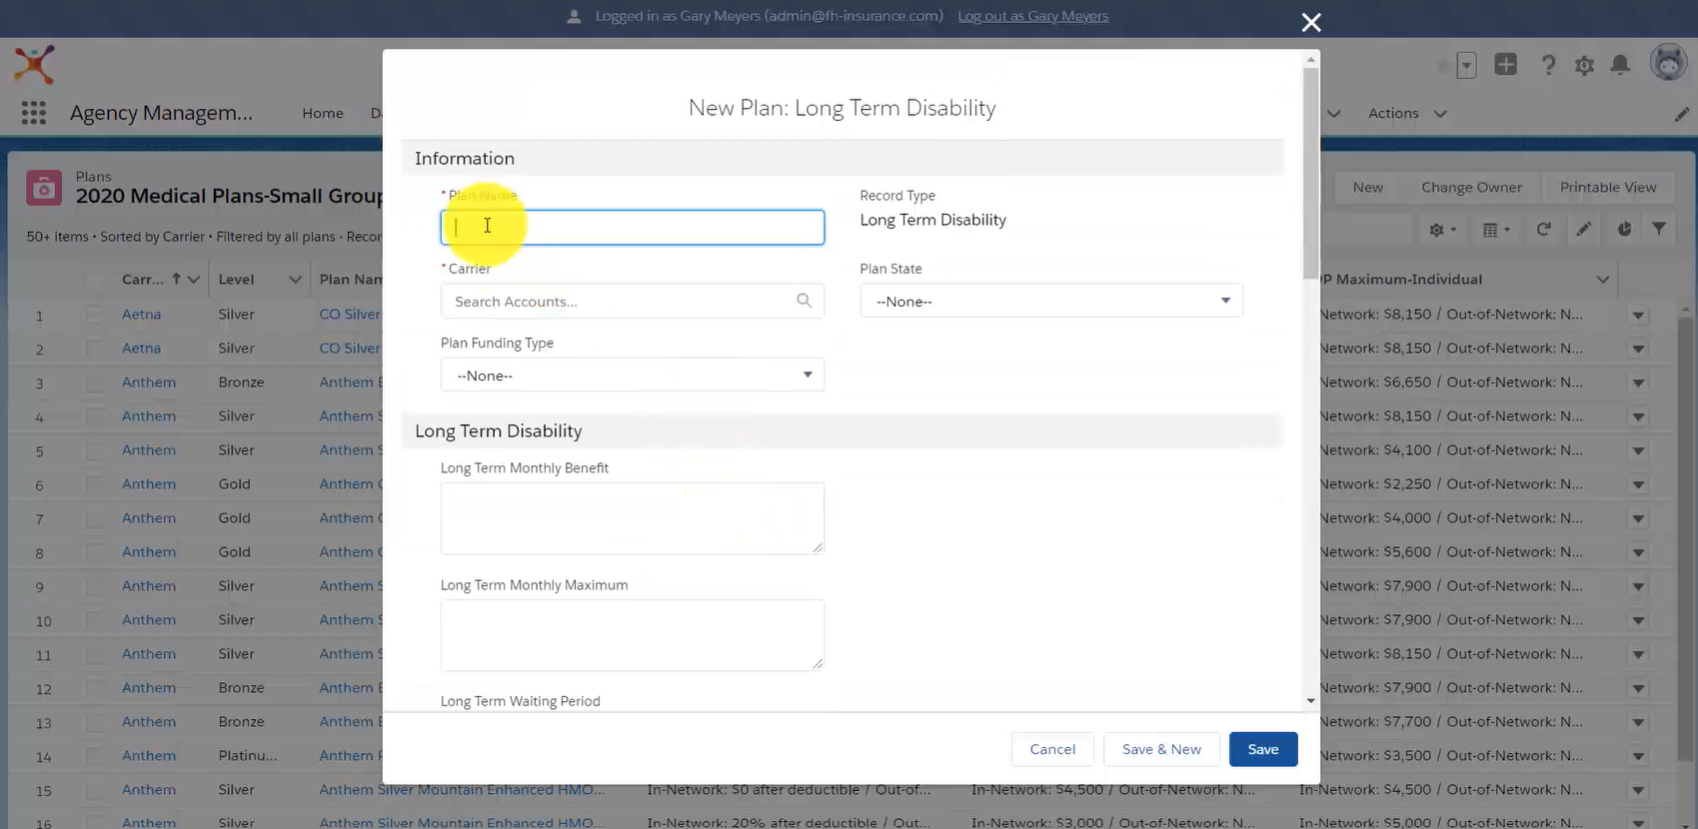
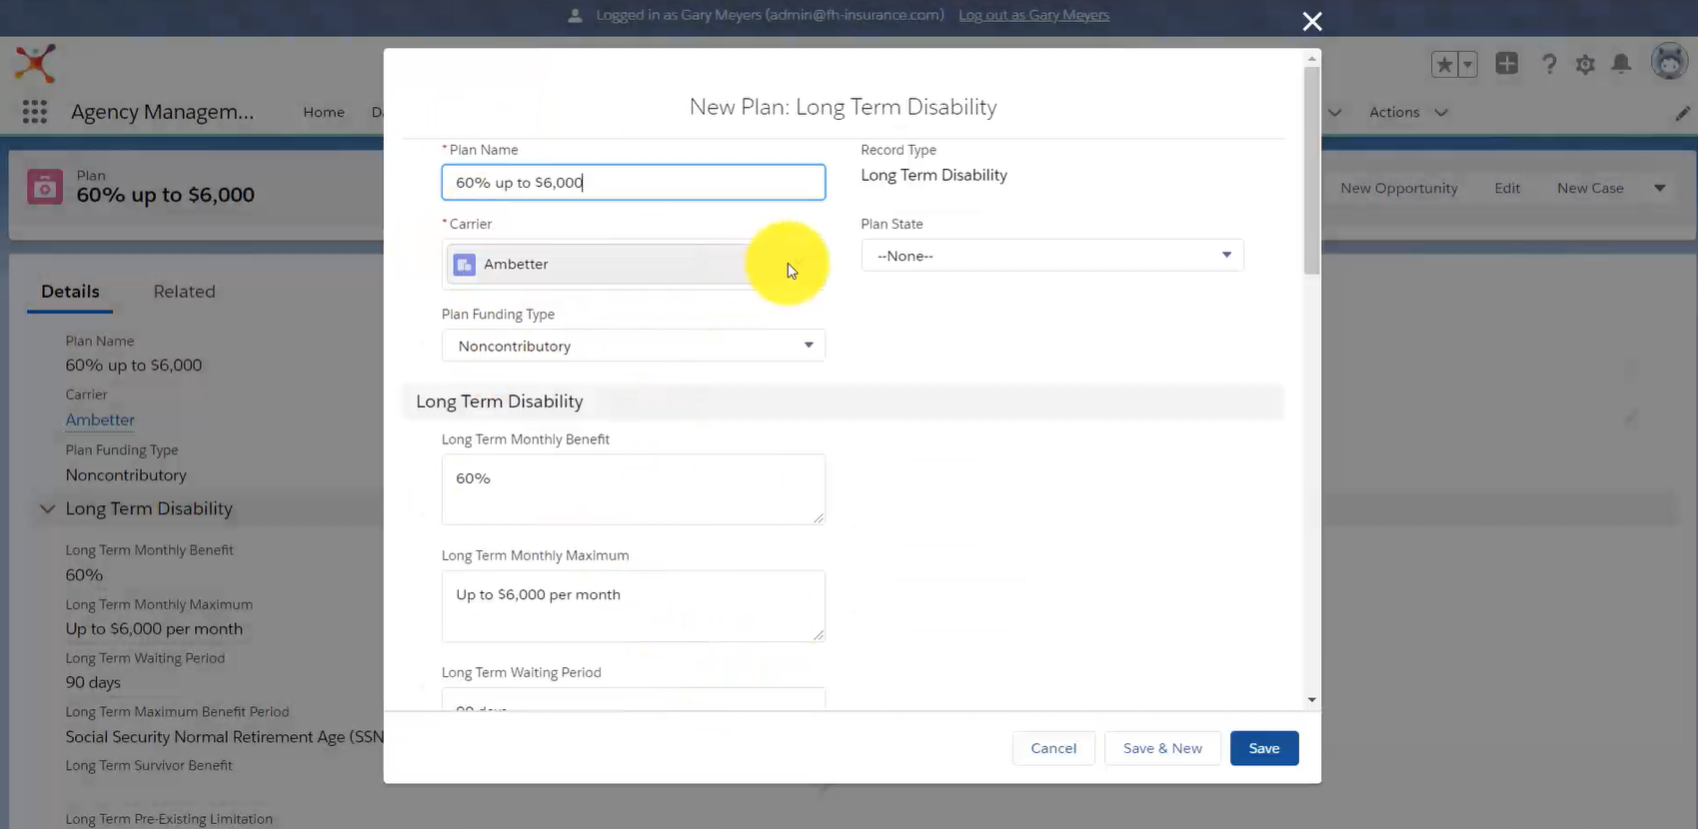
Select your desired Plan Type, then click Save.
Complete all required fields such as Plan Name and Carrier and all desired optional fields, then click Save.
Clone a New Plan
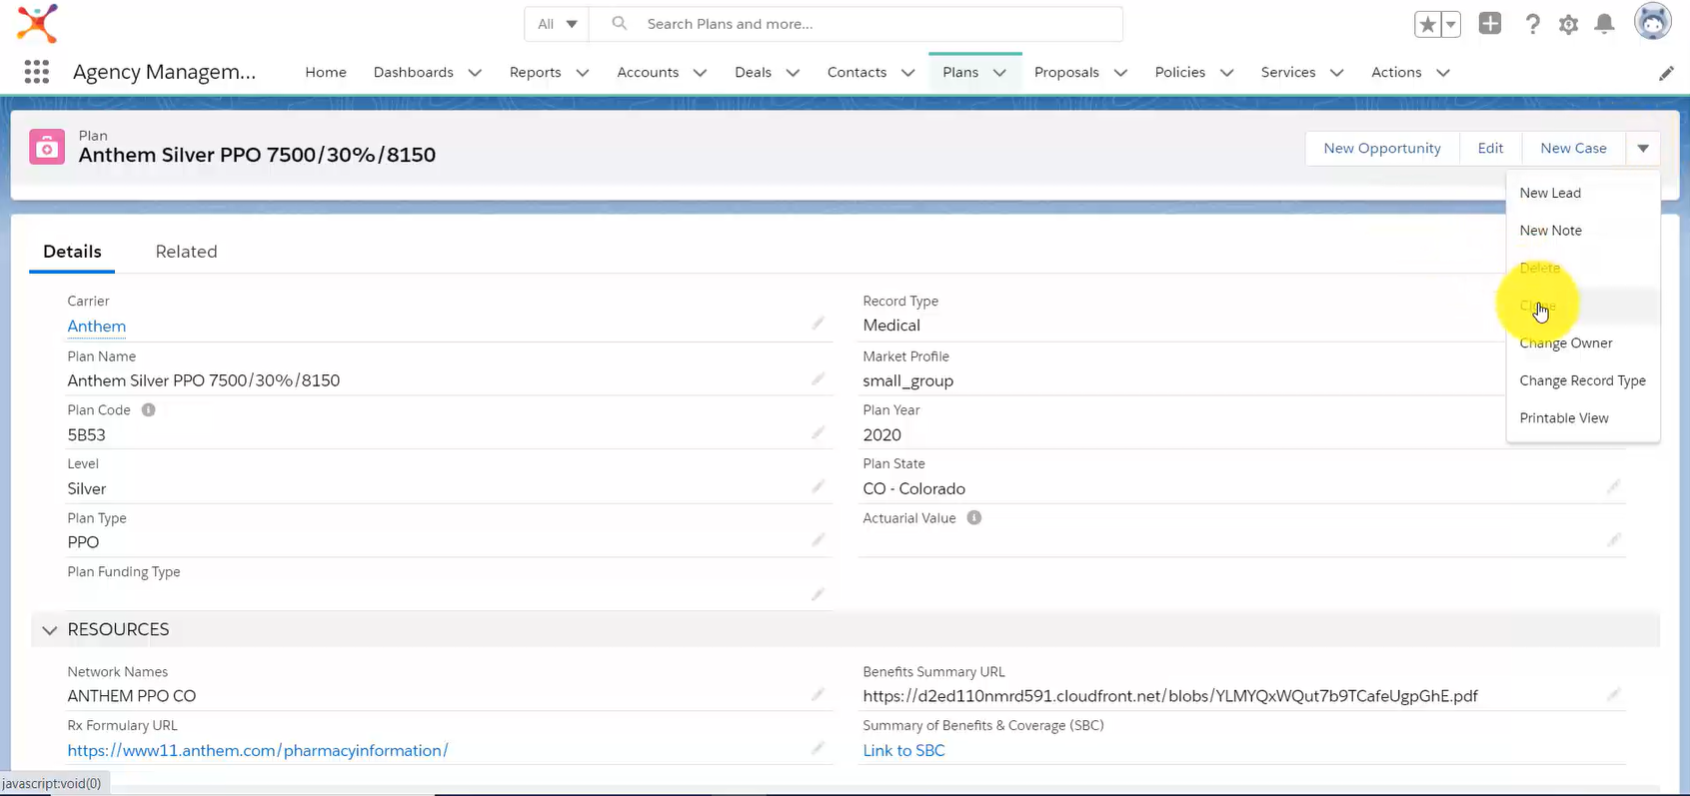
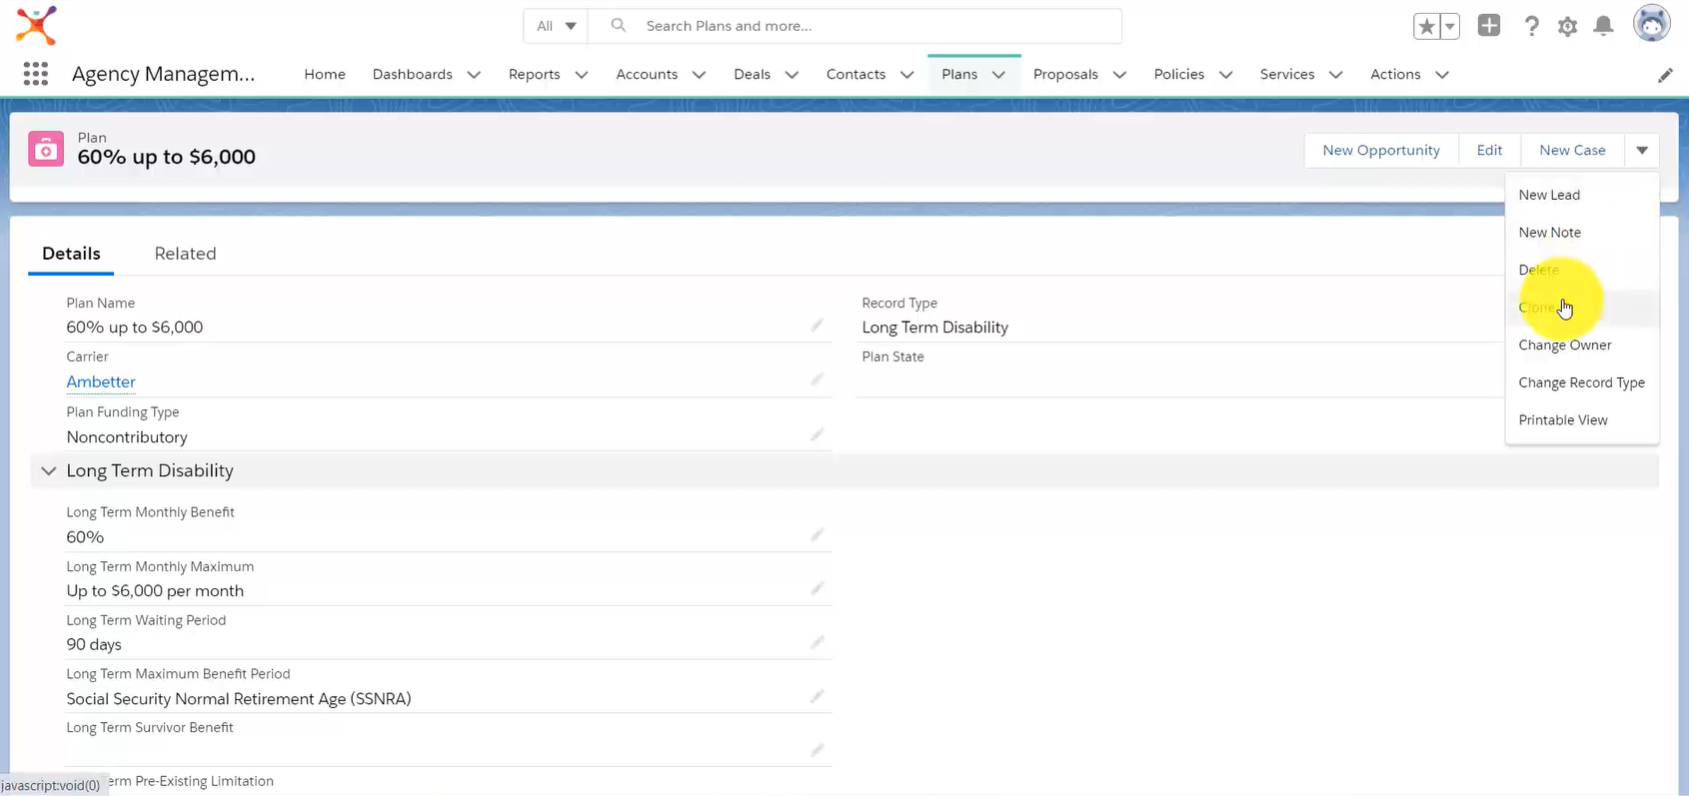
The fastest way to create a Plan to to clone it, which will duplicate all Plan information. From there, you can edit the new Plan as needed. Click on a Plan that is similar to the new Plan you’d like to create, the click on the down arrow to the right of the screen. Select Clone from the dropdown menu.
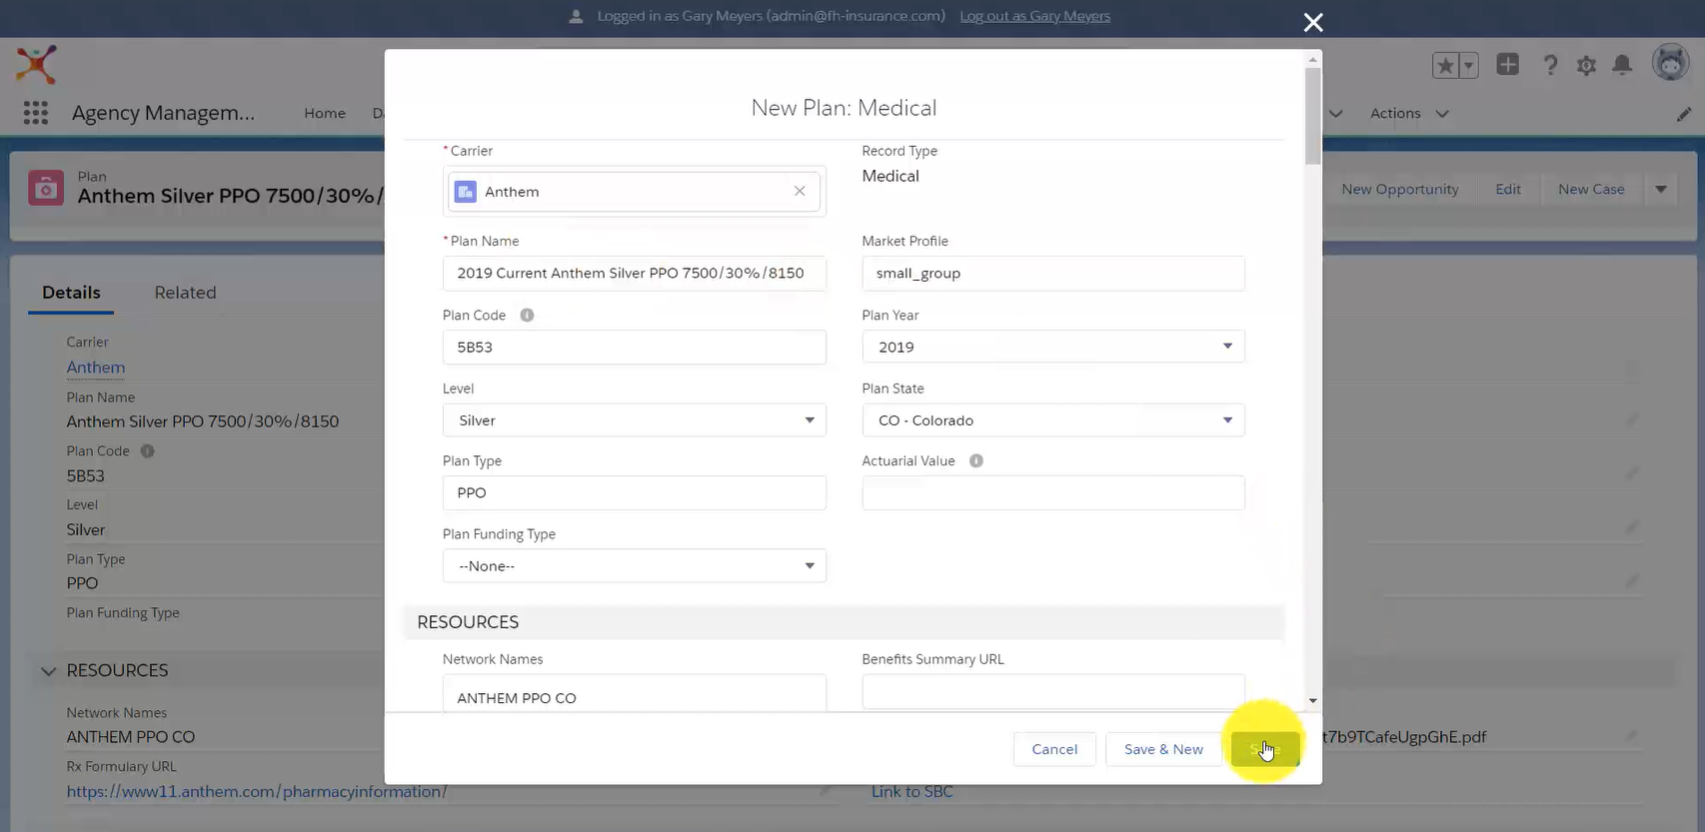
Change the Plan Name and details as needed, then click Save.
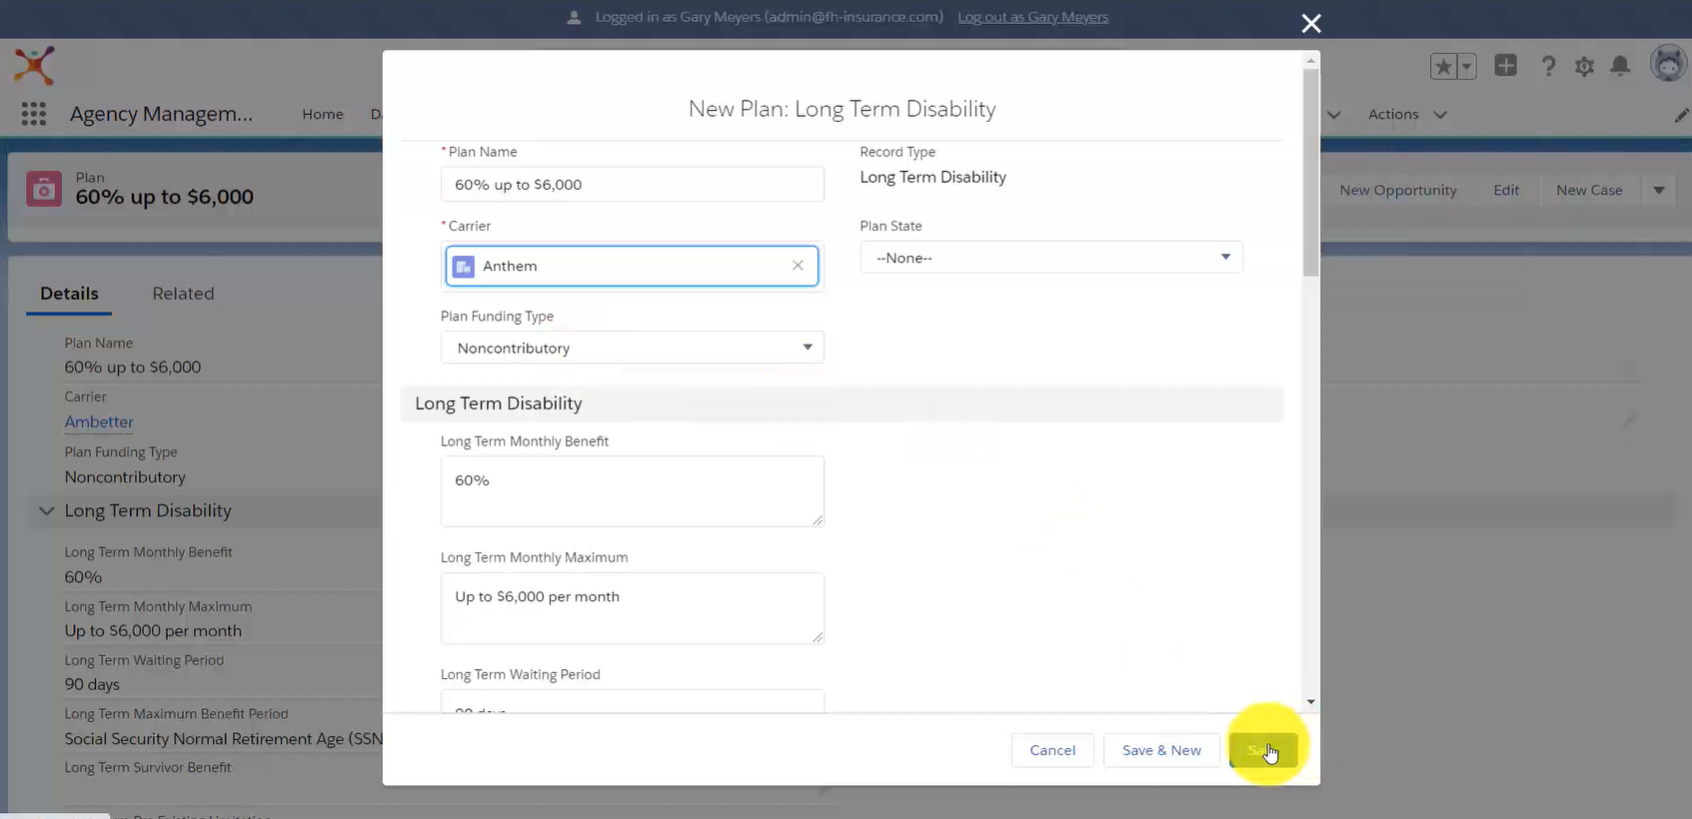
You can also attach a Plan to multiple Carriers. Navigate to your Plan then click the down arrow and Clone.
Within the popup menu, click the X button next to the current Carrier, then type a new Carrier into the Search Bar.
Click Save to attach the Plan to your new Carrier.
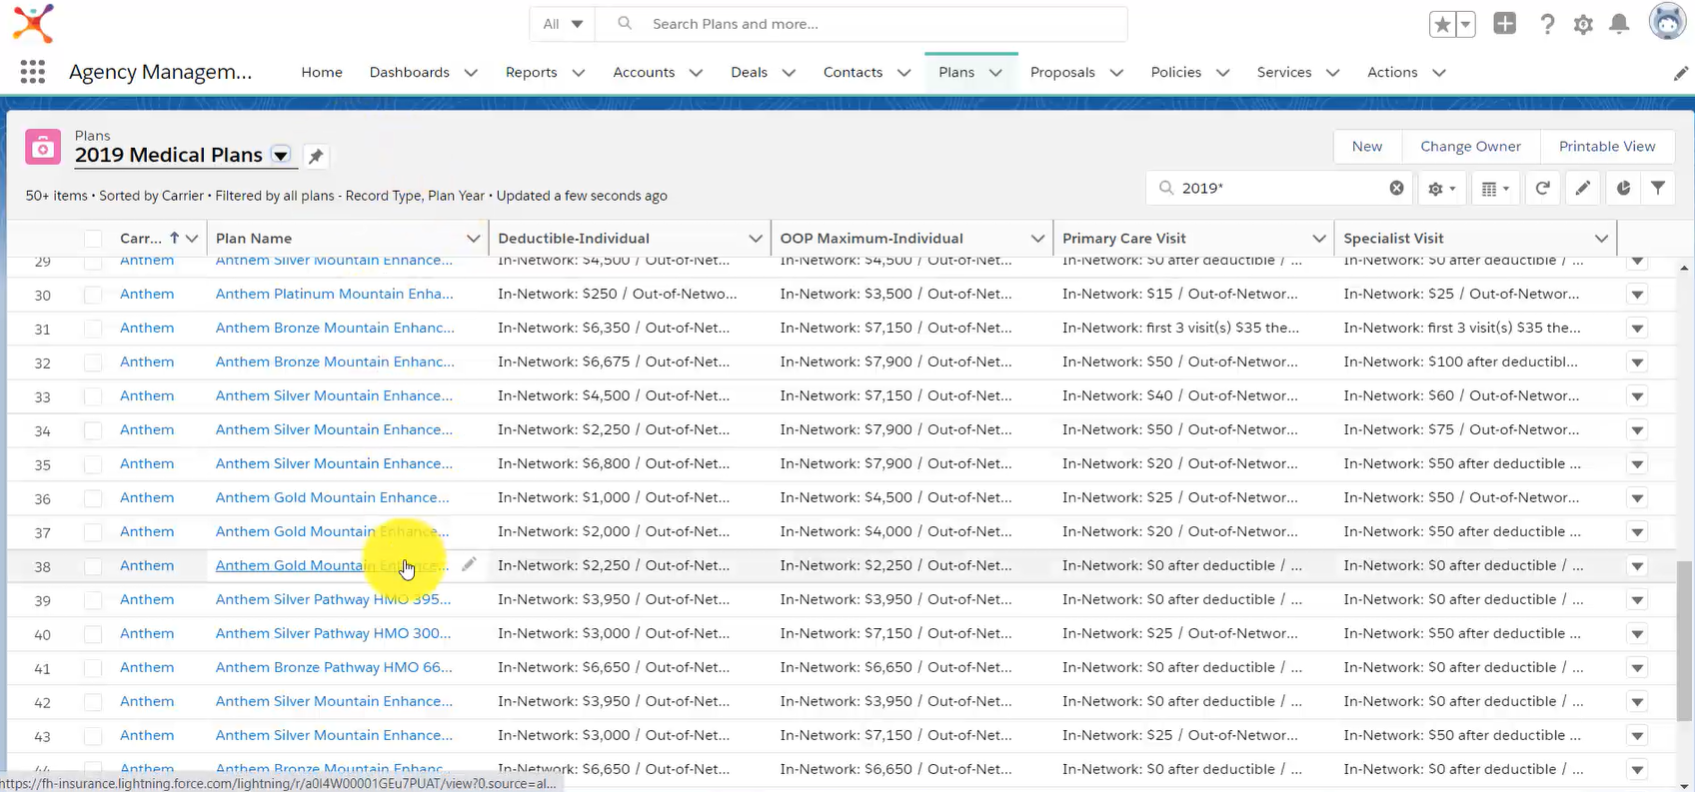
Every time you create a new Plan, it is added to your Plan Library. To access your Plan Library, click on the Plans Object. All Custom Plans will be listed below and can be filtered using the List View tool, along with the preset Plans imported from Vericred.
Add a Custom Plan to a Proposal
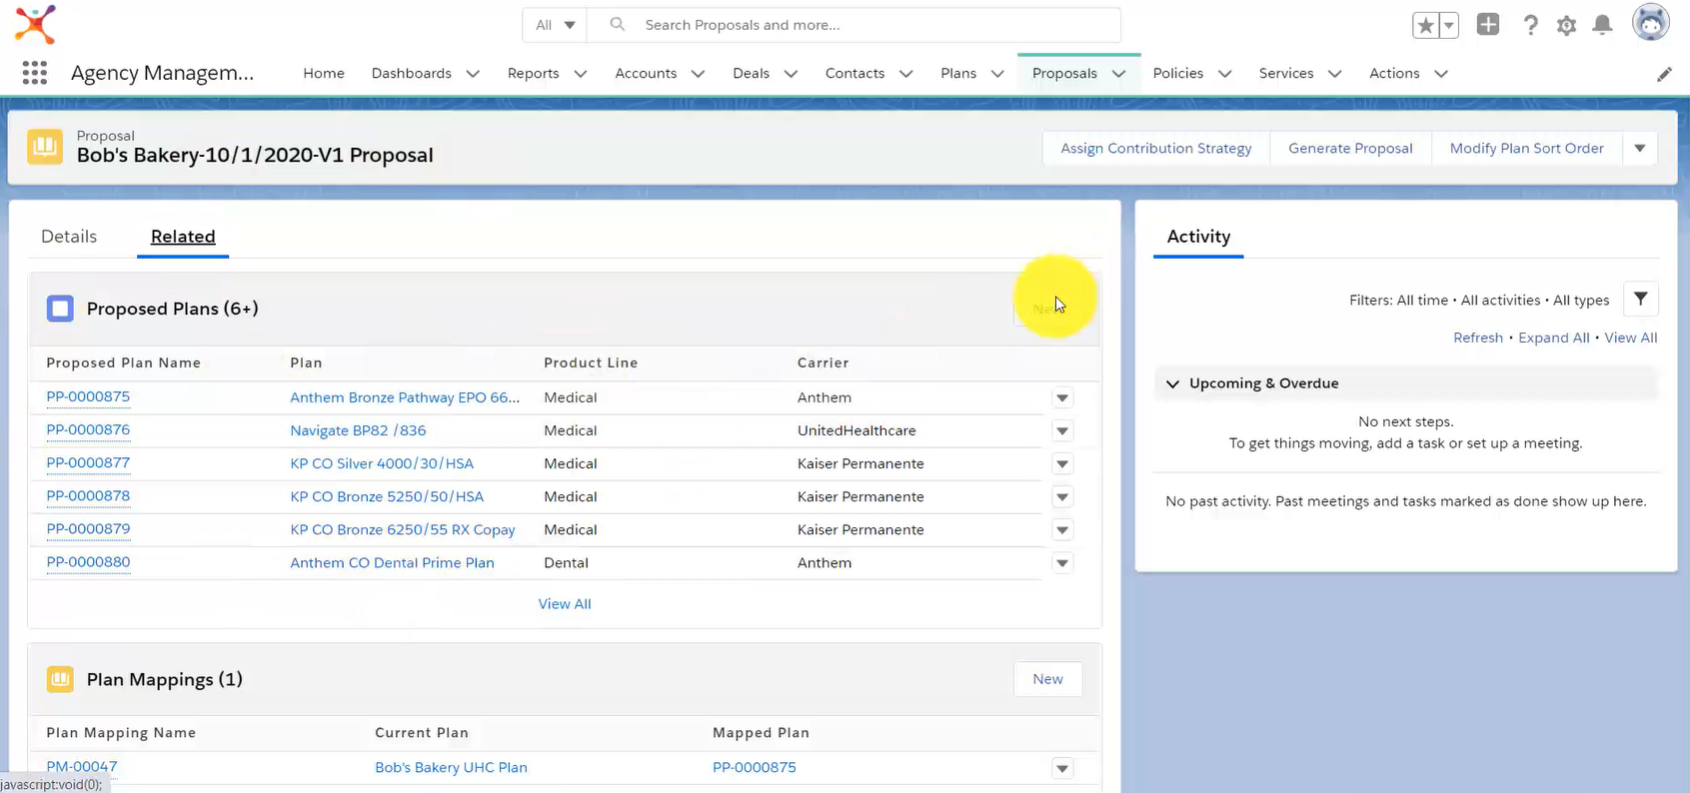
Navigate to a Proposal then click on Related. Click the New button in the Proposed Plans section.
Select your Rating Method then search for the Plan using the Search Plans Bar.
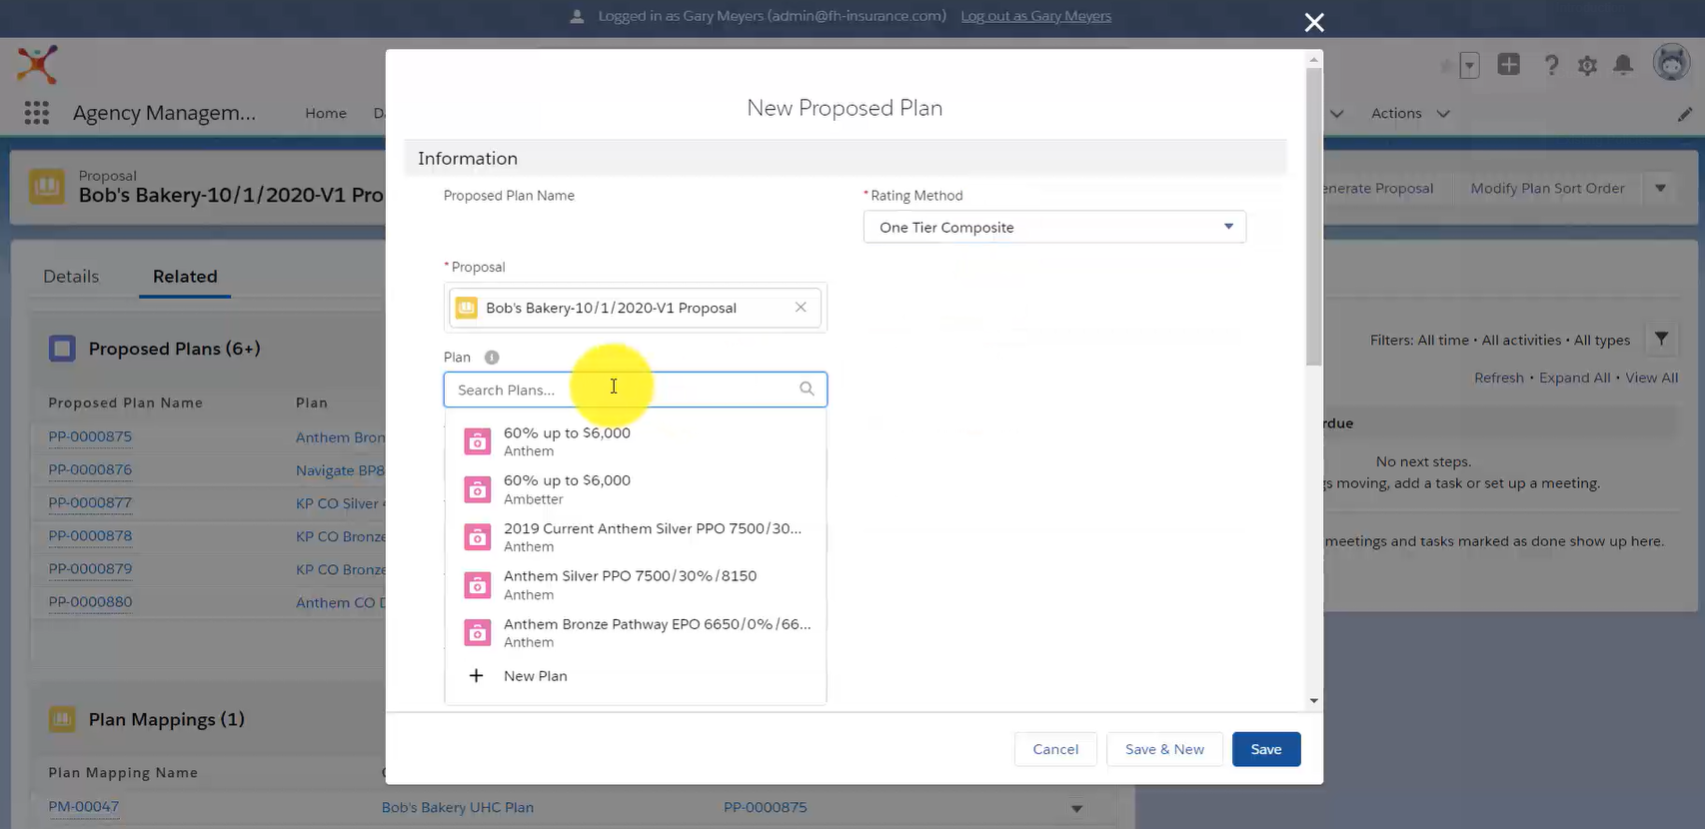
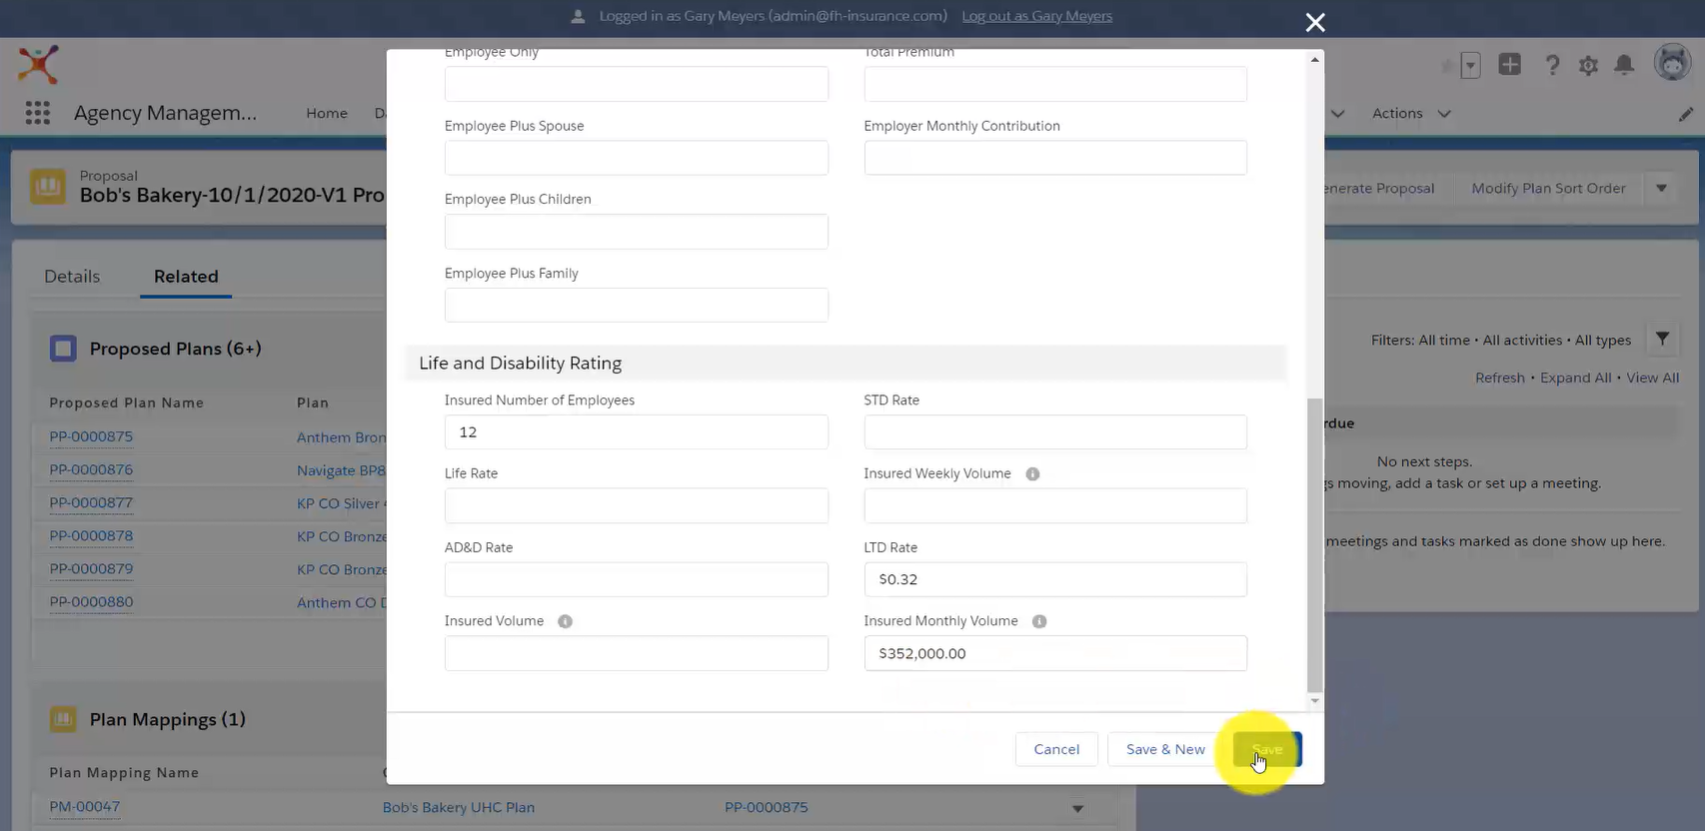
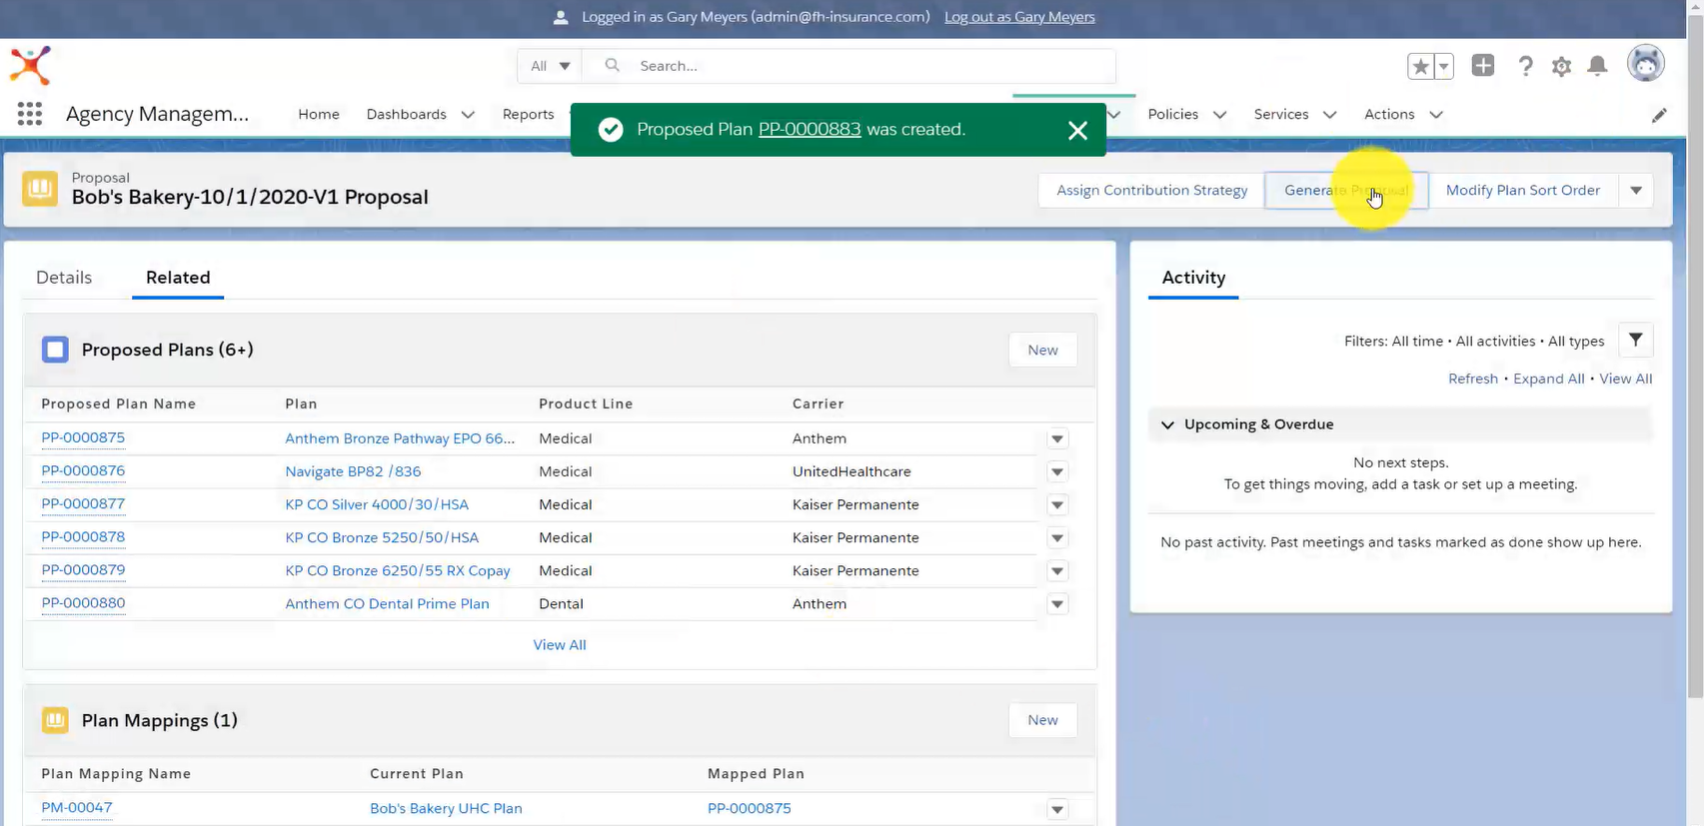
Click on the desired Plan to select it and complete optional fields as needed, then click Save. Your Plan will now be visible under the Proposed Plans section.
Once you have added all necessary Plans, click the Generate Proposal button in the upper right corner, then follow our step-by-step instructions to create a Proposal (link).
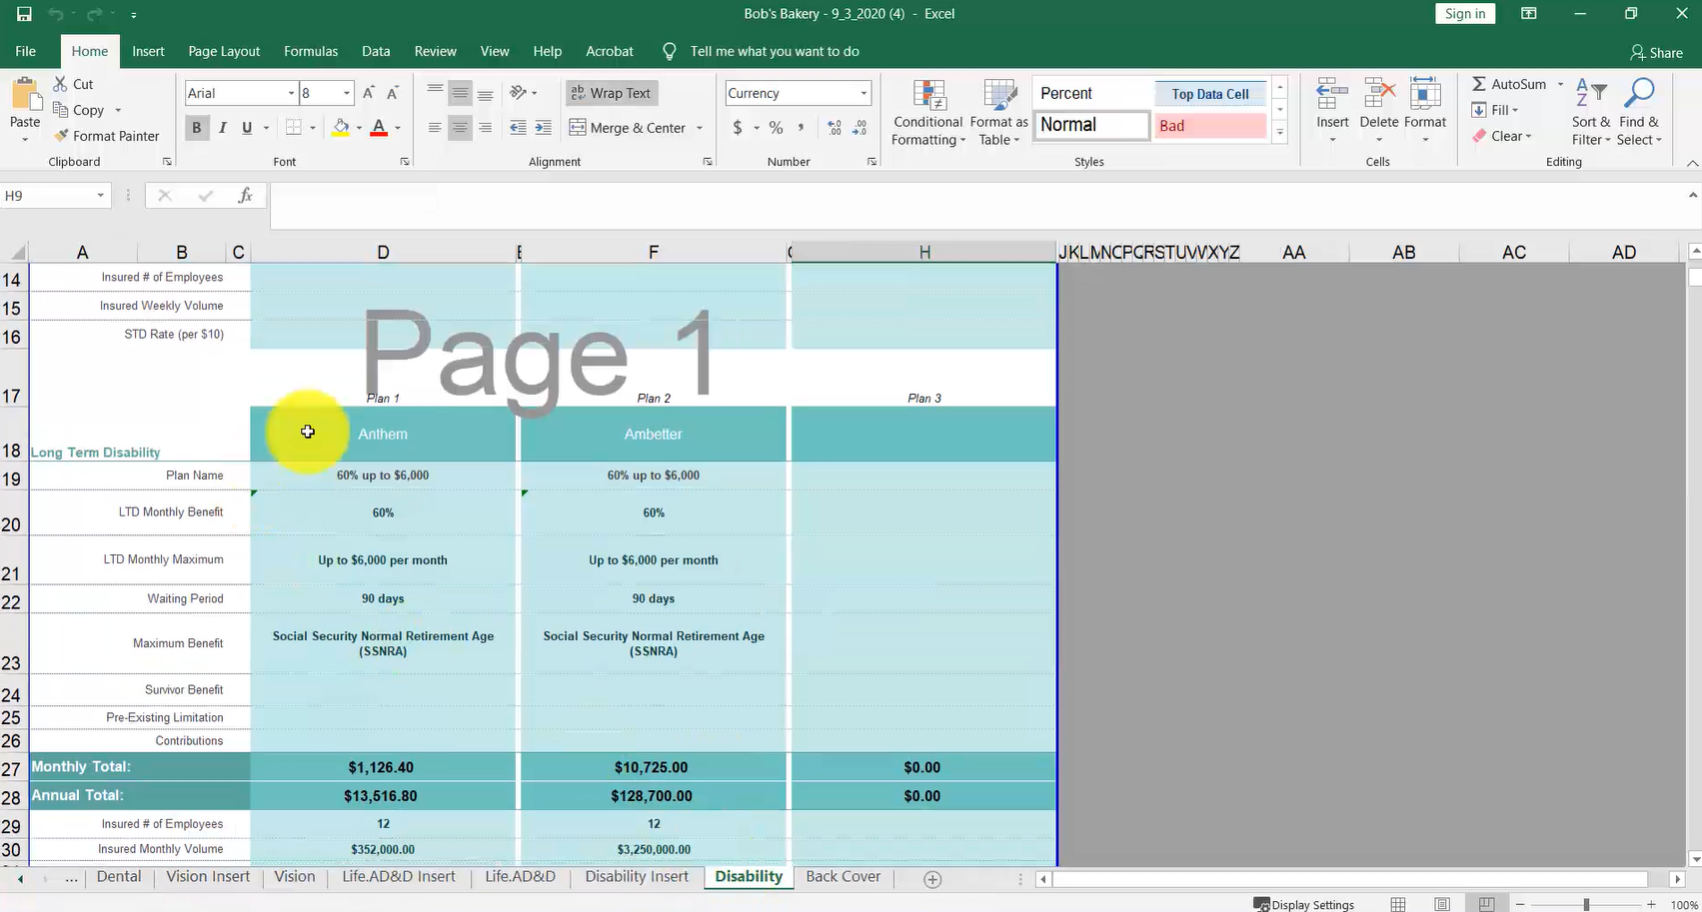
Once your Proposal has been generated, you’ll be able to view the Custom Plans that have been imported.
Create A Policy
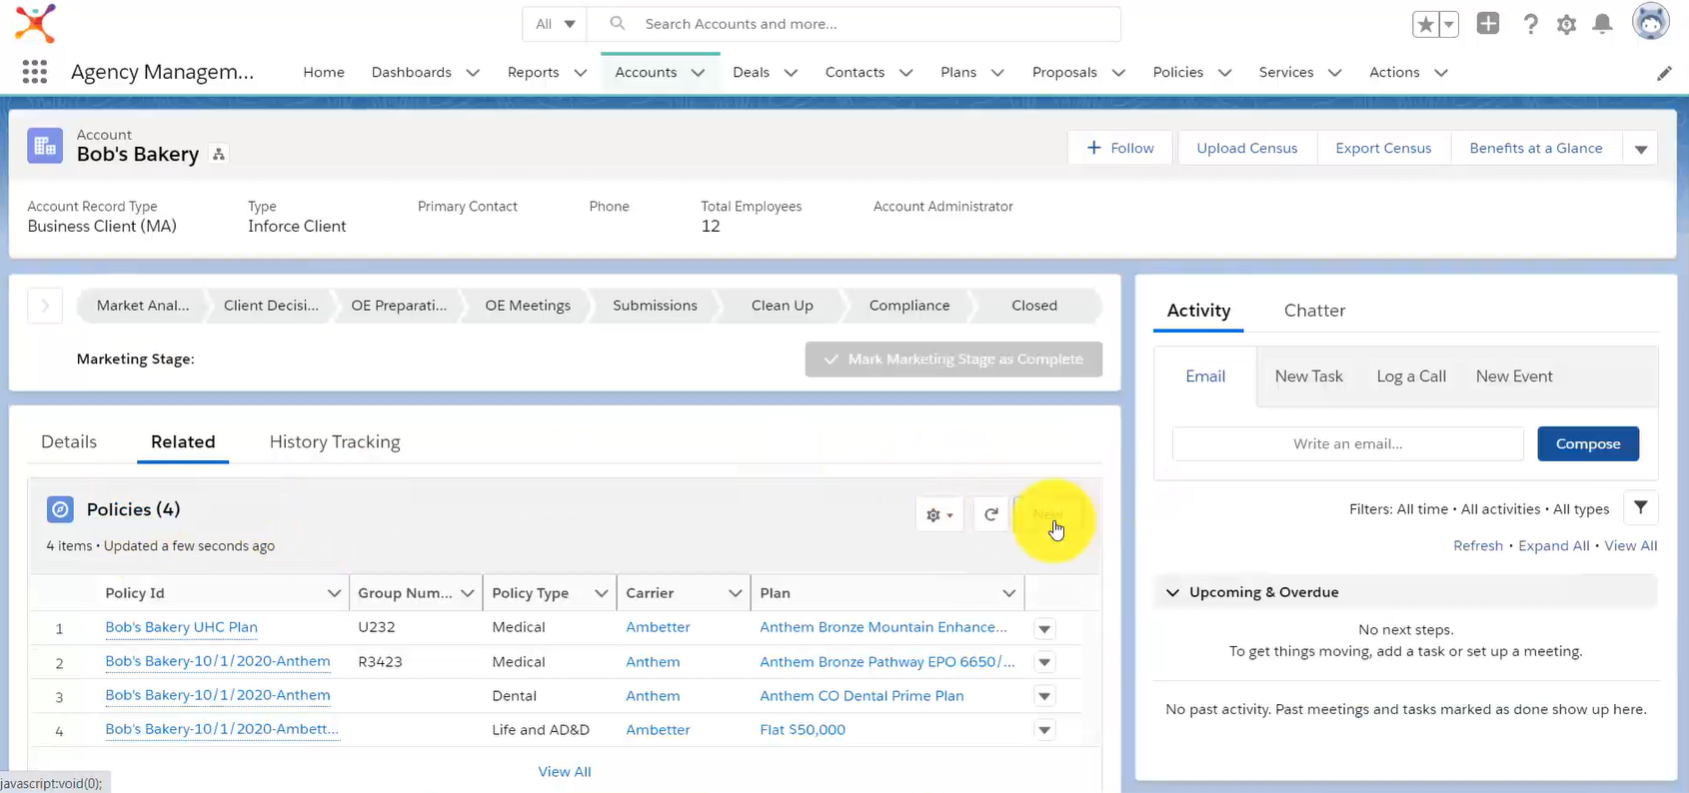
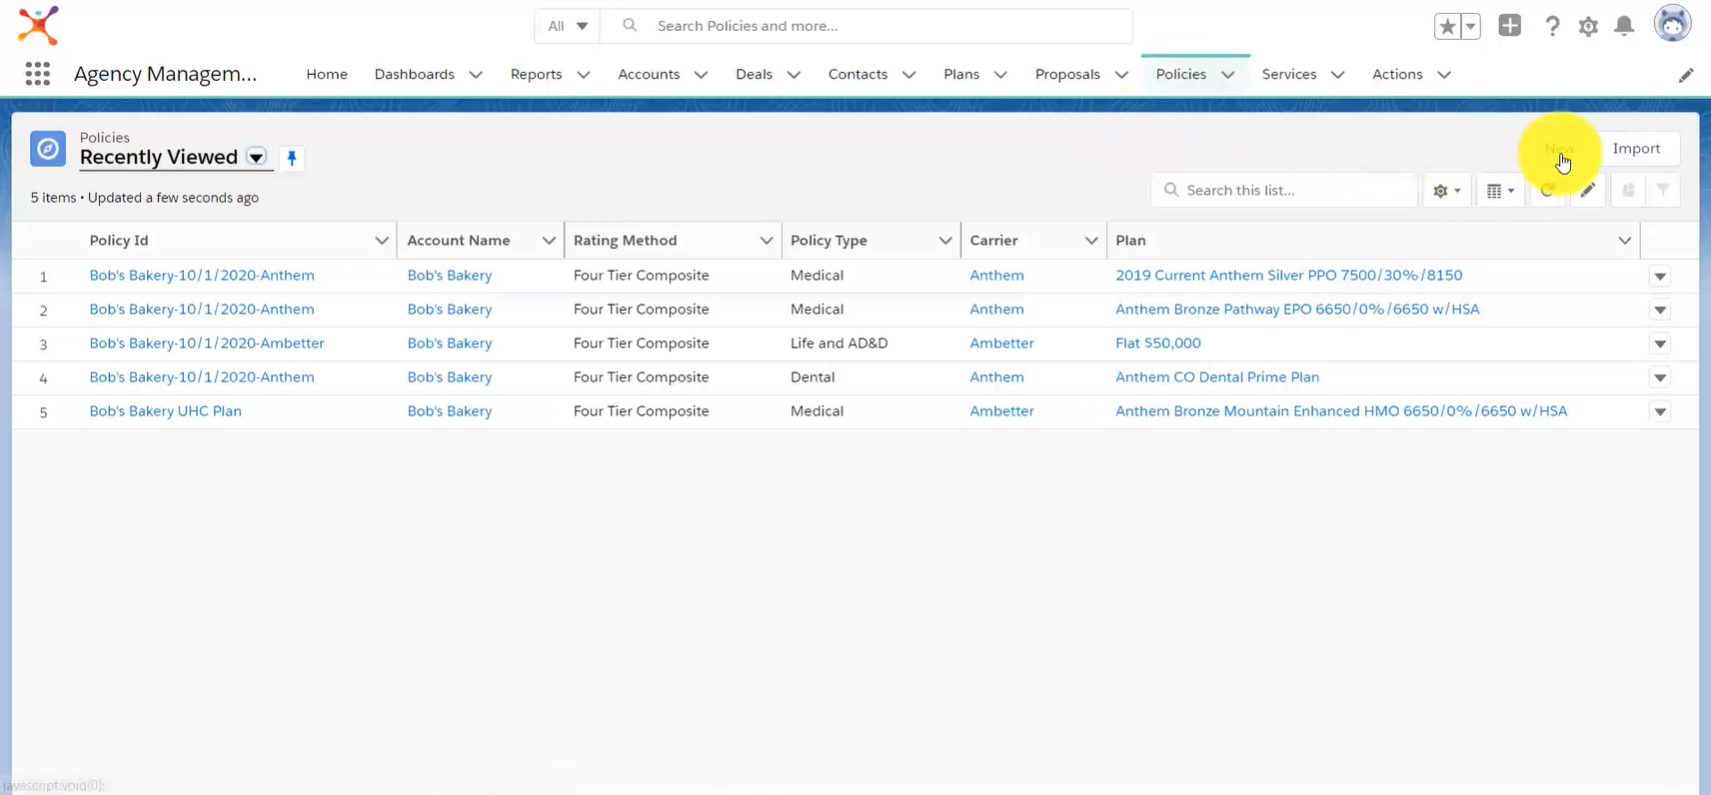
To create a Policy, navigate to an Account, click Related, then click the New button under the Policies section. You can also click on the Policies Object, then click New.
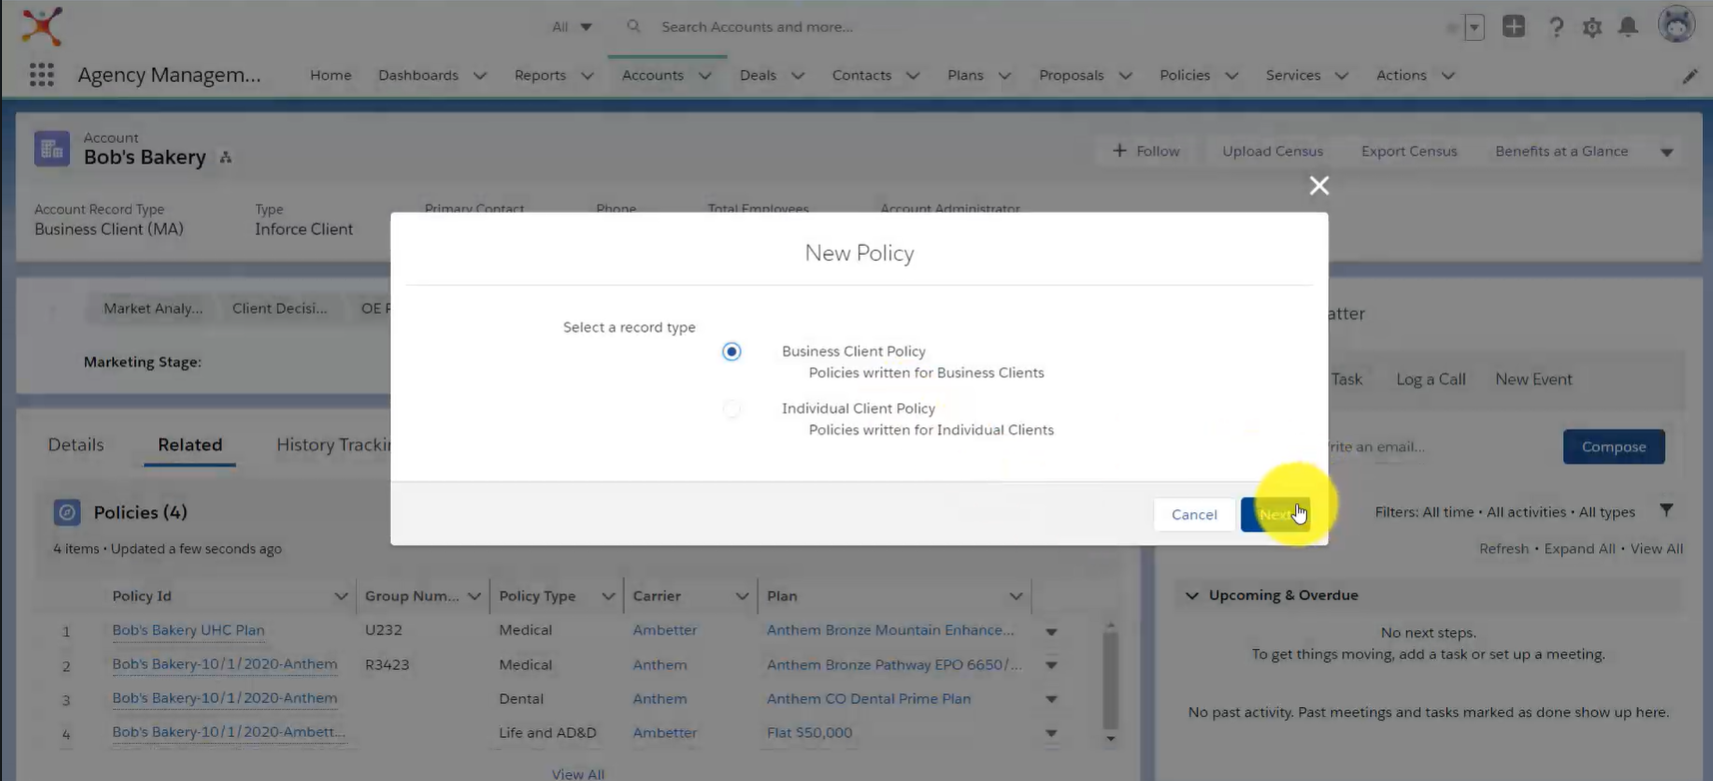
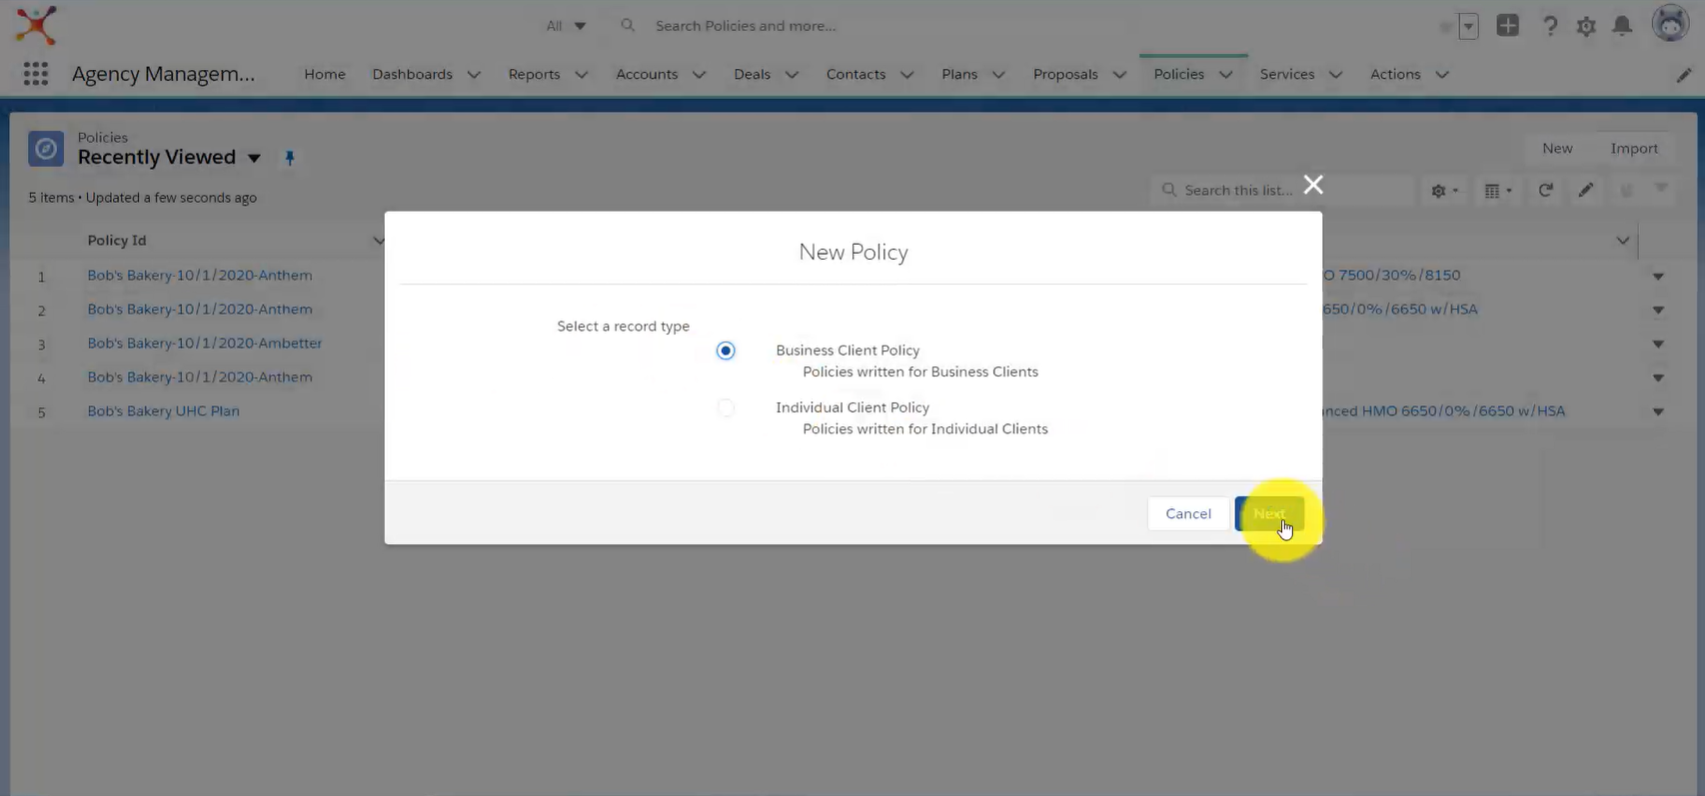
Select a Record Type, then click Next.
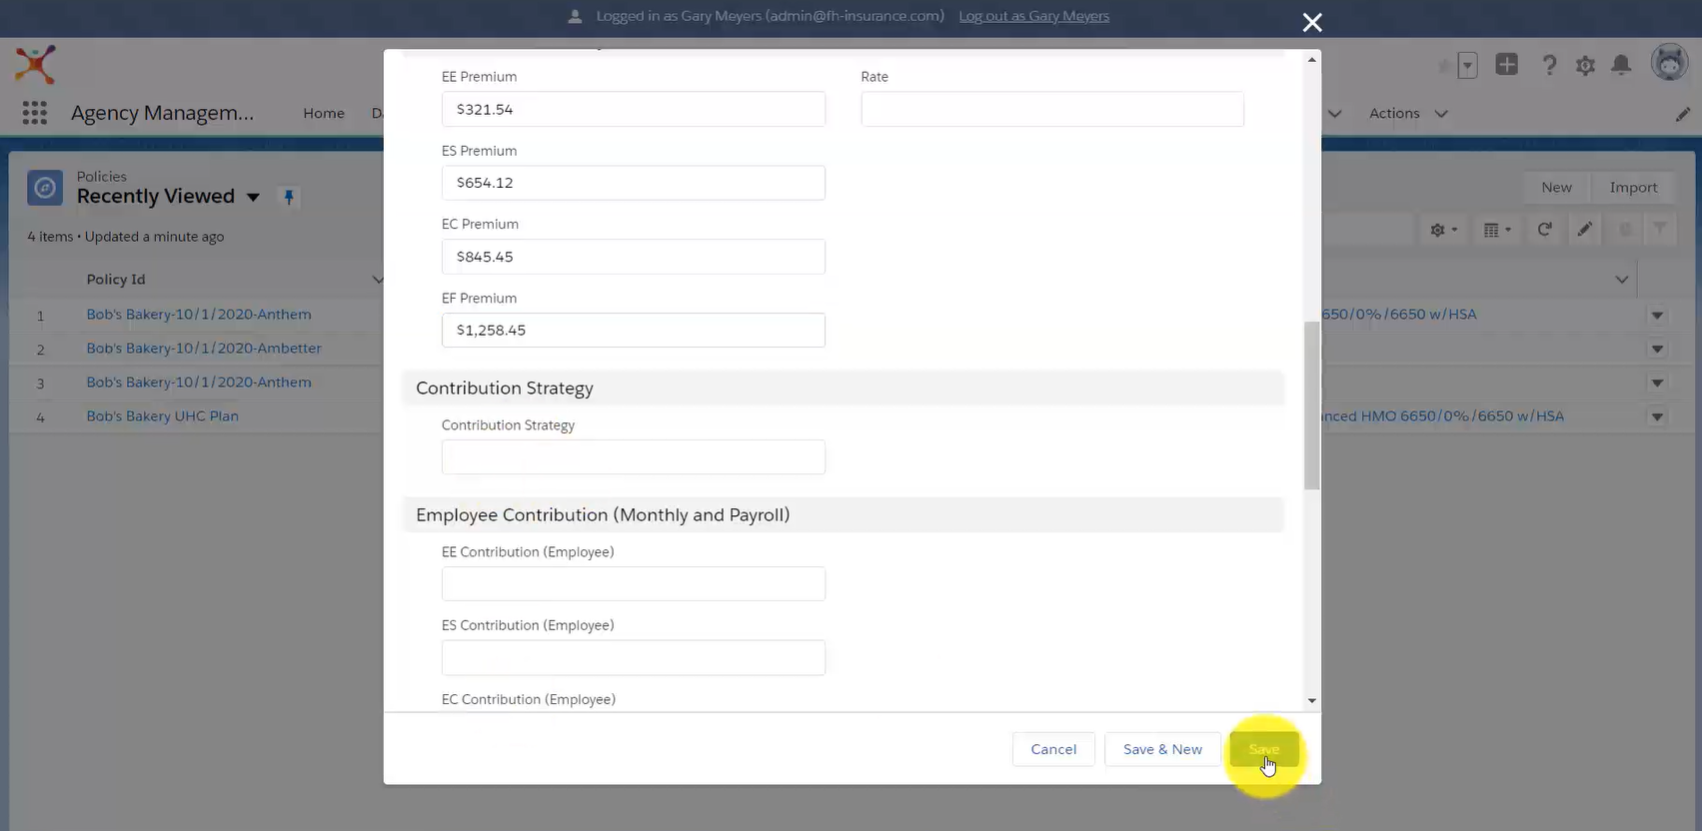
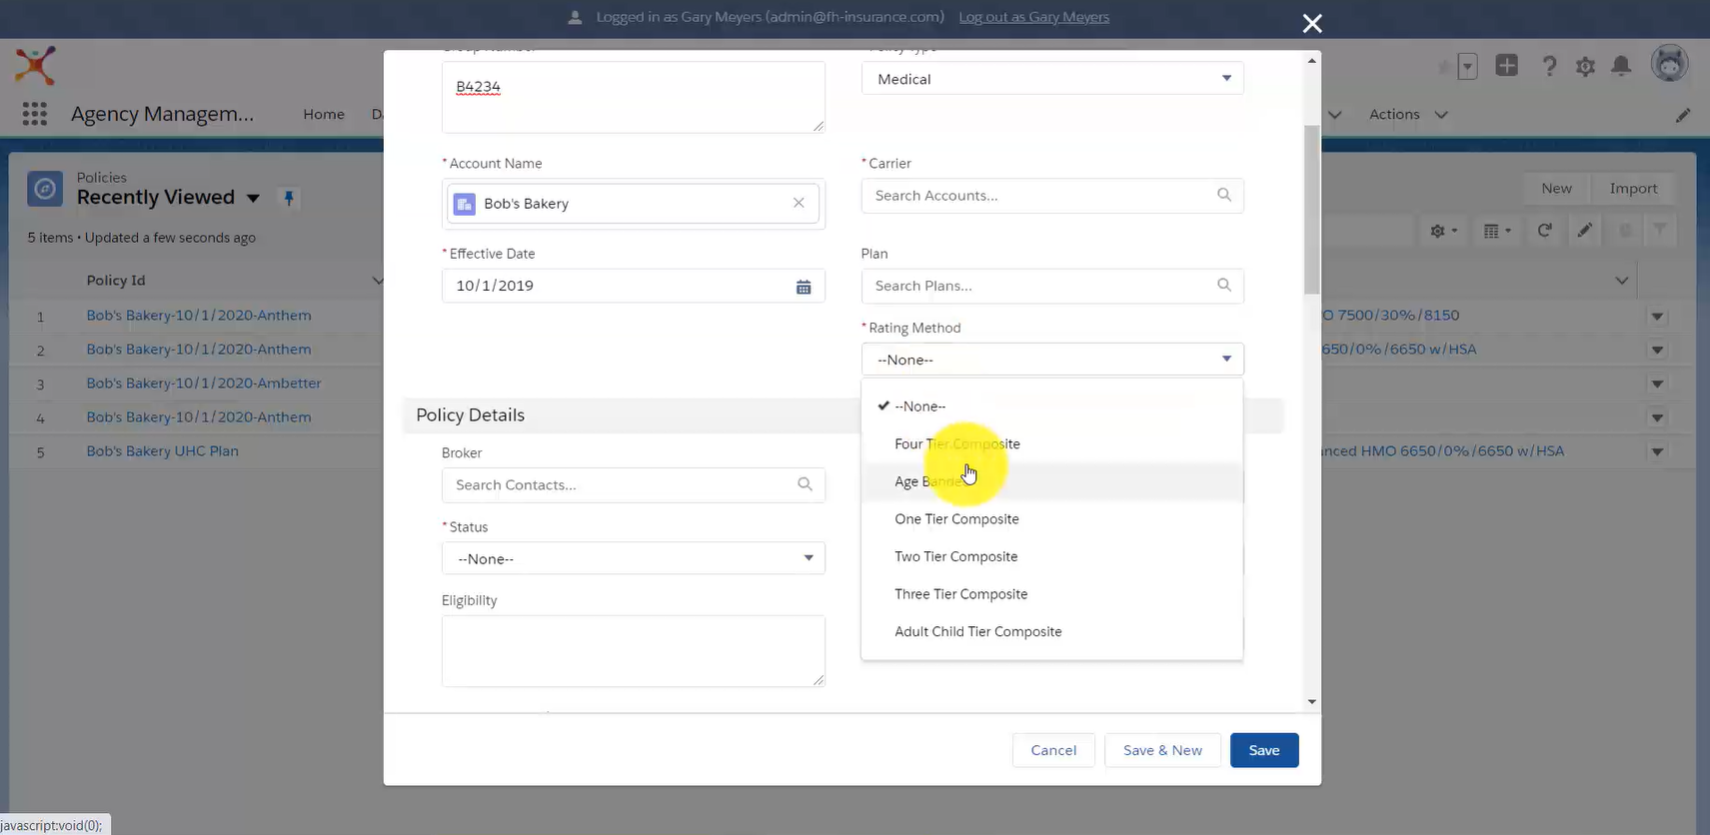
Complete all required fields such as Account Name, Effective Date, Carrier, Plan, etc. and optional fields as needed, then click Save.
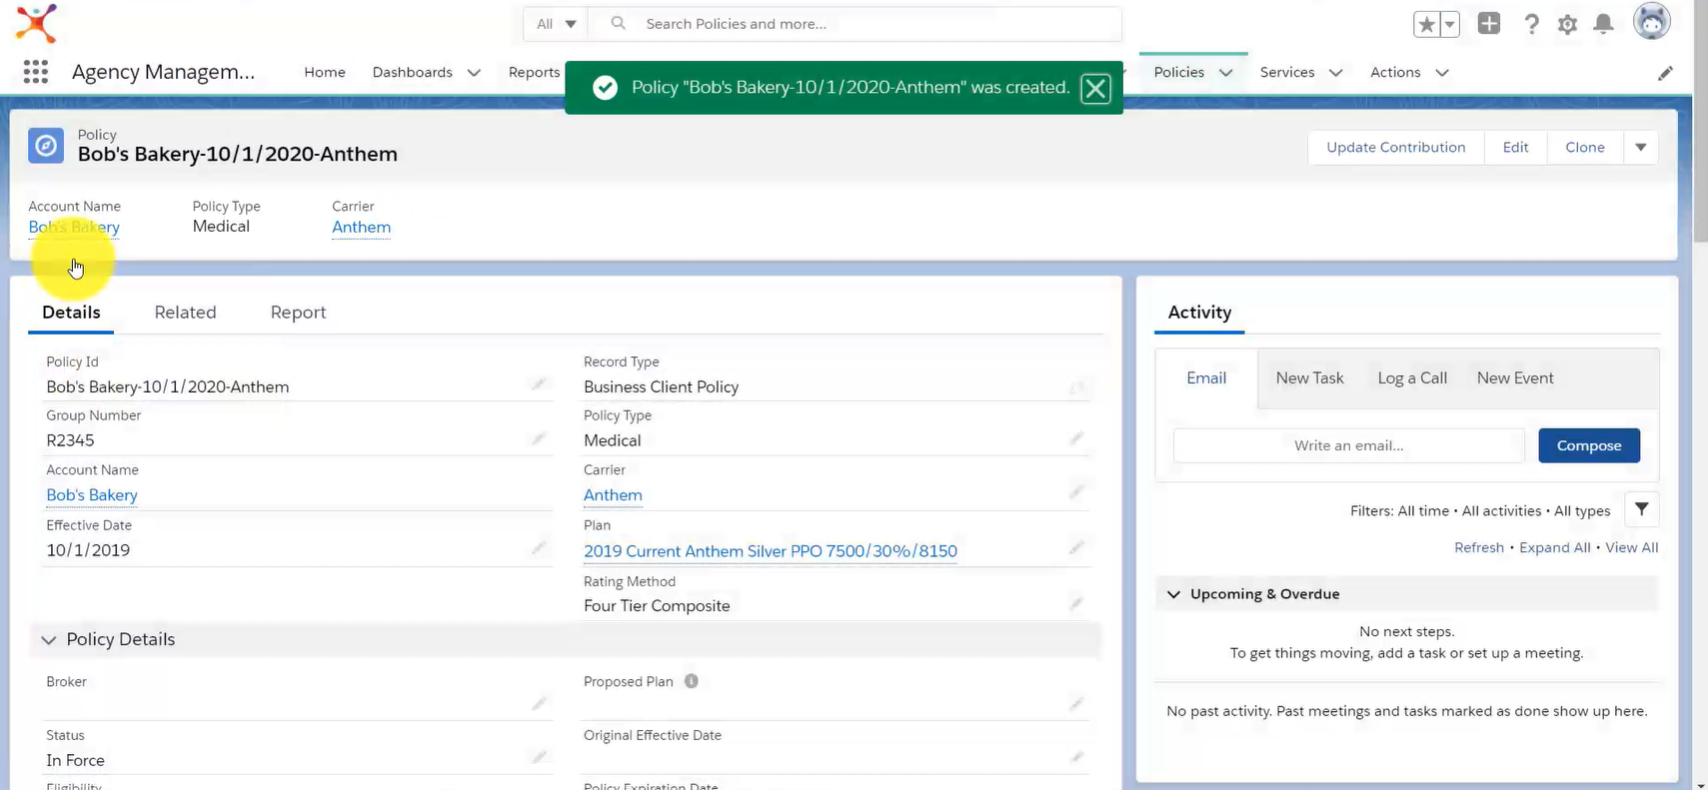
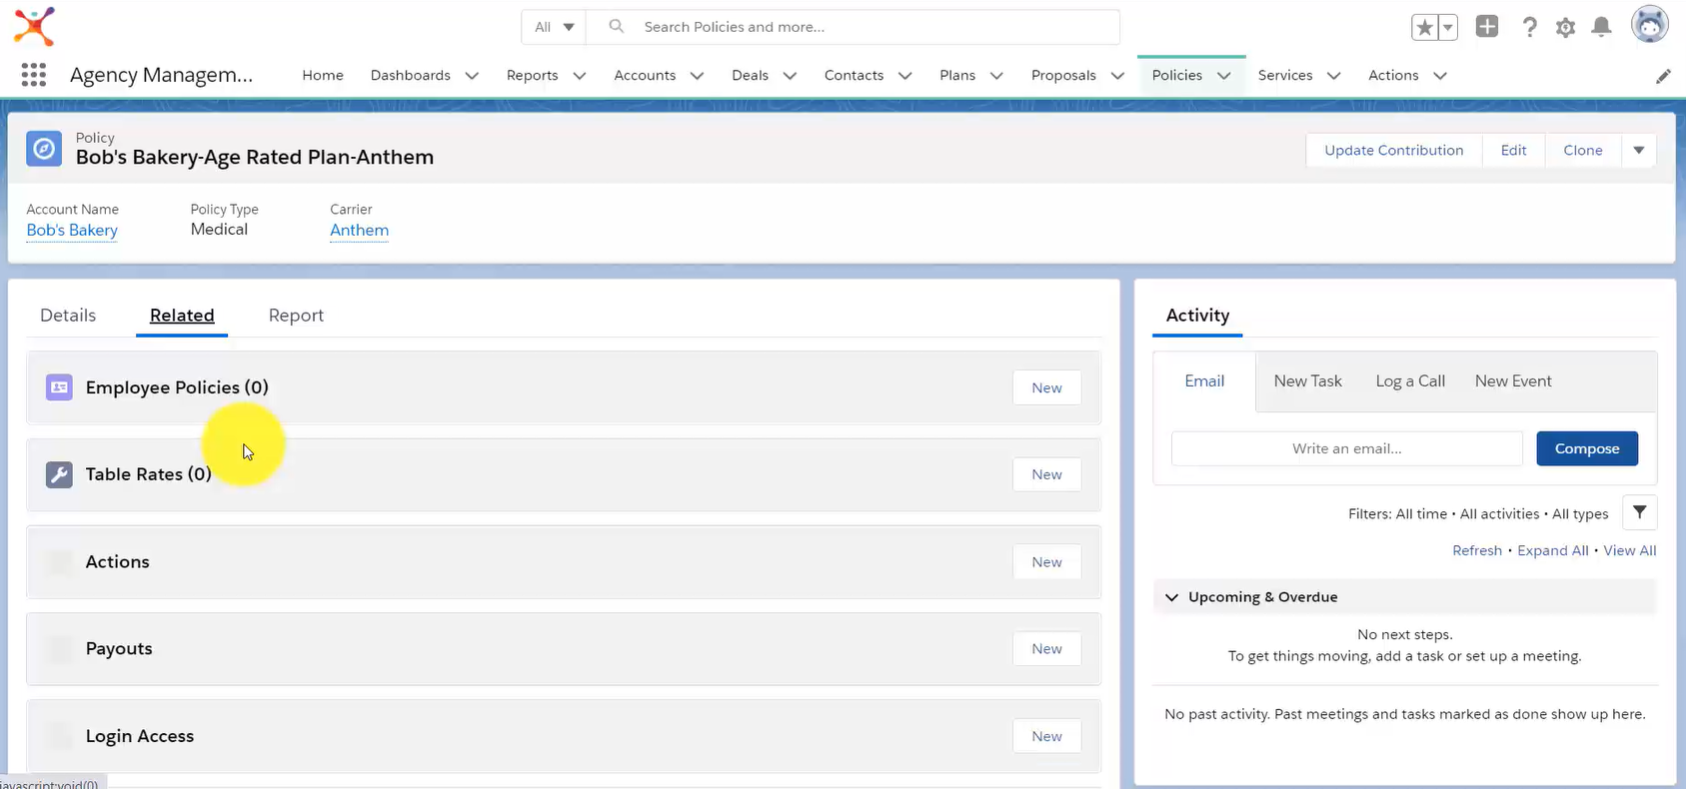
You’ve now created a Custom Policy, available under the Policies Object or under the Related section of an Account.
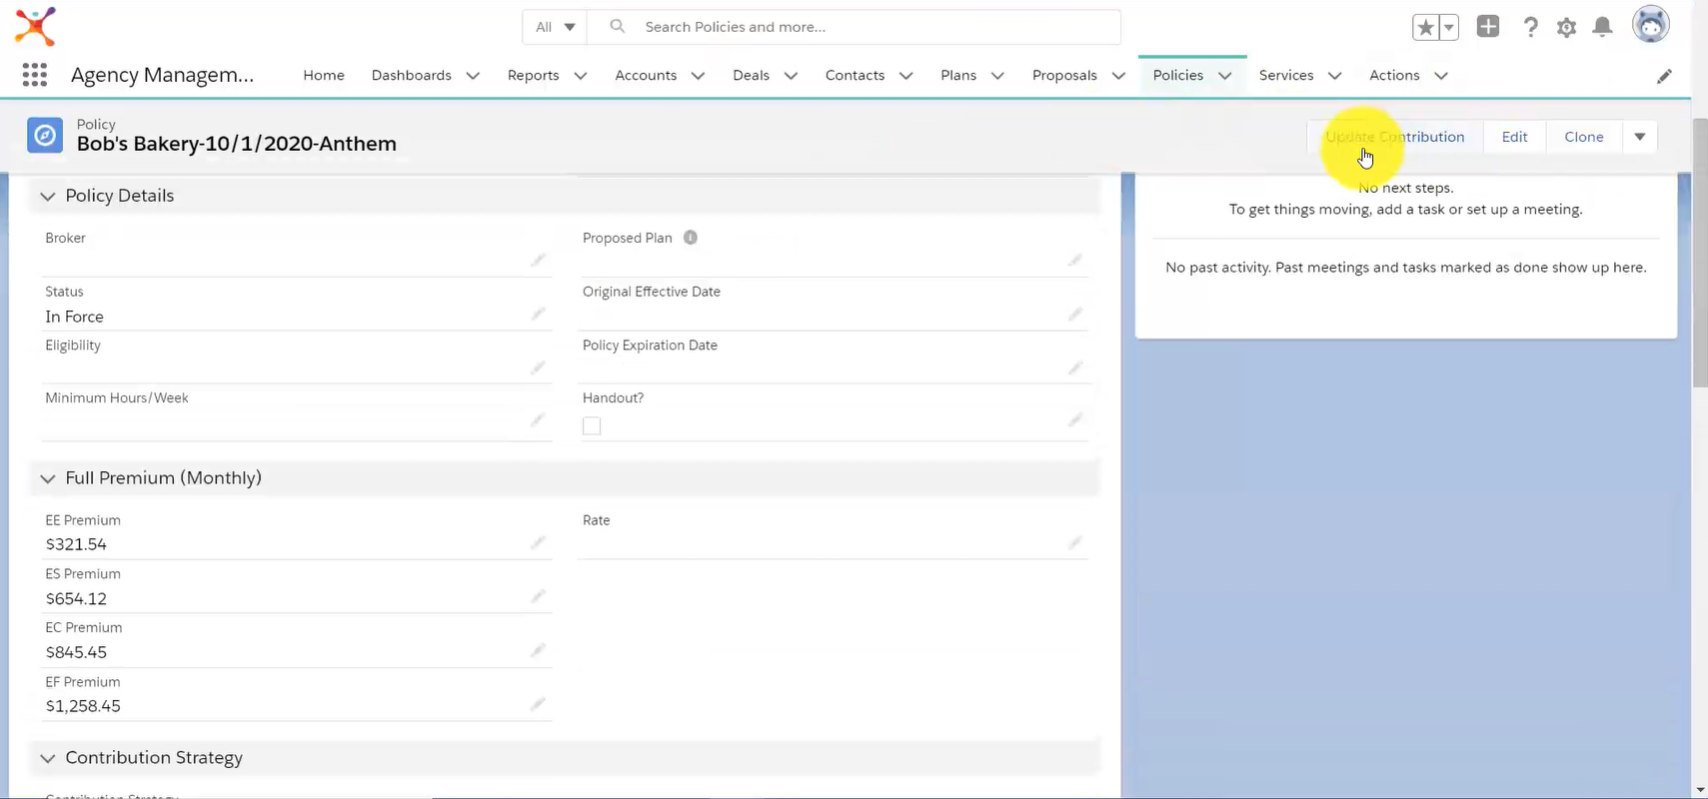
After your Custom Policy is created, you can click the Update Contribution button in the upper right corner to change the Contribution Strategy.
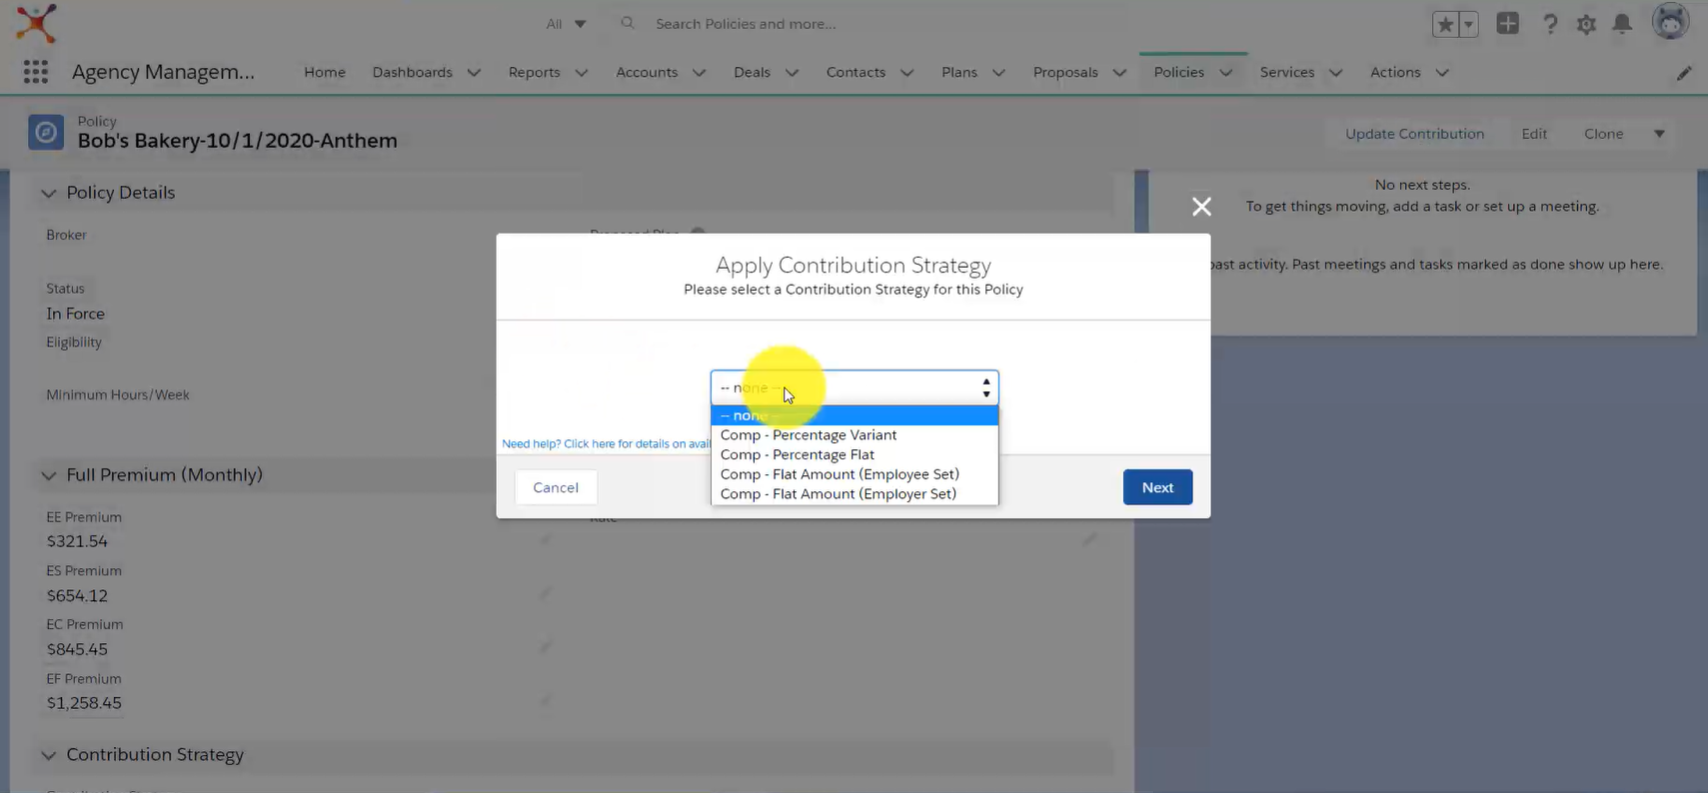
Select the appropriate Contribution Strategy from the dropdown menu and click Next.
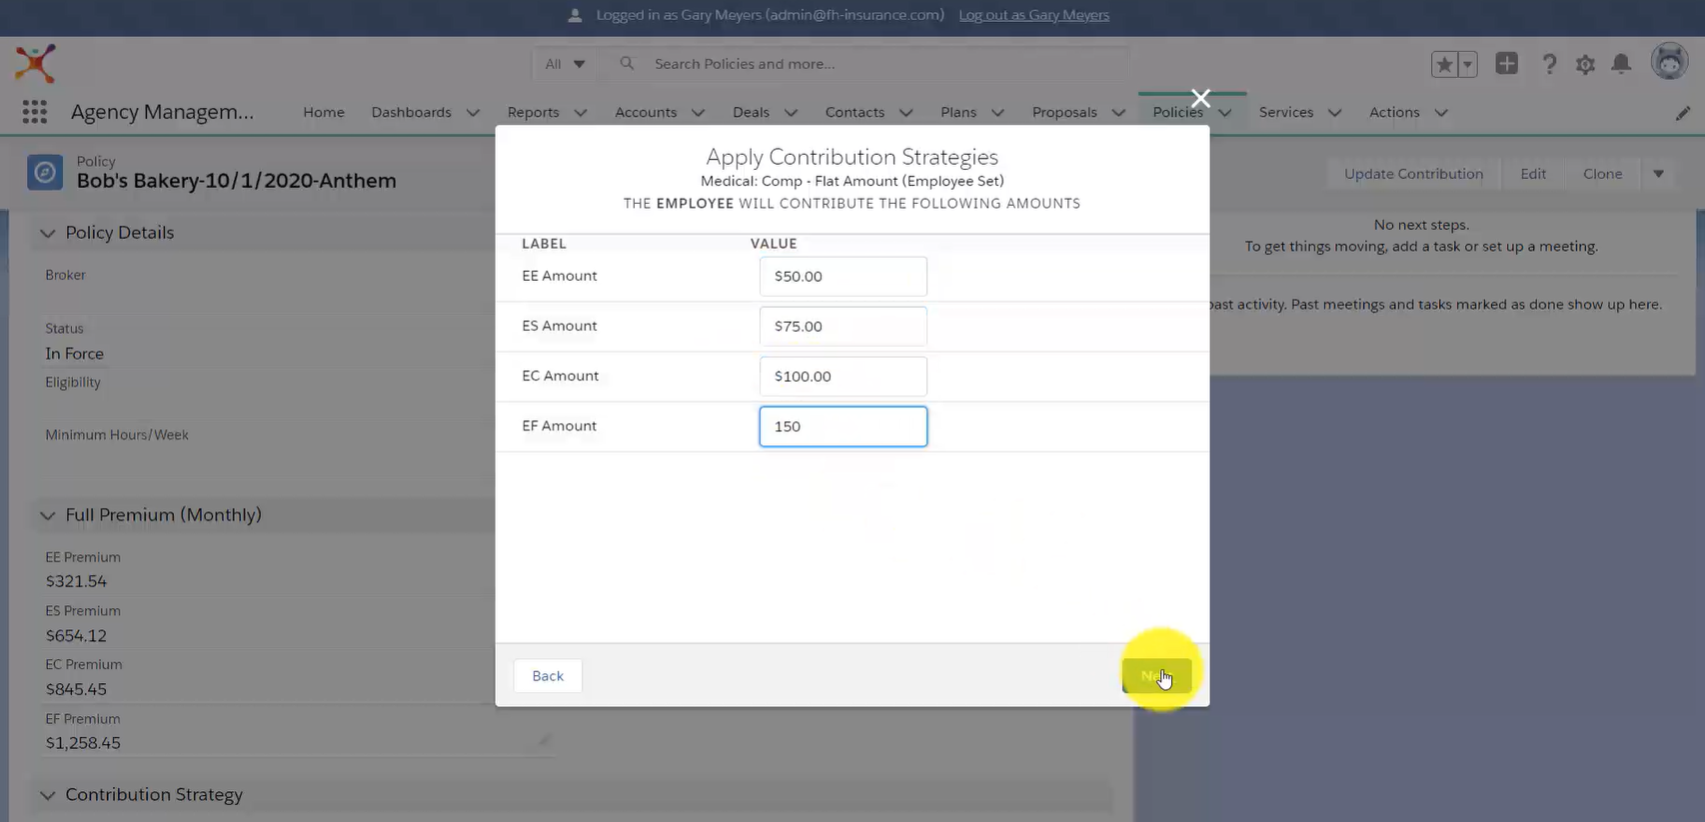
Set Employee Contributions and click Next. These will carry over into your Benefits Booklet.
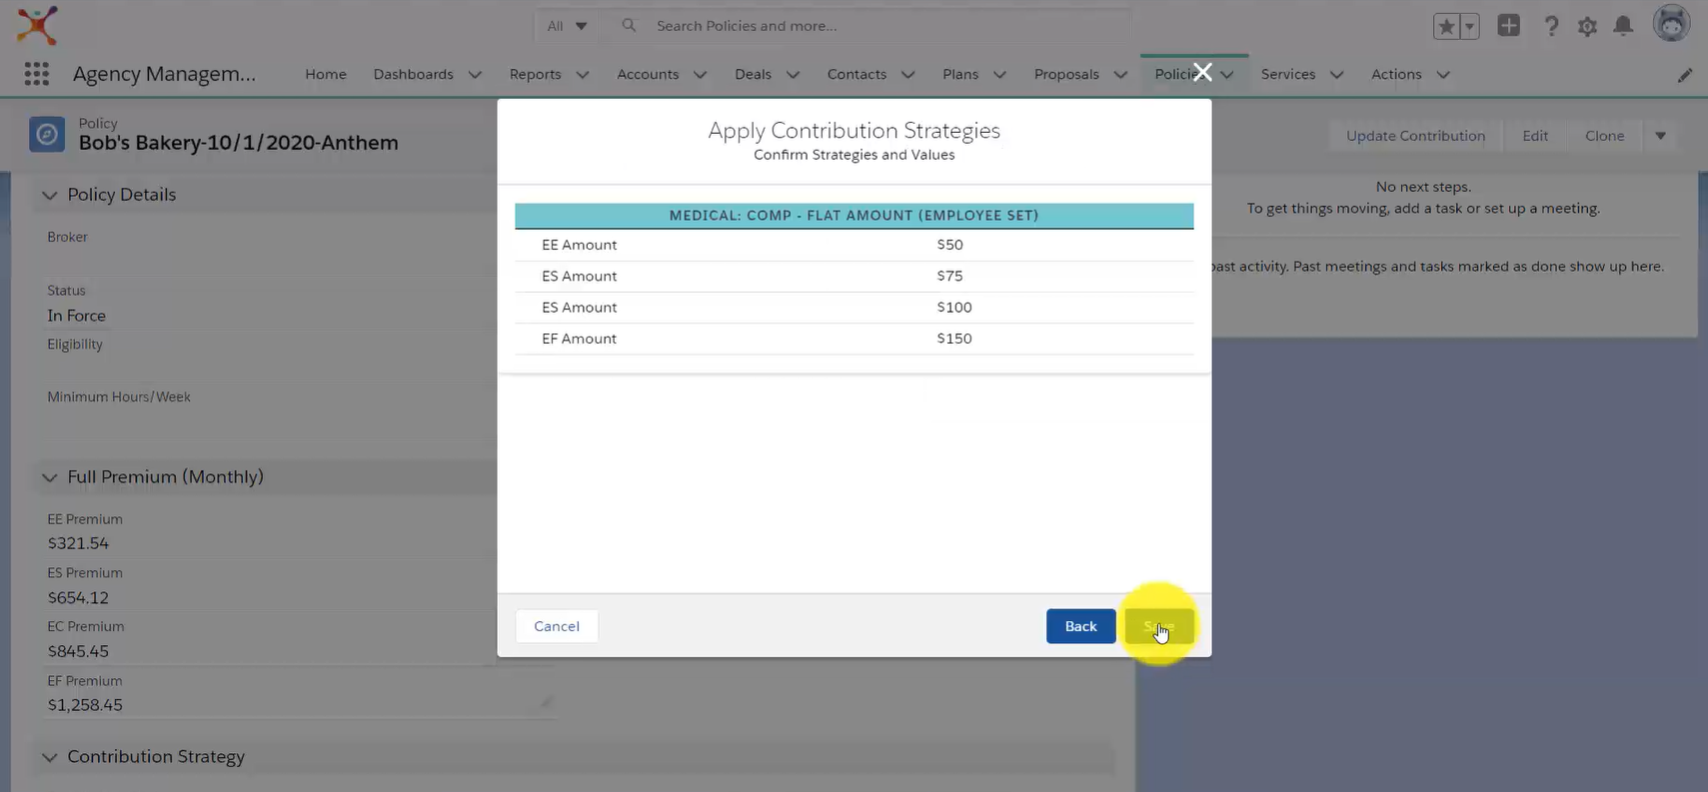
Review information and click Save.
Create An Age Banded Policy
Click the Policies Object then click the New button in the upper right corner.
Select a Record Type and click Next.
Add the Policy ID, Group Number, Policy Type, Account Name, Effective Date, and Carrier. Select Age Banded under Rating Method then click Save.
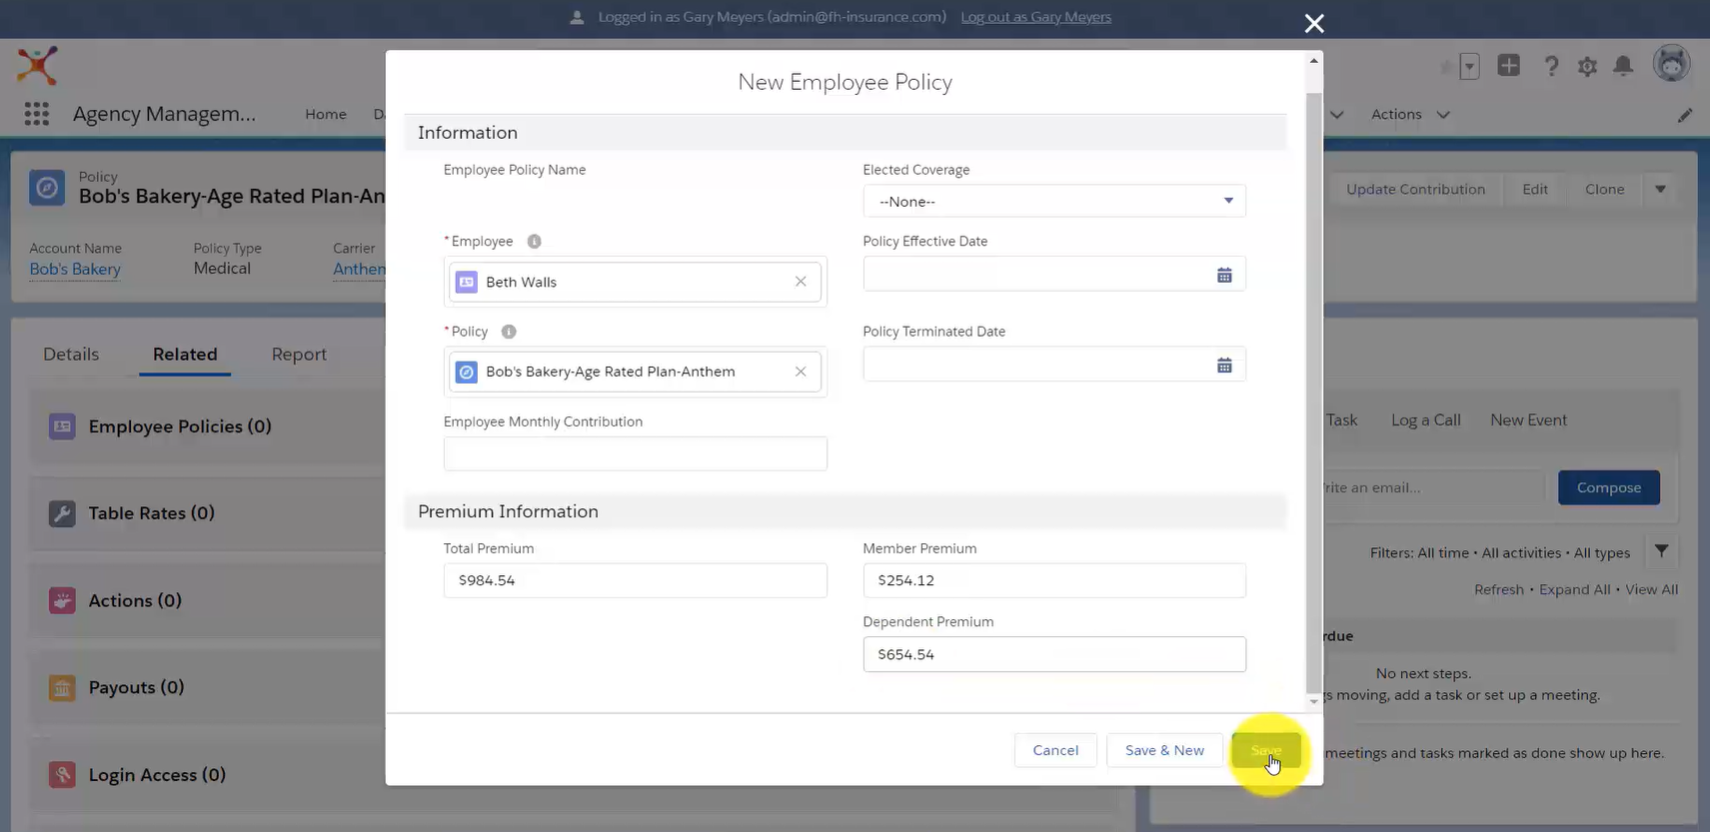
To add Employee Rates, click Related and the New button next to the Employee Policies section.
Click the Employee Search Bar to add Employee Contacts. Click on a Contact to select, then add the Contact’s Premium information and click Save.
Add An Age Banded Policy to a Custom Proposal
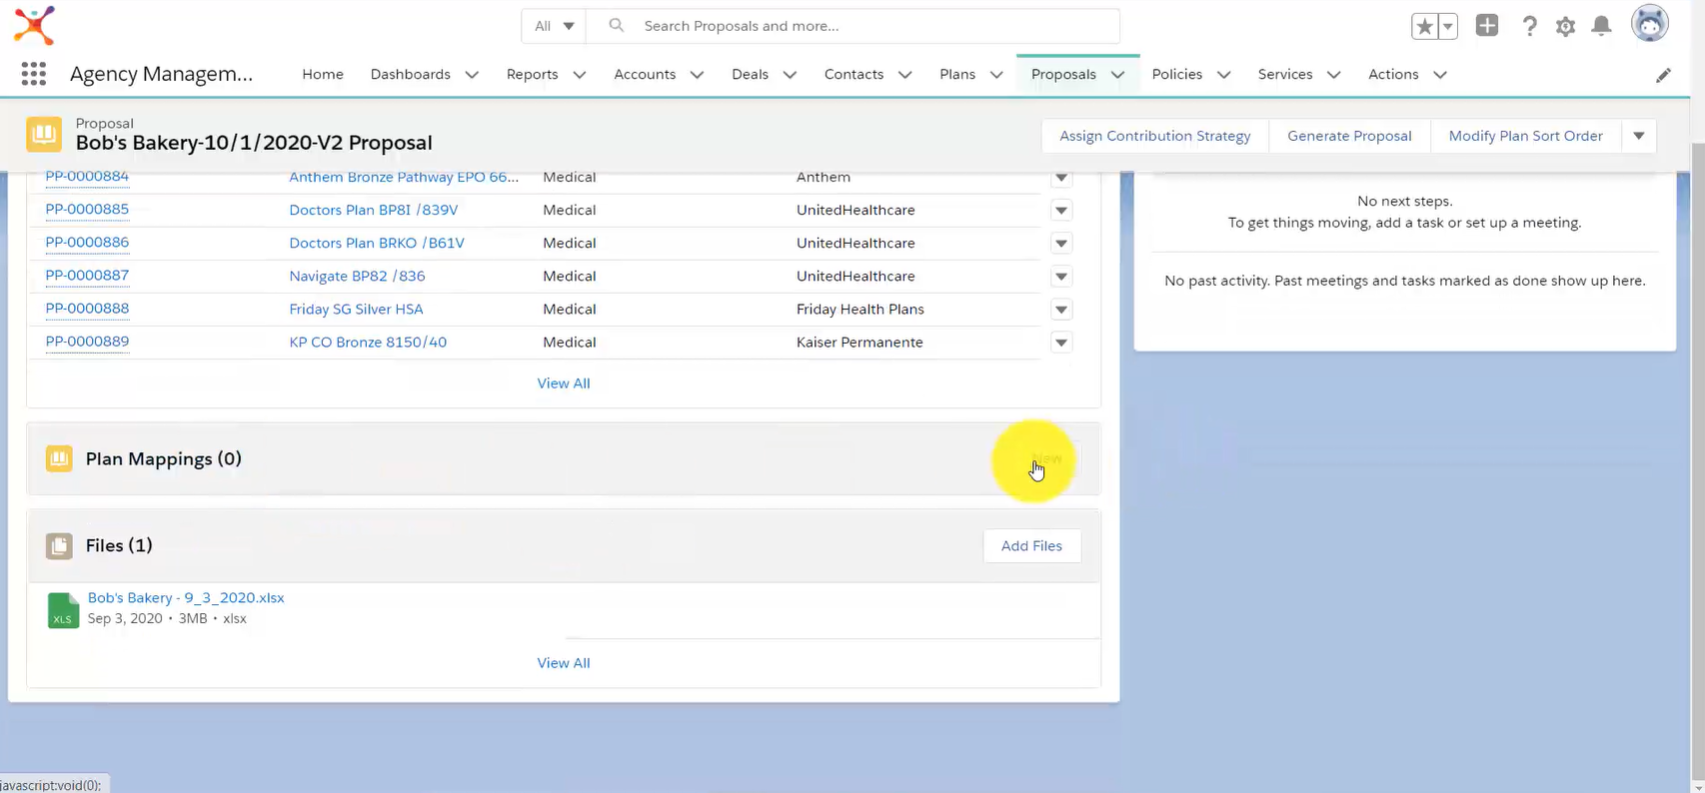
An Age Banded Policy must be added to an Age Banded Proposal. To add an Age Banded Policy, click Related then scroll down to the Plan Mappings section and click Next.
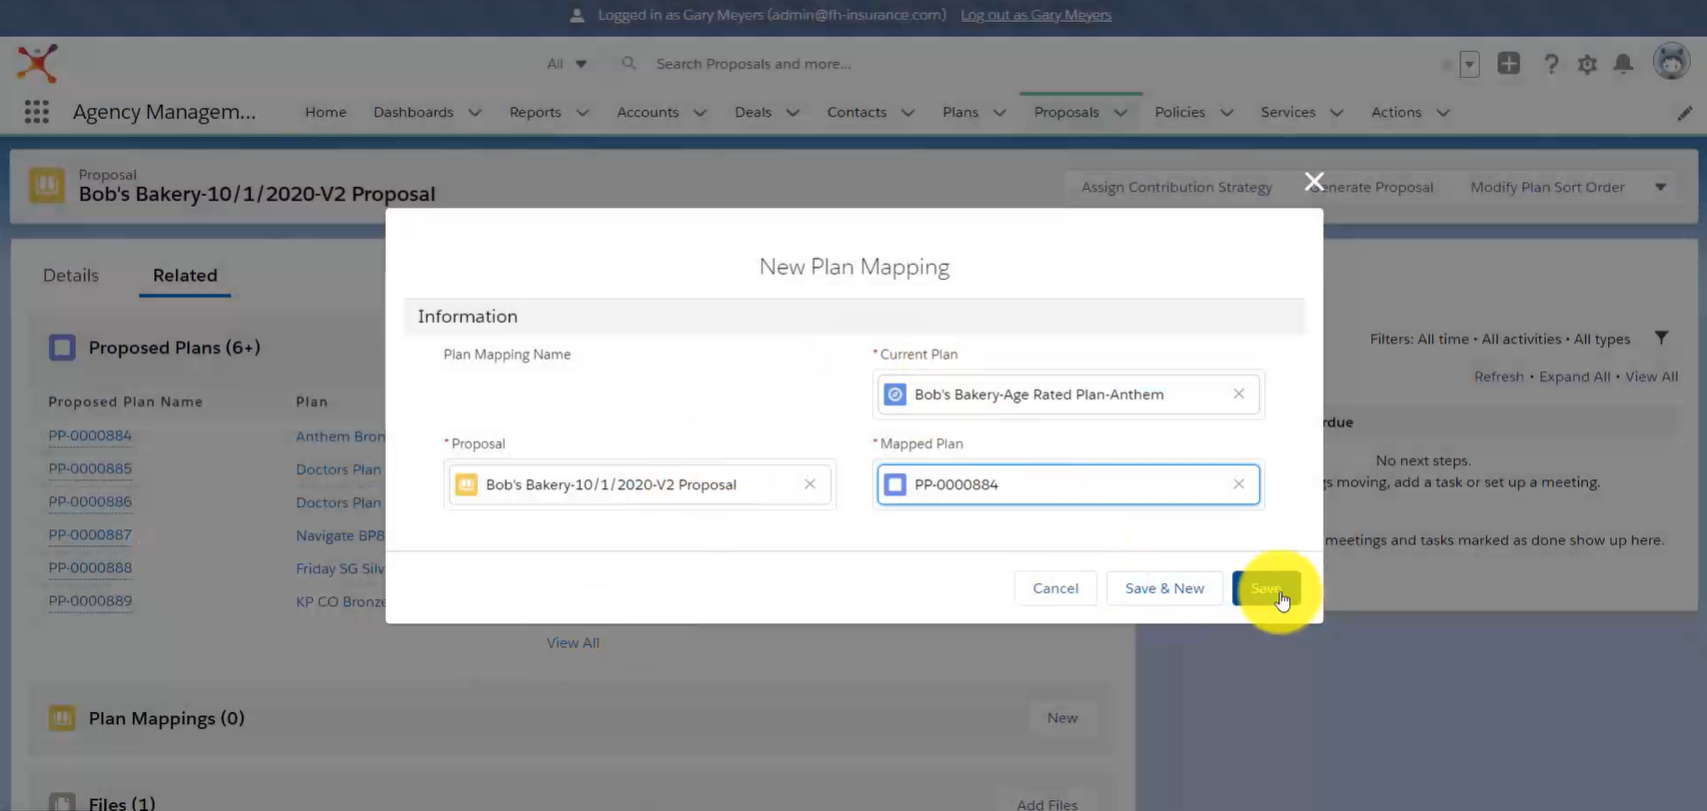
Select your Current Plan and Mapped Plan, then click Save.
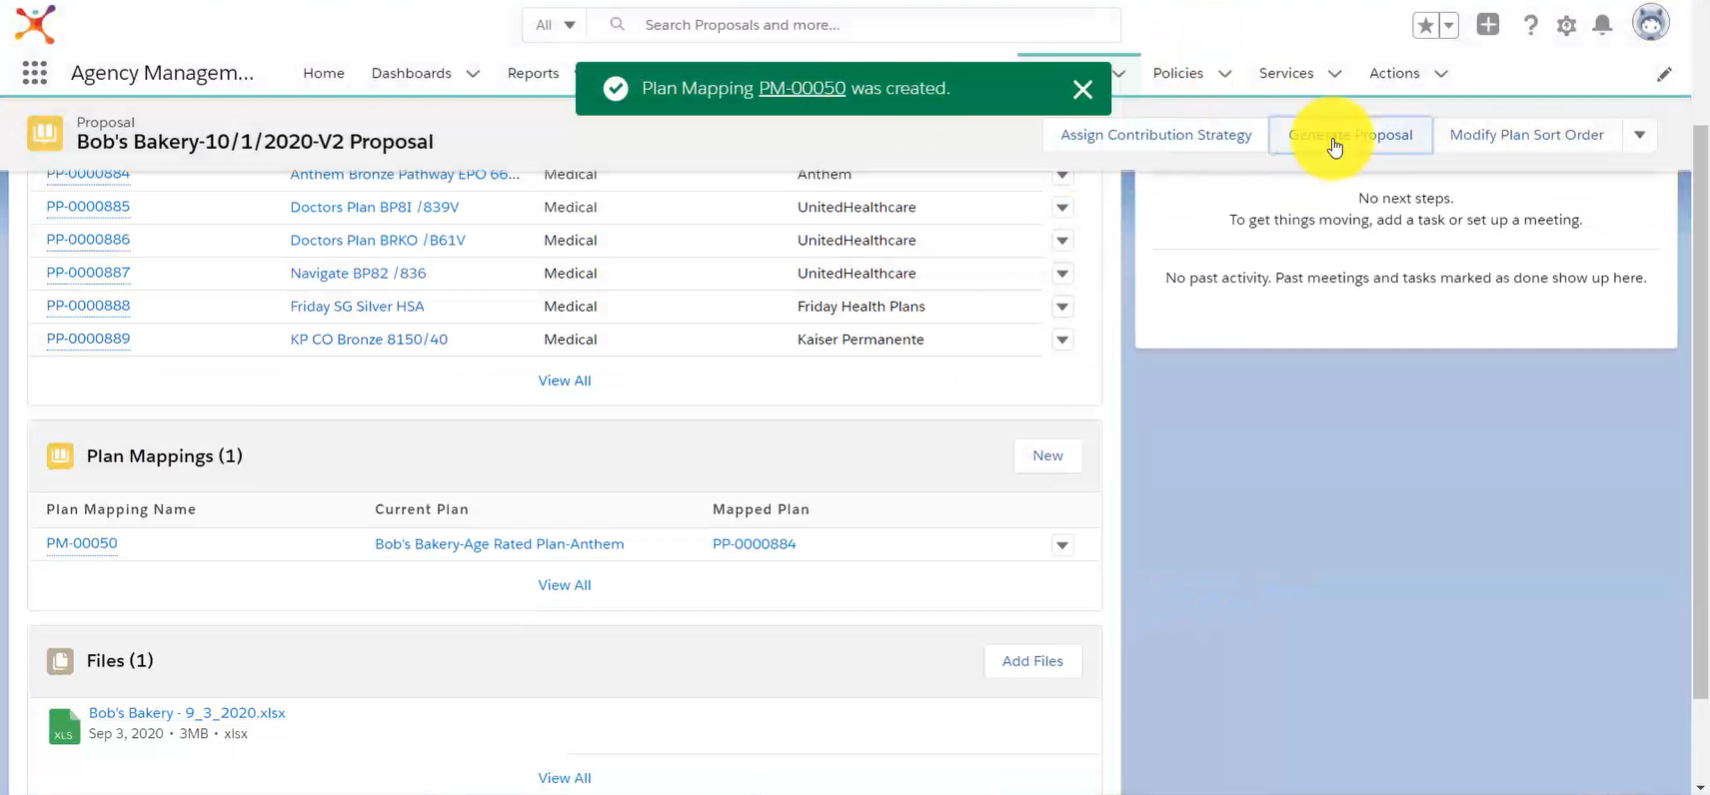
Click Generate Proposal in the upper right corner.
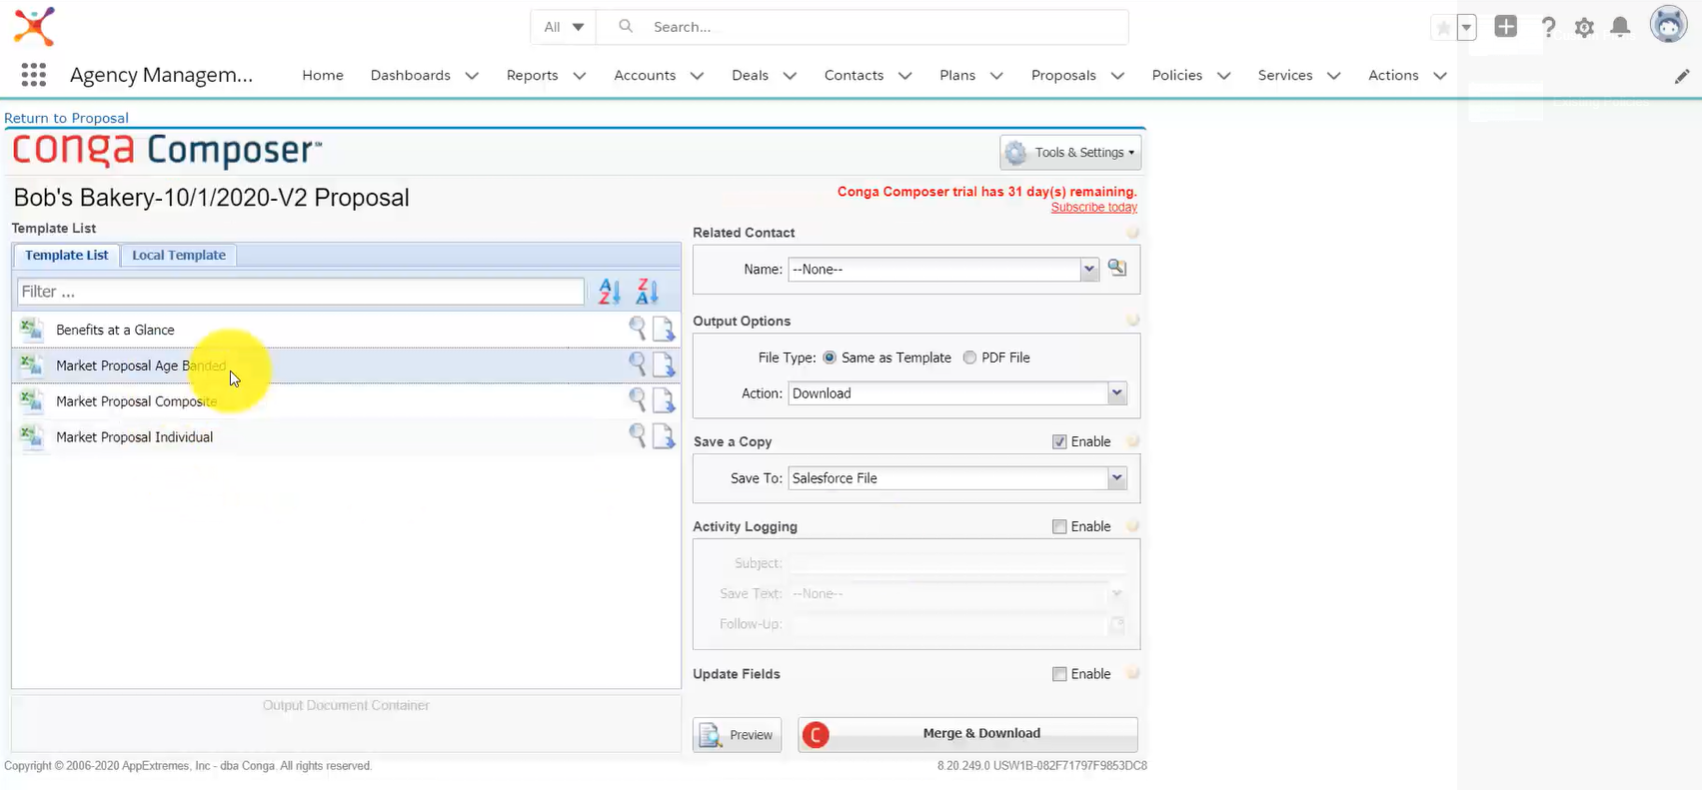
Once Conga Composer opens, click on Market Proposal Age Banded to select the appropriate template, then click Merge & Download to create the Proposal.
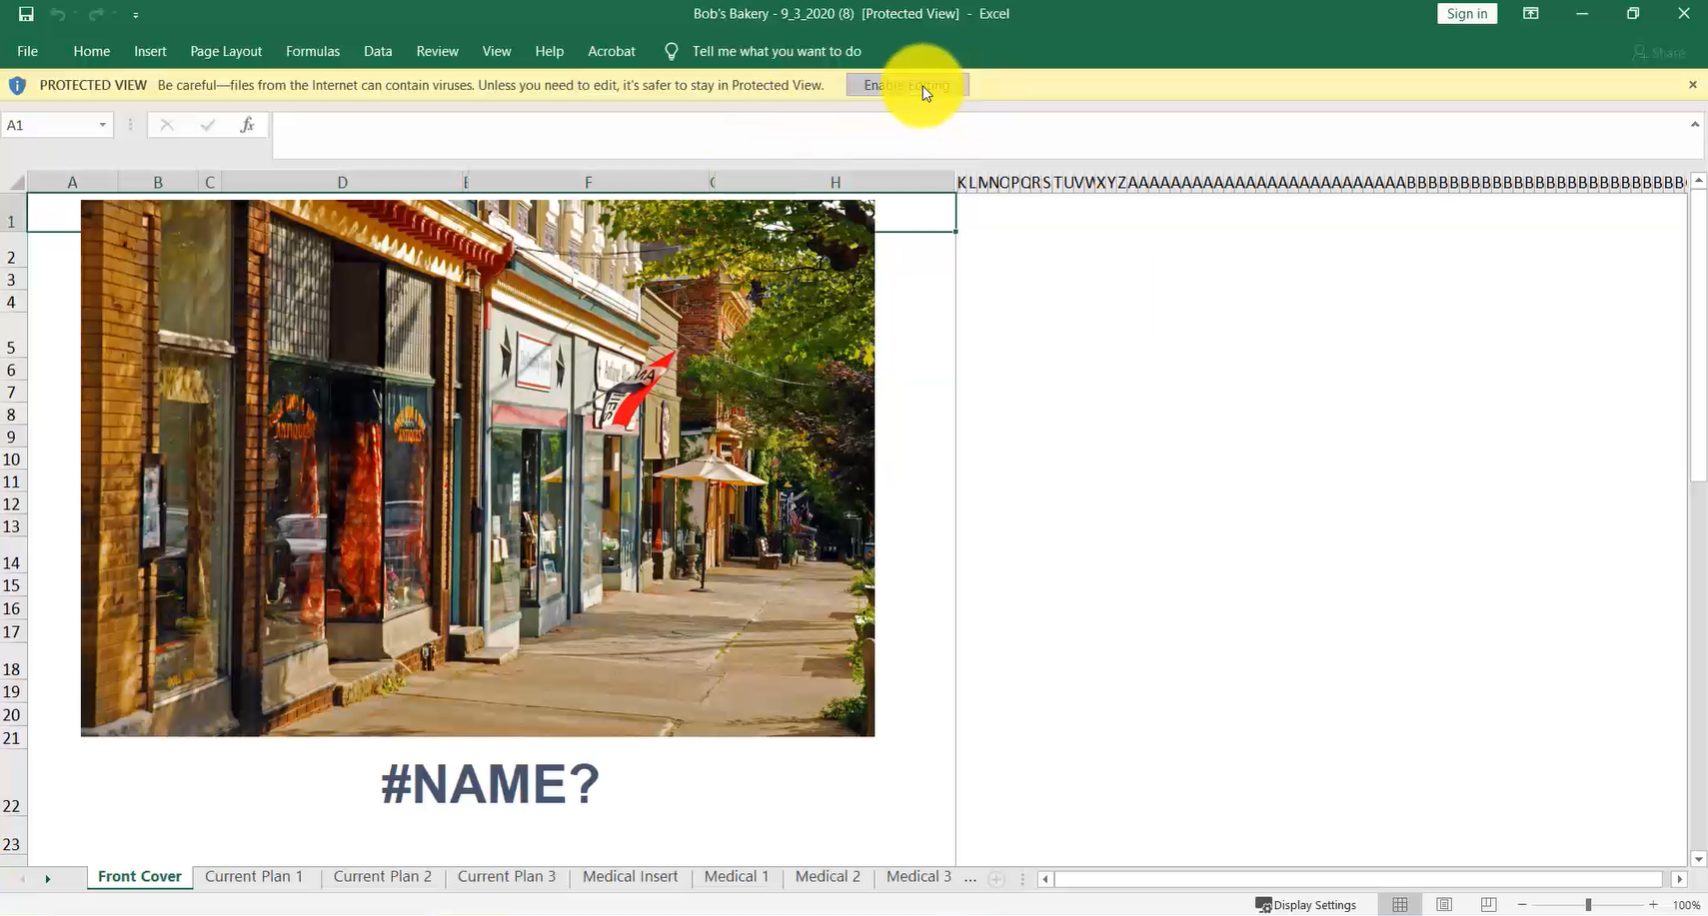
Click Enable Editing to populate the Proposal with information from Benelinx.
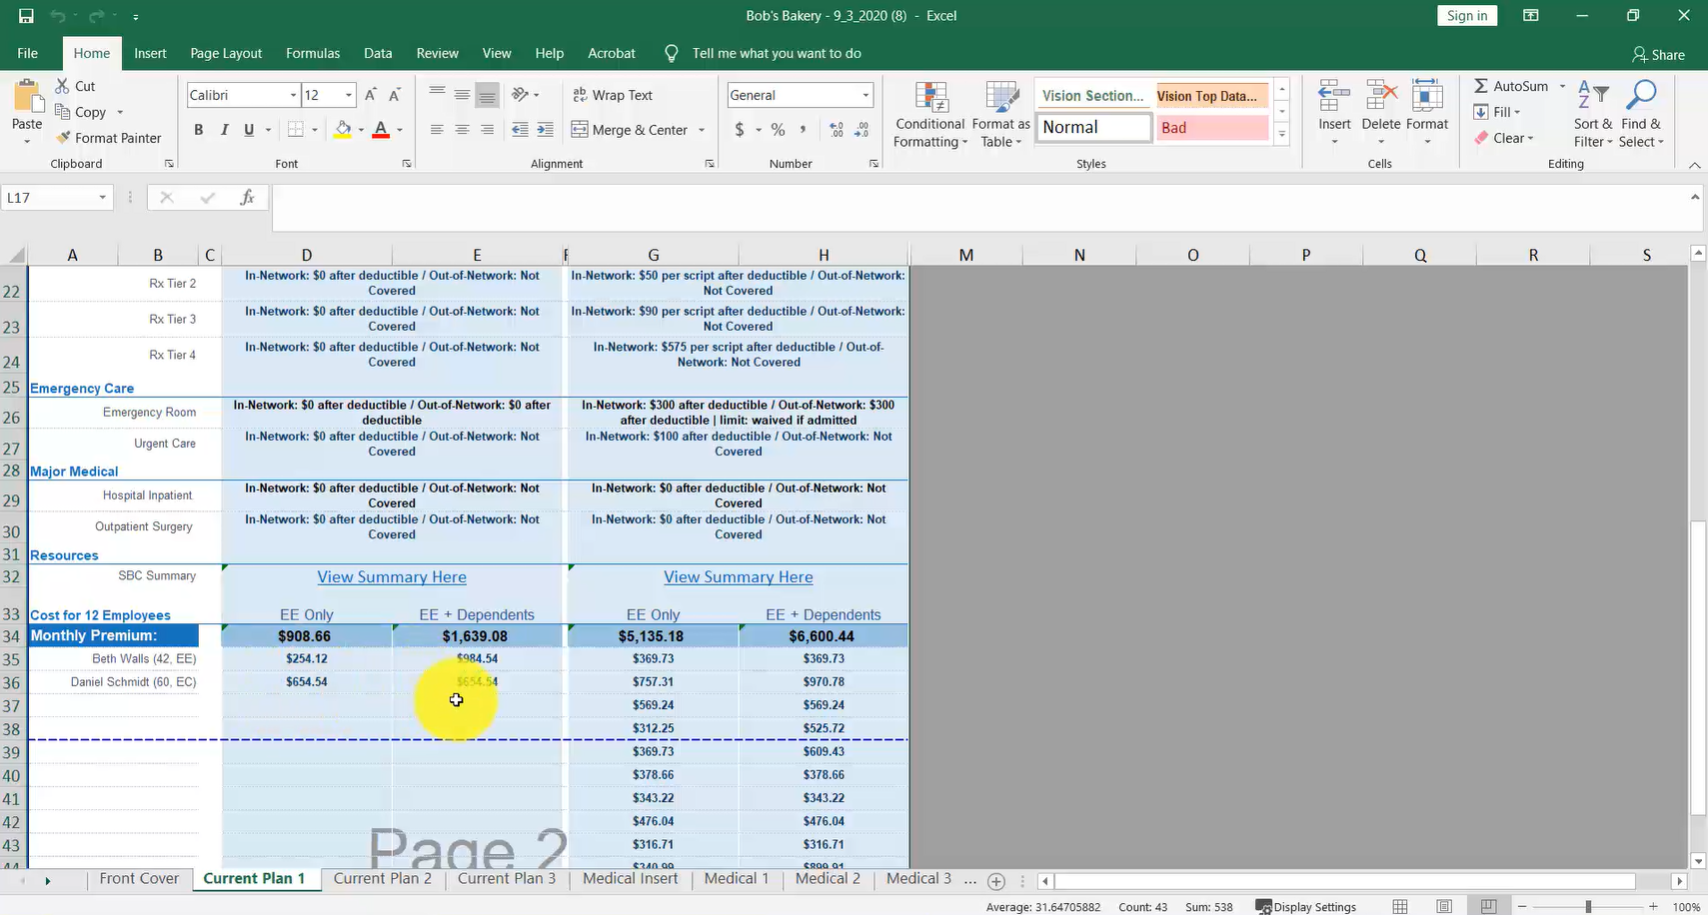
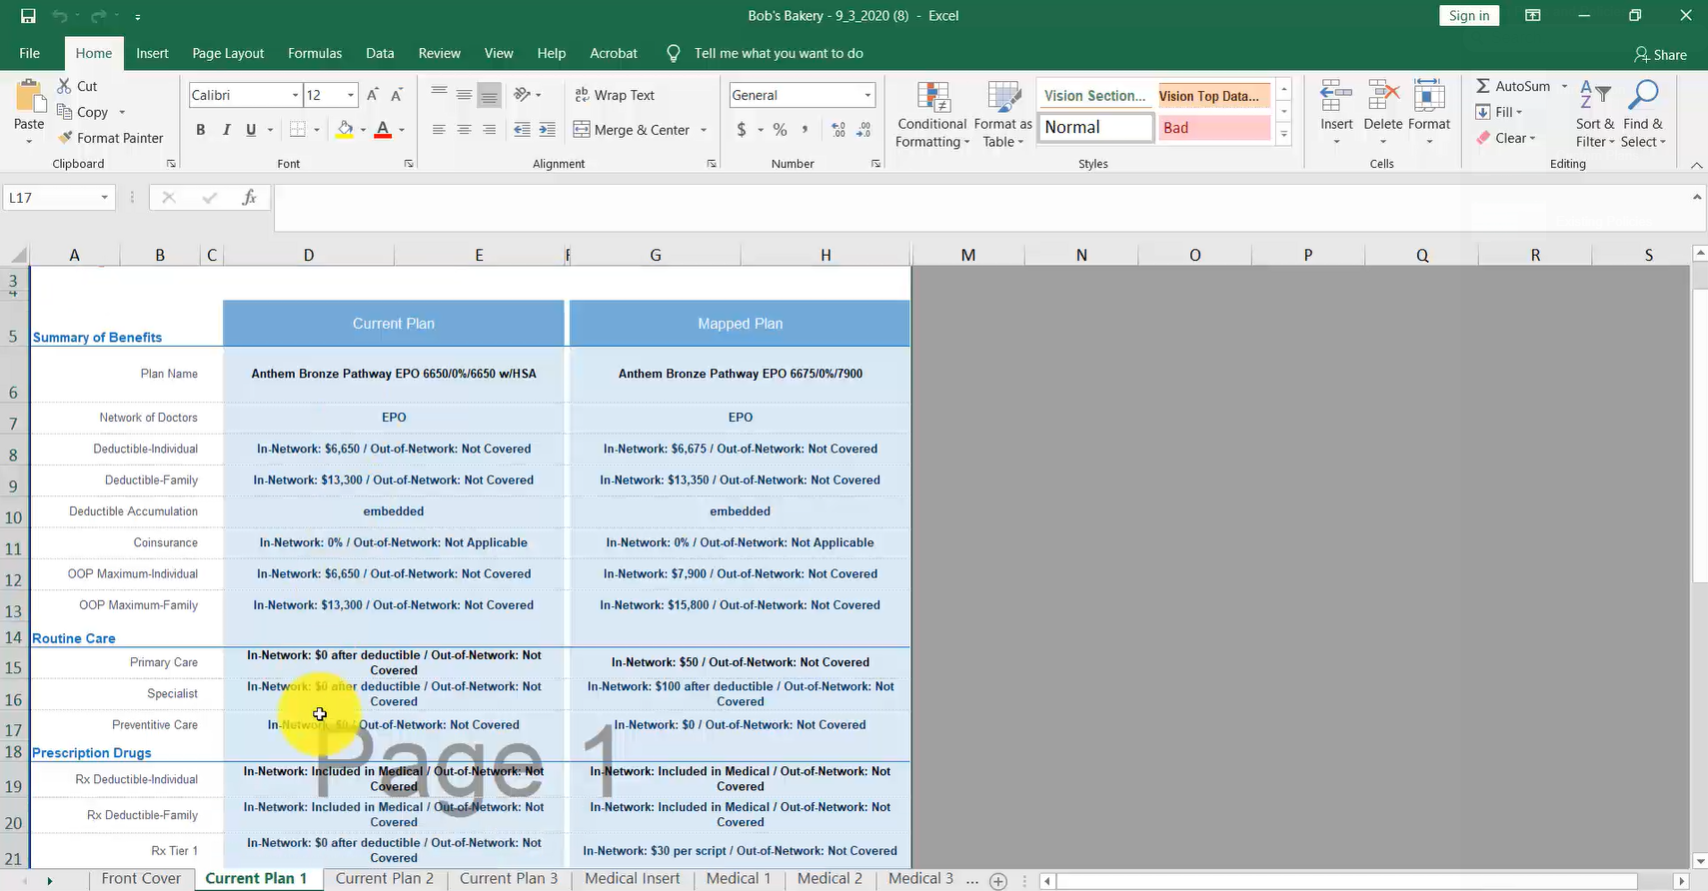
Click on the Current Plan 1 tab to view your Current Plan compared to your Mapped Plan.
Scroll down to see Employee Premium Information. Click File>Save As and select PDF to save the Proposal before sending to client.