Welcome to the Benelinx Workflow Process Series, which will take you through each phase of the sales & renewal process within the Benelinx system: Prepare, Propose, Present, and Update. Today, we’ll cover the Present Phase. You can watch the video or access step-by-step instructions below.
In the Present Phase, we’ll share the basics on how to Add Custom Plans, Add Current/Mapped Plans, Apply Contribution Strategies, and Generate a Proposal using Conga Composer.
Step-by-Step Instructions
Add Custom Plans
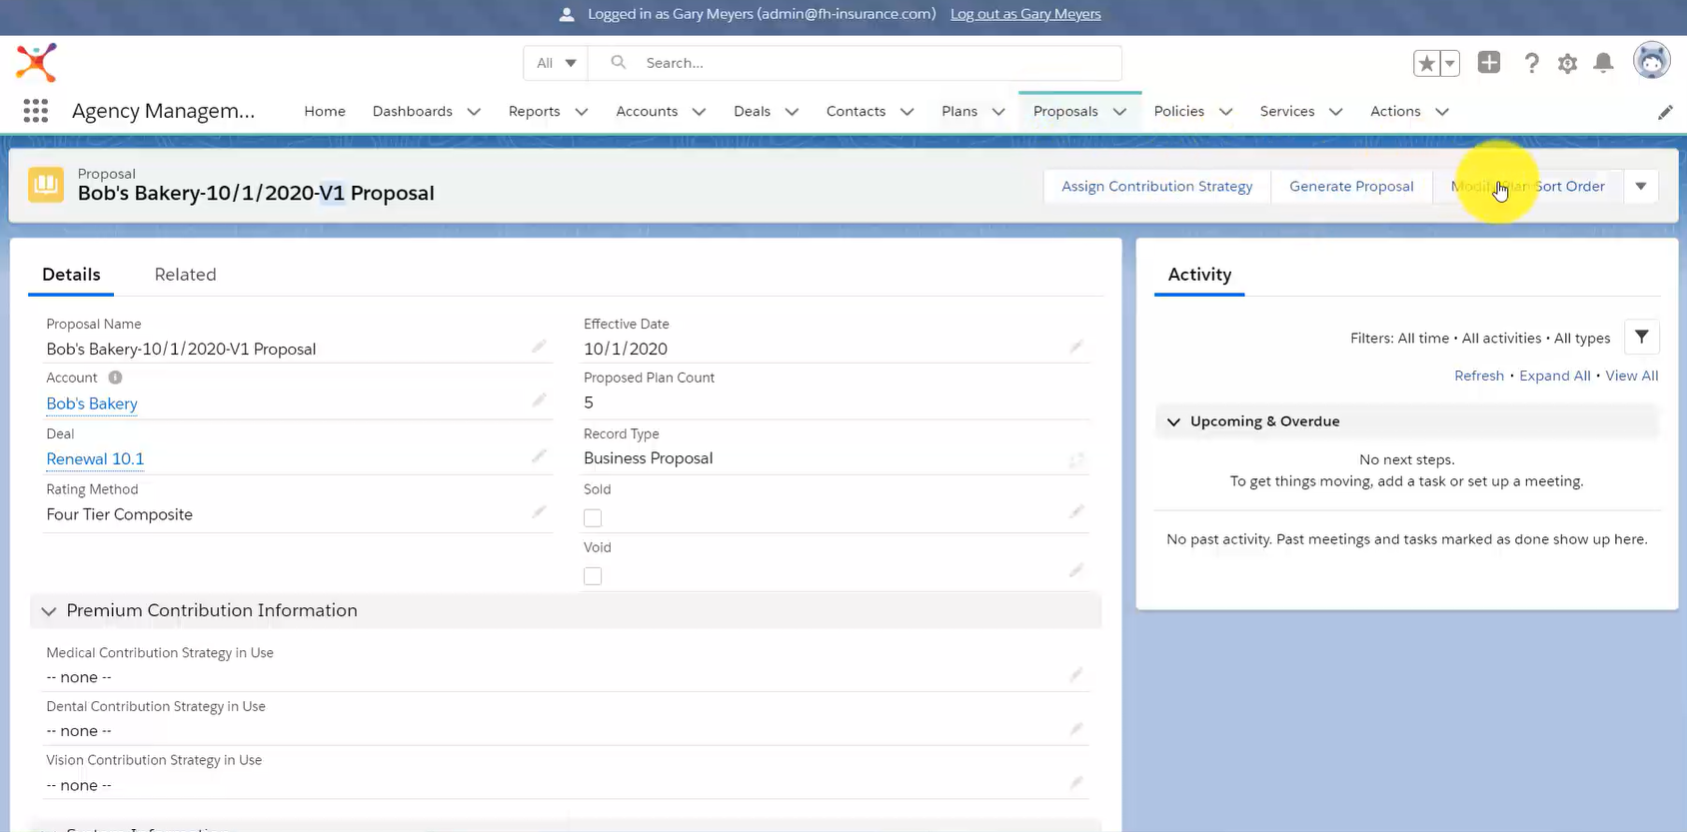
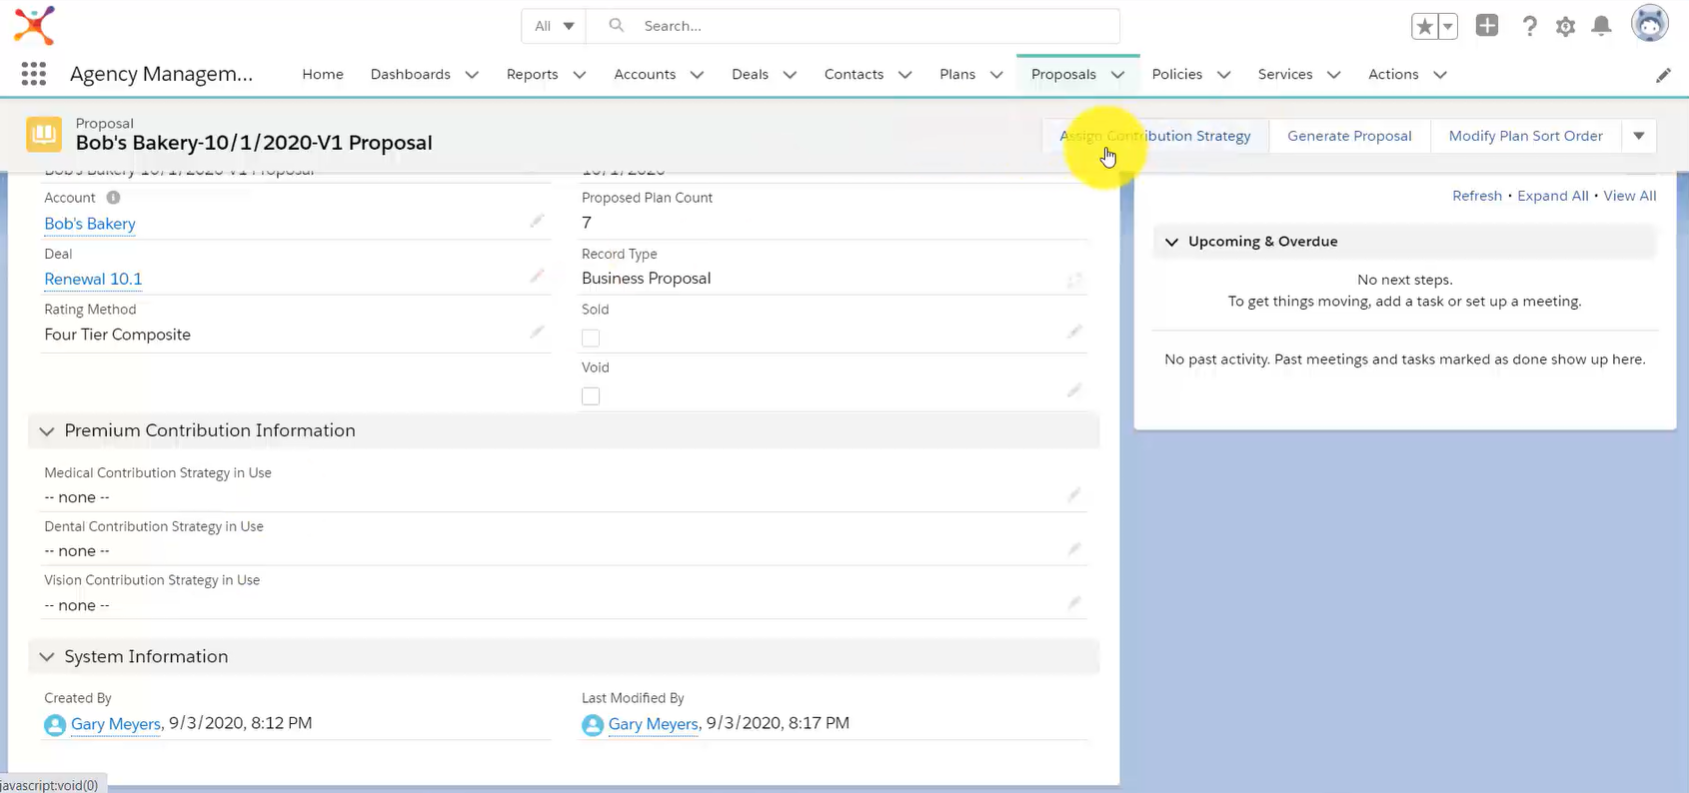
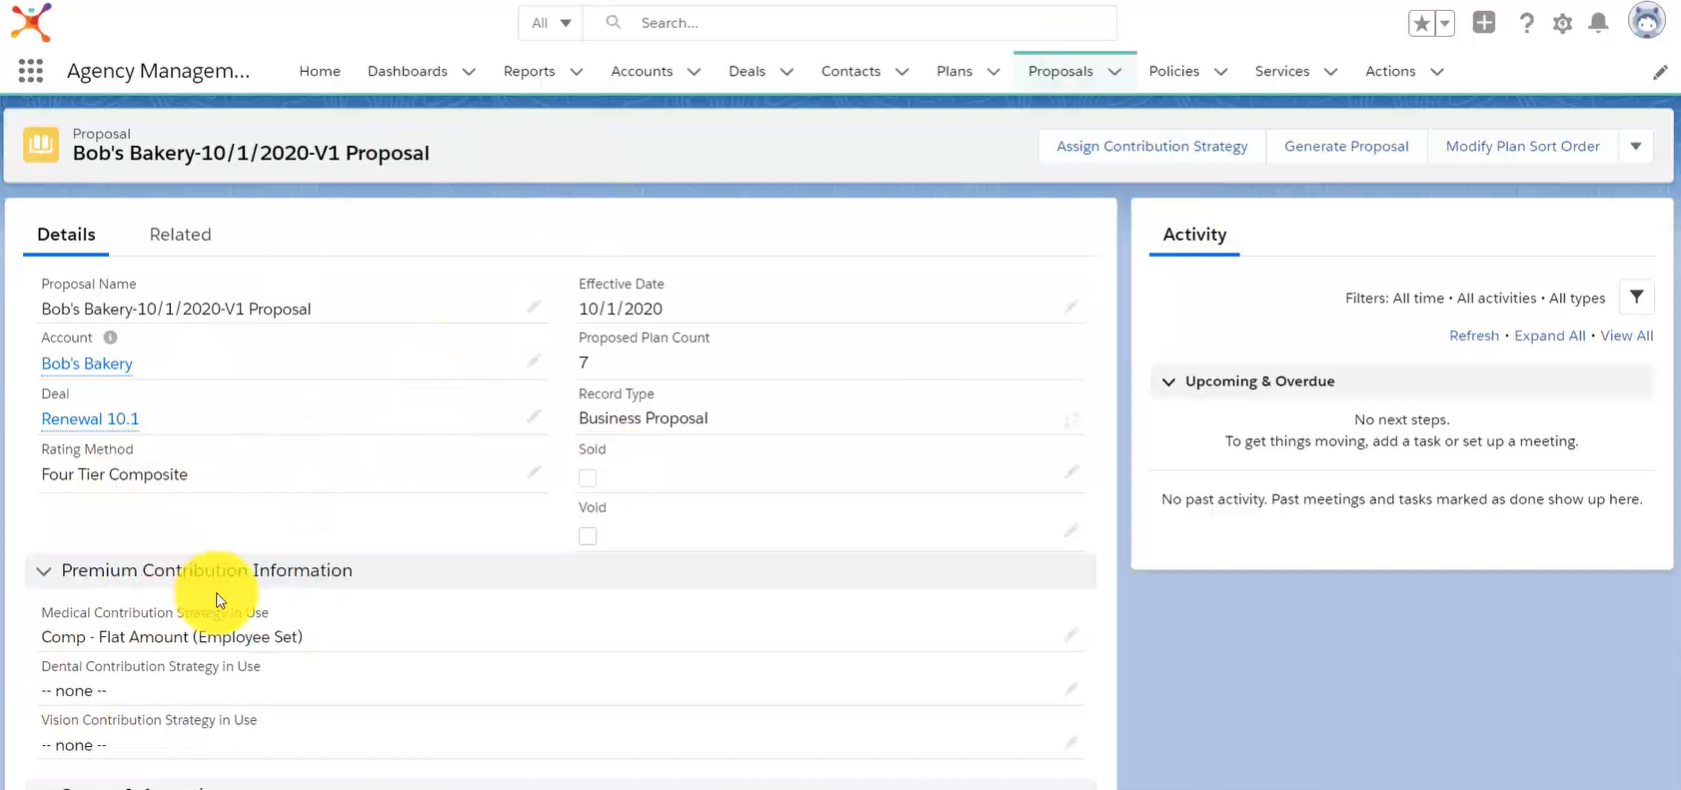
For an in-depth tutorial, see our post on Creating Custom Plans & Proposals. Your Proposal page tells you where a proposal is filed, what Account it is assigned to, the Rating Method, Effective Date, and Contribution Strategy. Custom Buttons within the Proposal Object allow you to Assign Contribution Strategy, Generate Proposal, and Modify Plan Sort Order.
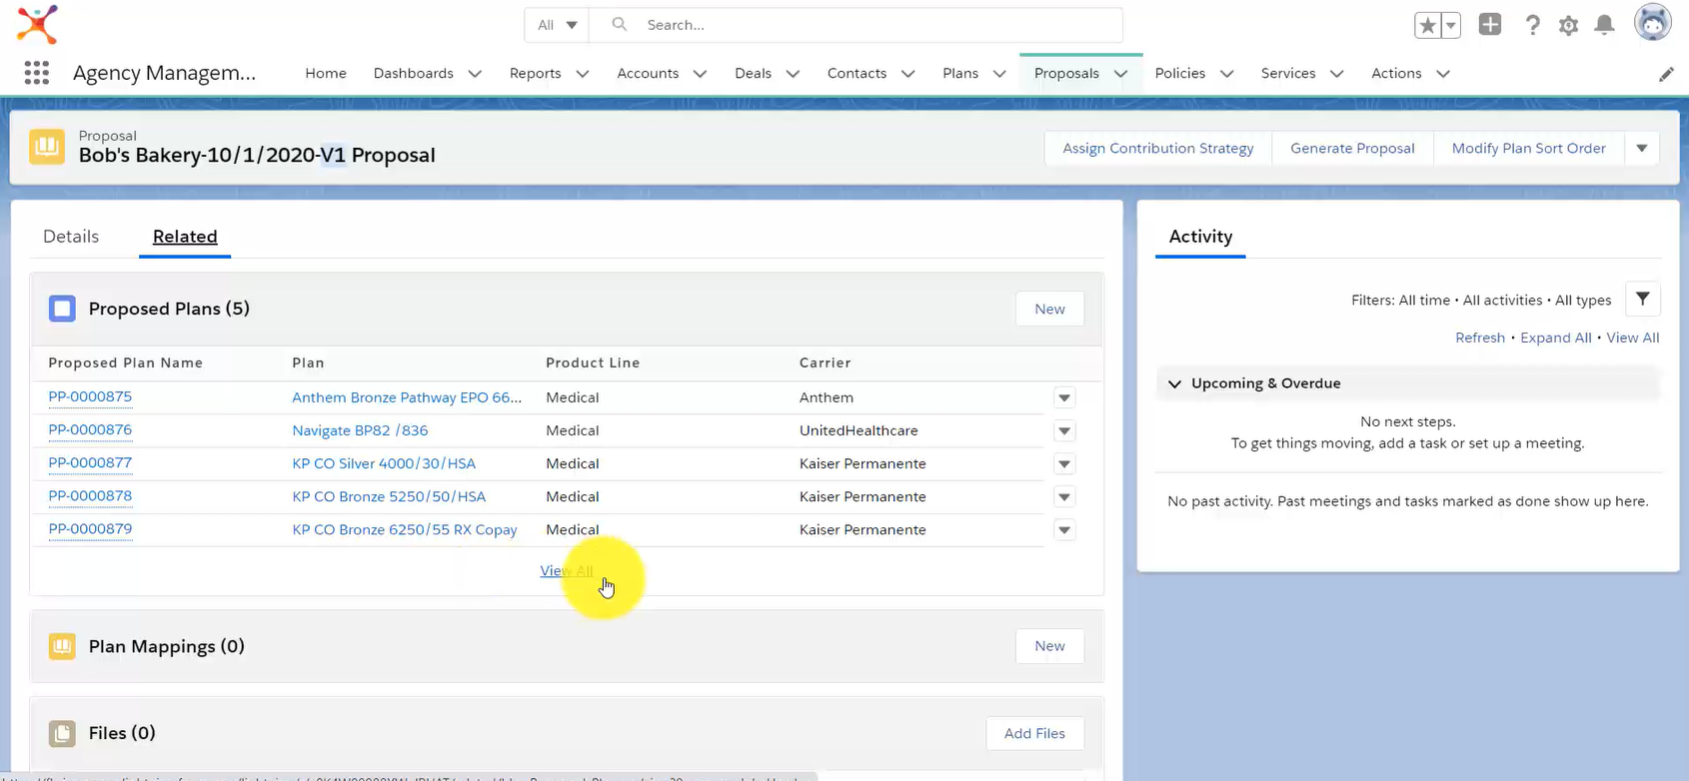
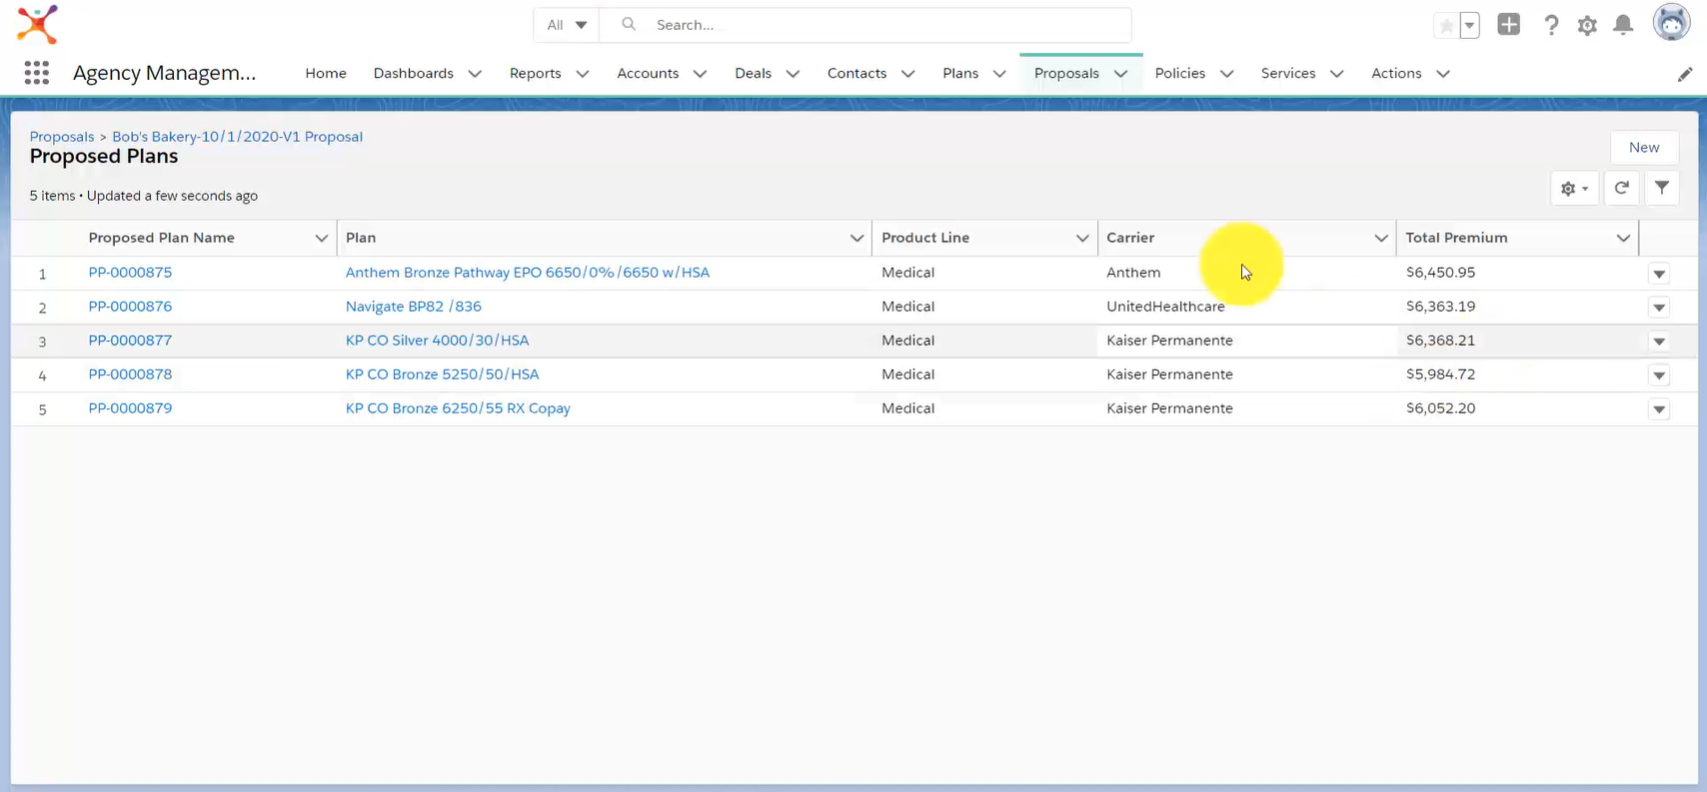
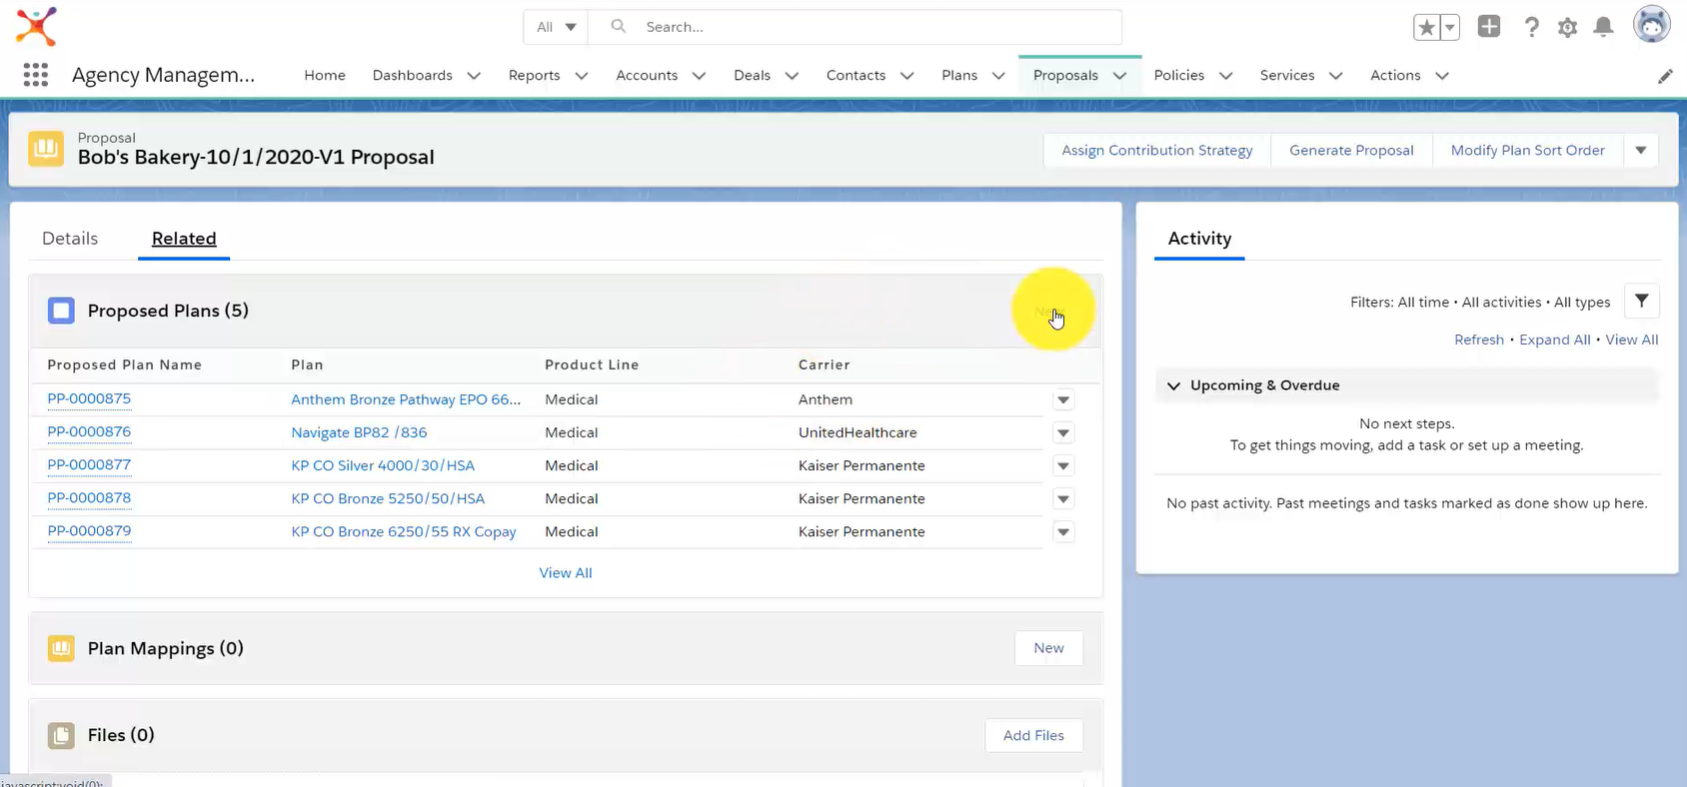
Within the Related section, you can see the Proposed Plans imported from the Quoting Engine. Click View All to see more information, including Plan Premiums, Carriers, etc.
To add a Custom Plan to the Proposed Plans section, click the New button.
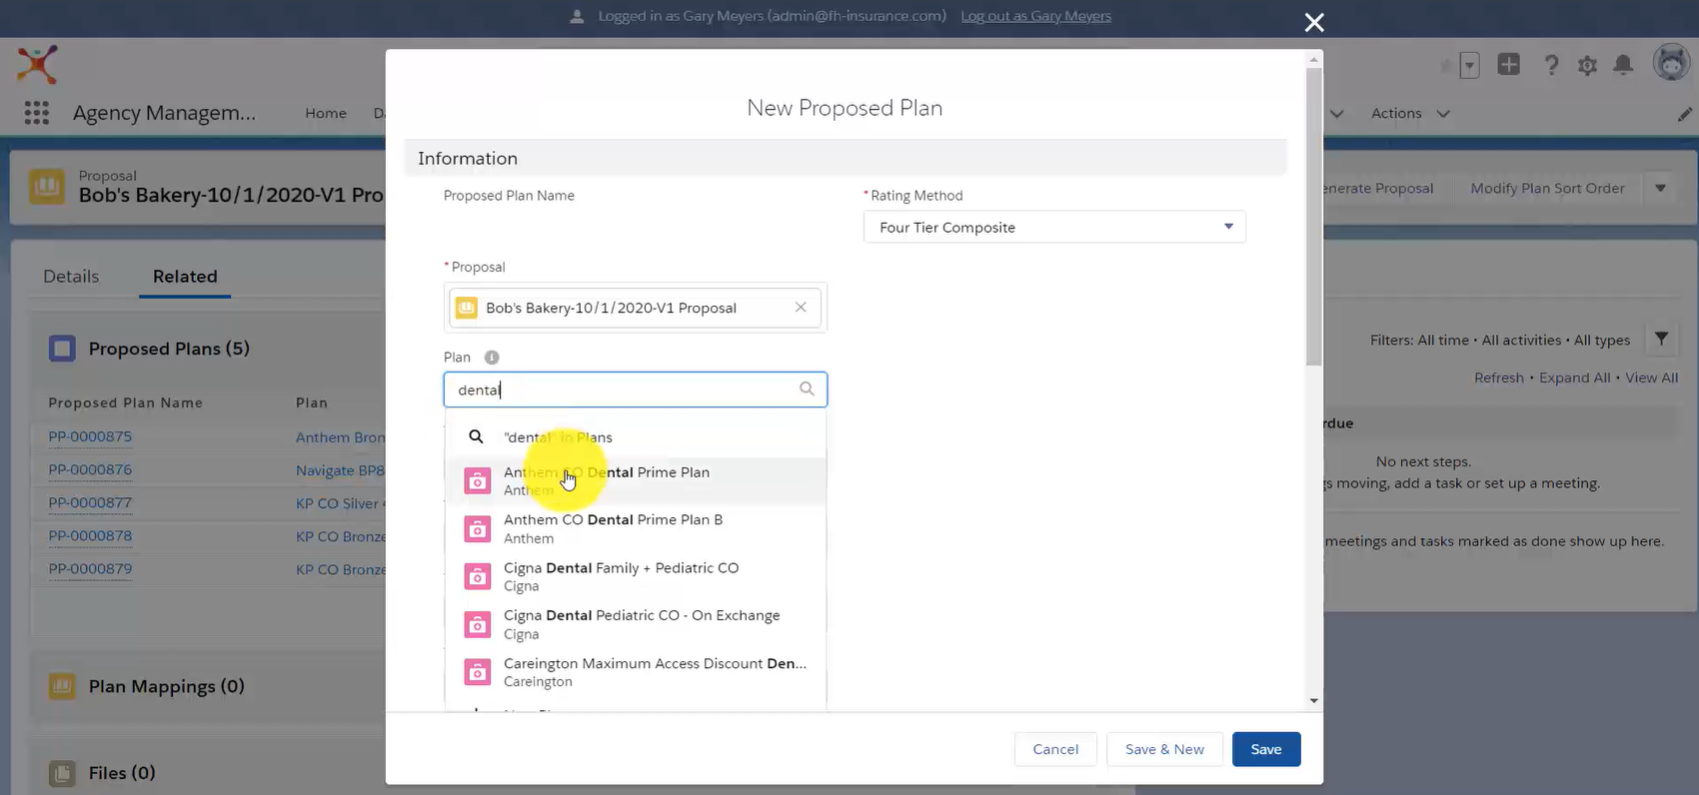
Complete required fields such as Rating Method and select your Custom Plan using the Plan Search Bar. Complete other fields such as Elections and Tiered Composite Premium fields as needed, then click Save.
You’ll now be able to access your Custom Plan under the Proposed Plans list. You can add custom Dental, Vision, Life and Health Insurance Plans using this tool.
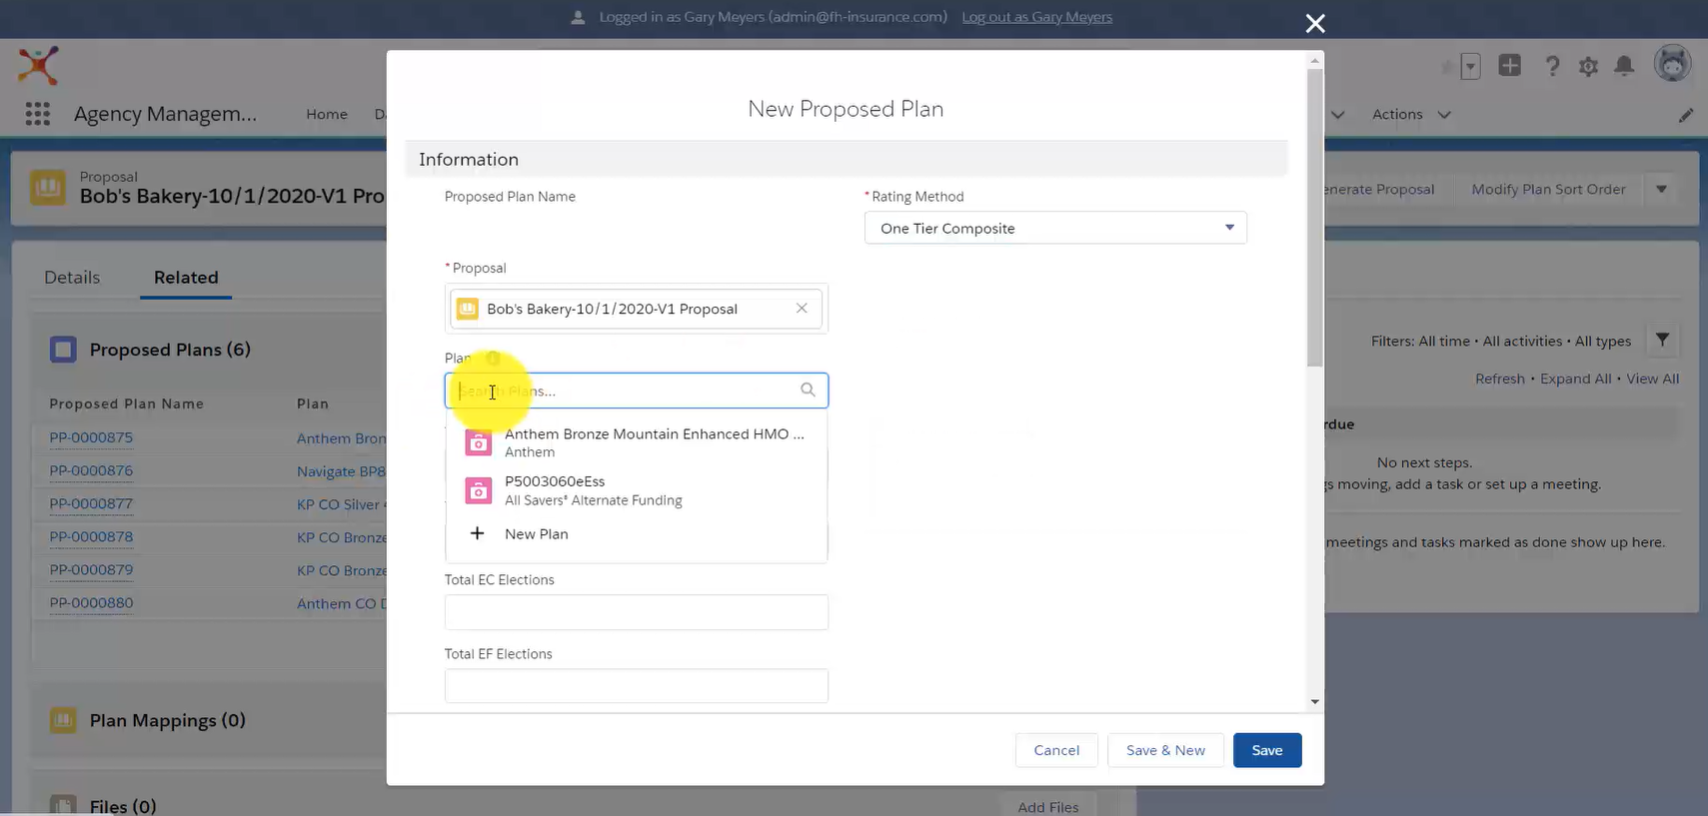
If you don’t have a prebuilt Plan, you can build your own Custom Plan. Under the Plan Search Bar, click the + New Plan button.
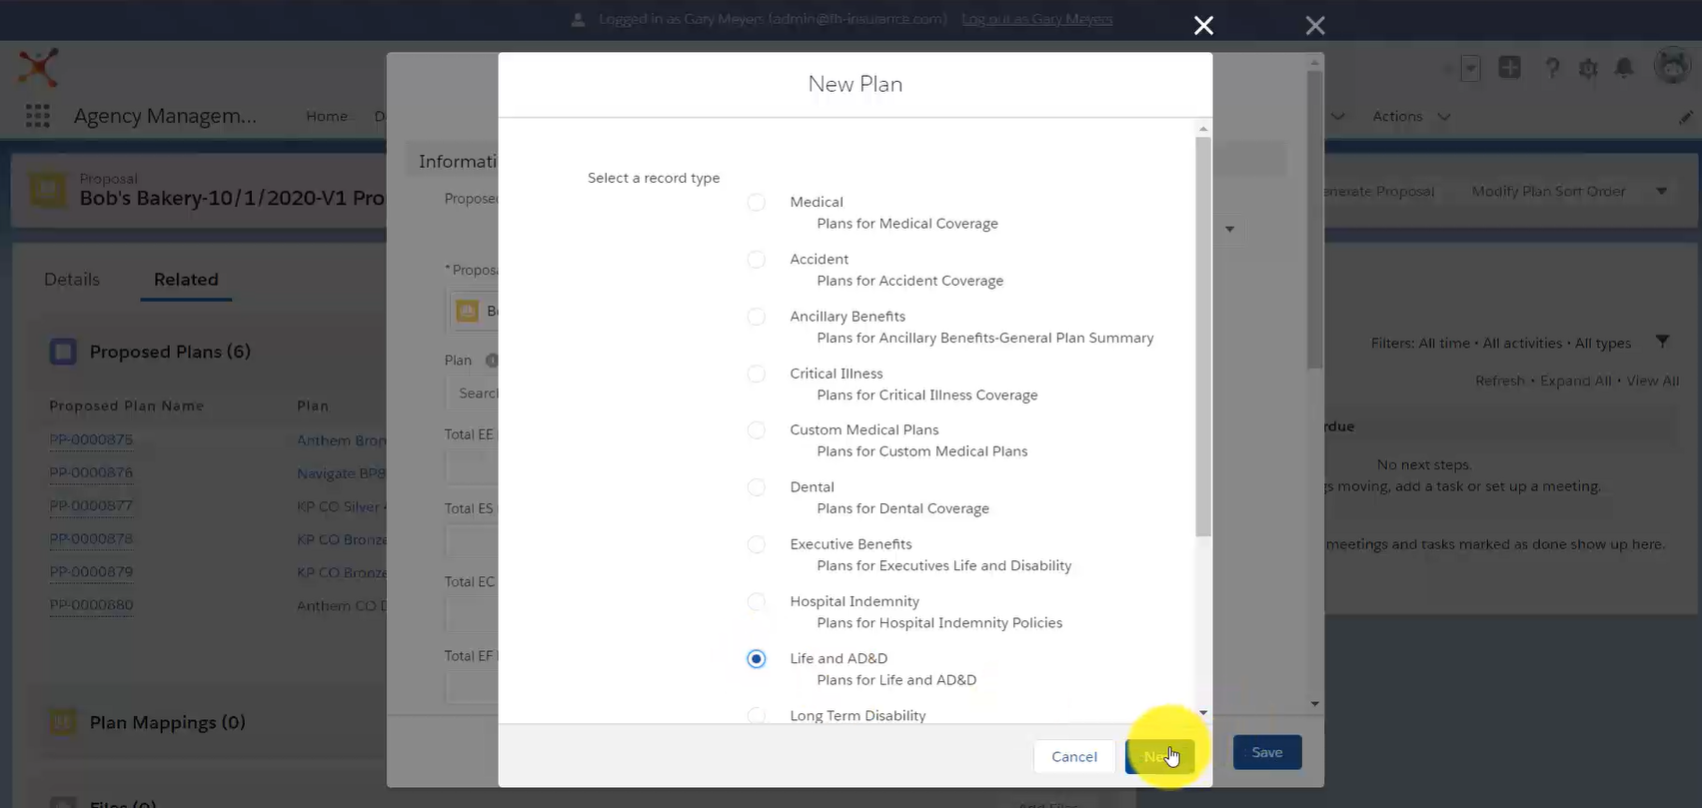
Select your desired Record Type, then click Next.
Complete all required fields and use optional fields as desired, then click Save.
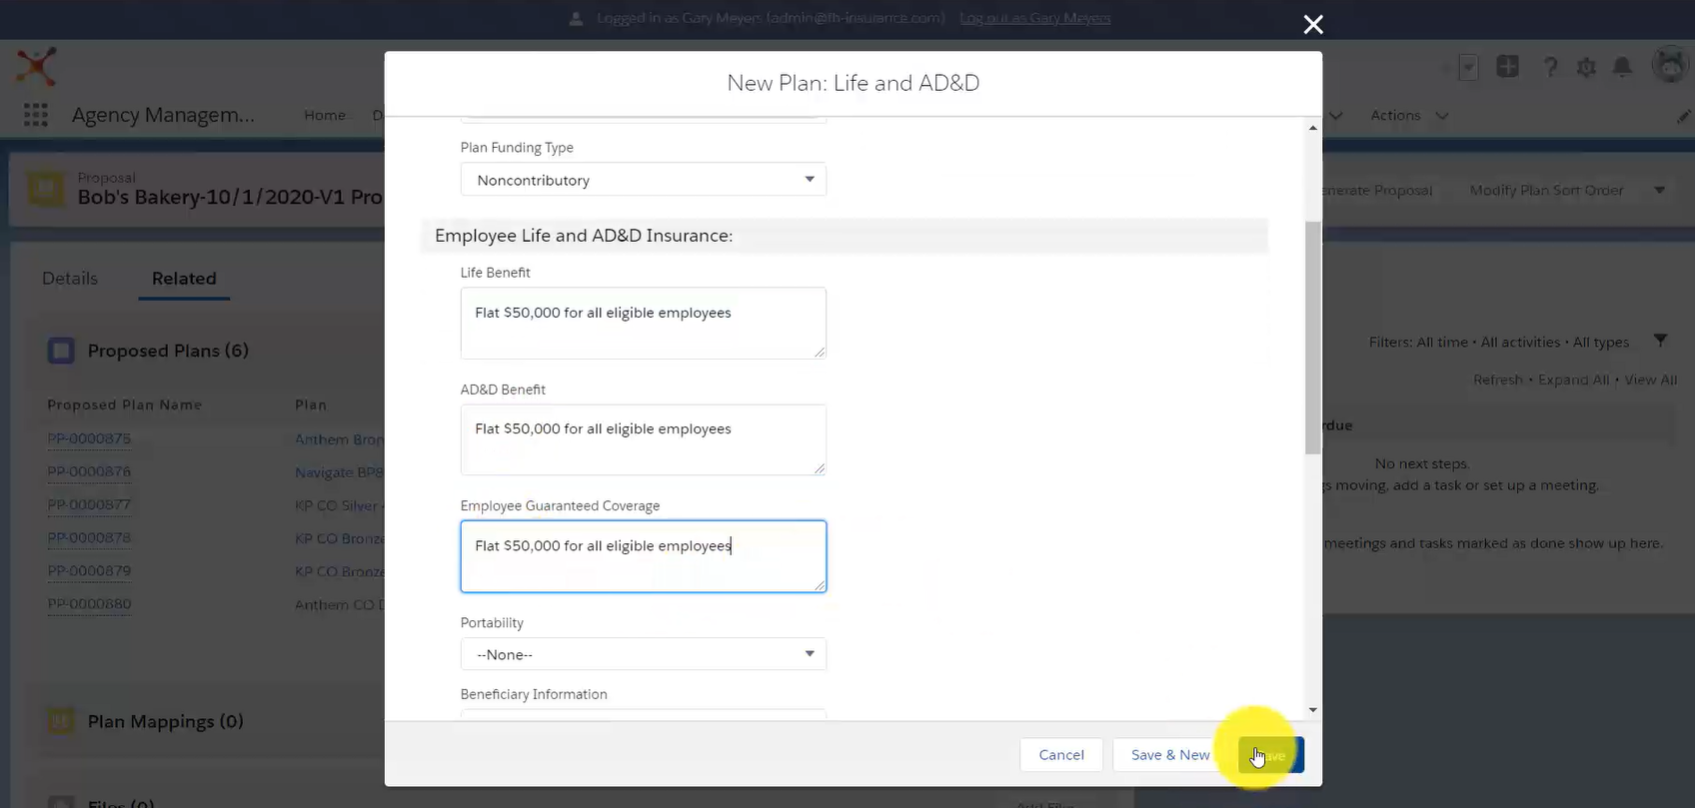
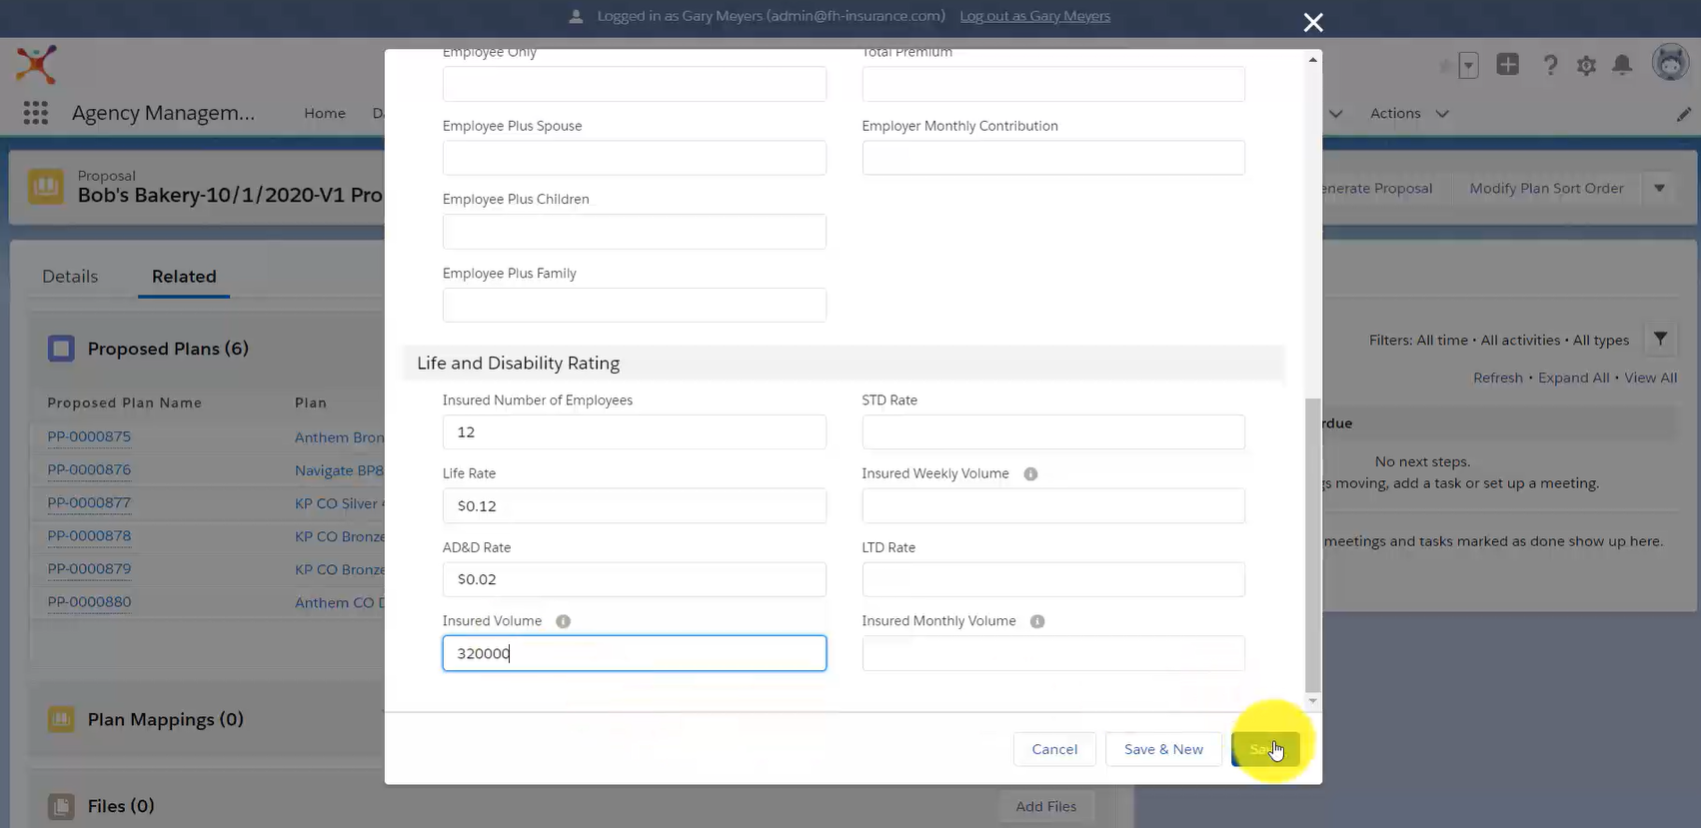
Once your Custom Plan has been created, complete related fields. For a Life Insurance Plan, this would include Insured Number of Employees, Life Rate, AD&D Rate, and Insured Volume. Once you’ve completed all relevant fields, click Save.
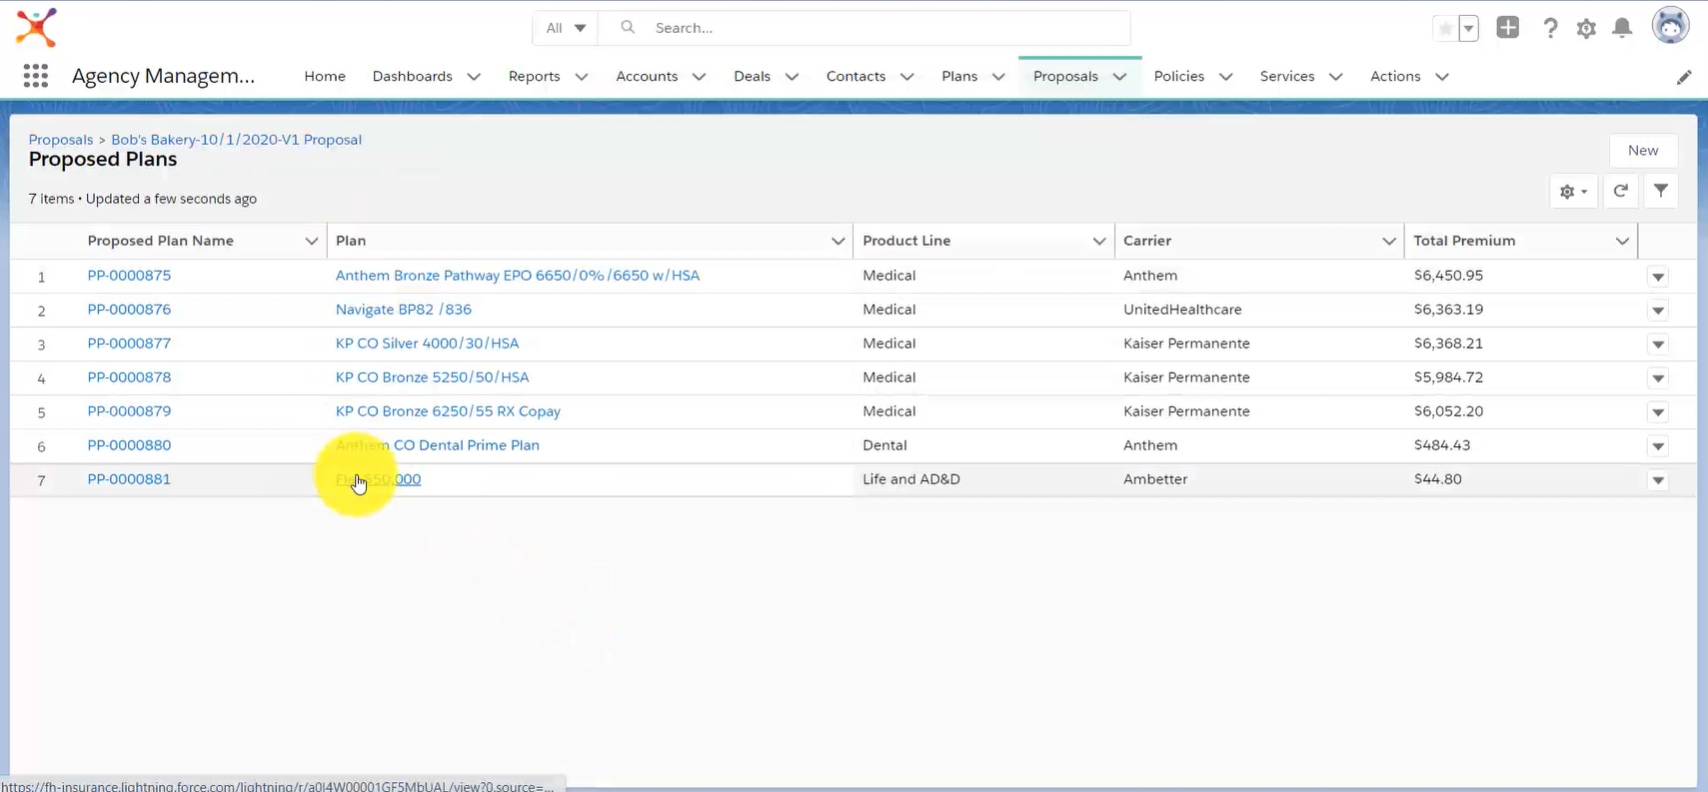
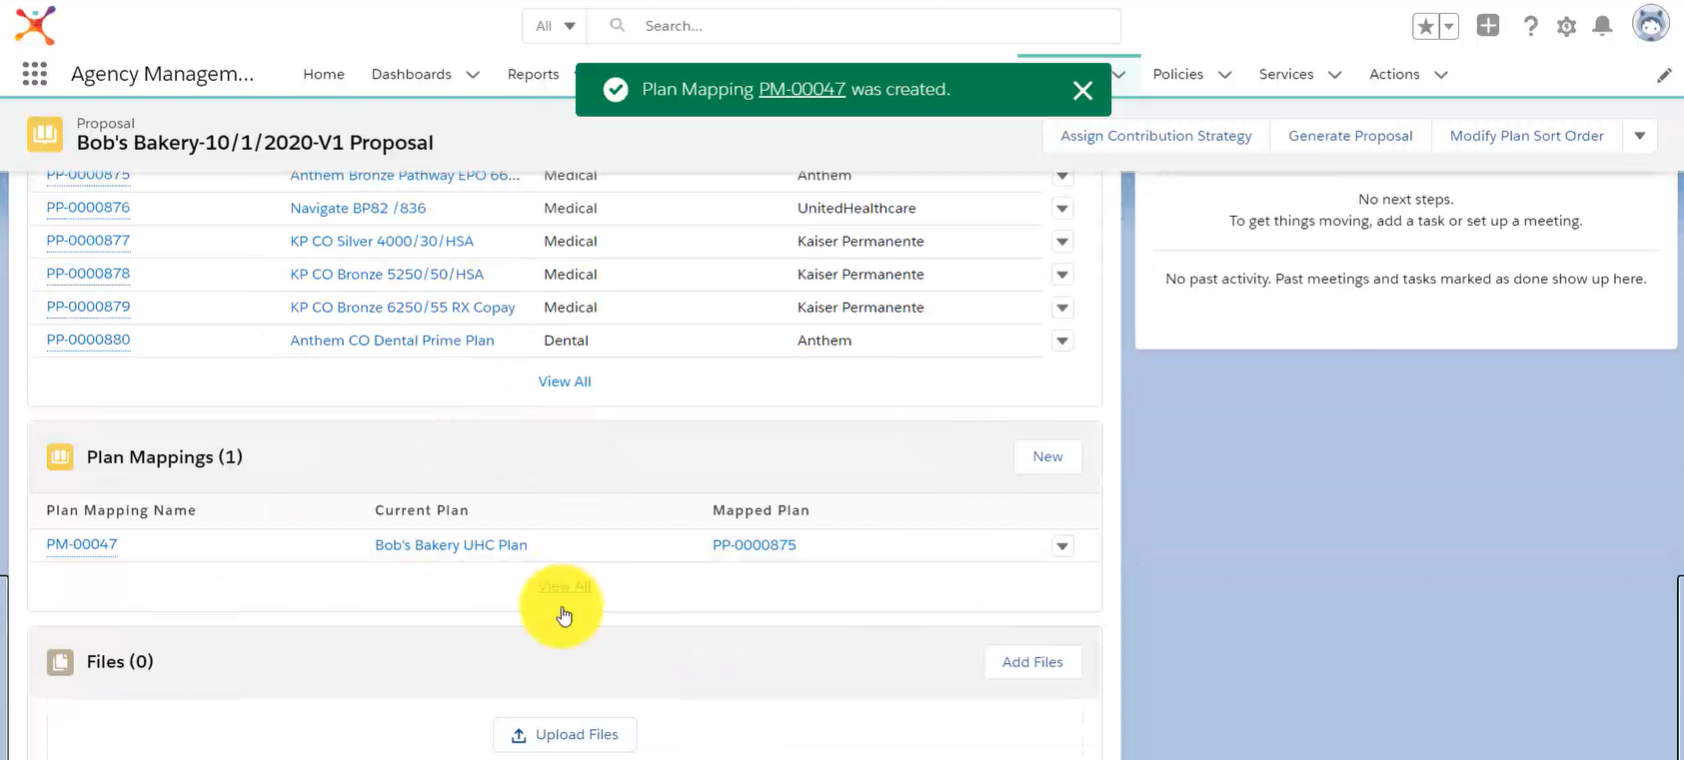
To view your Custom Plan, click View All under the Proposed Plans section. It will show up in your Proposed Plan list.
Add Current/Mapped Plans
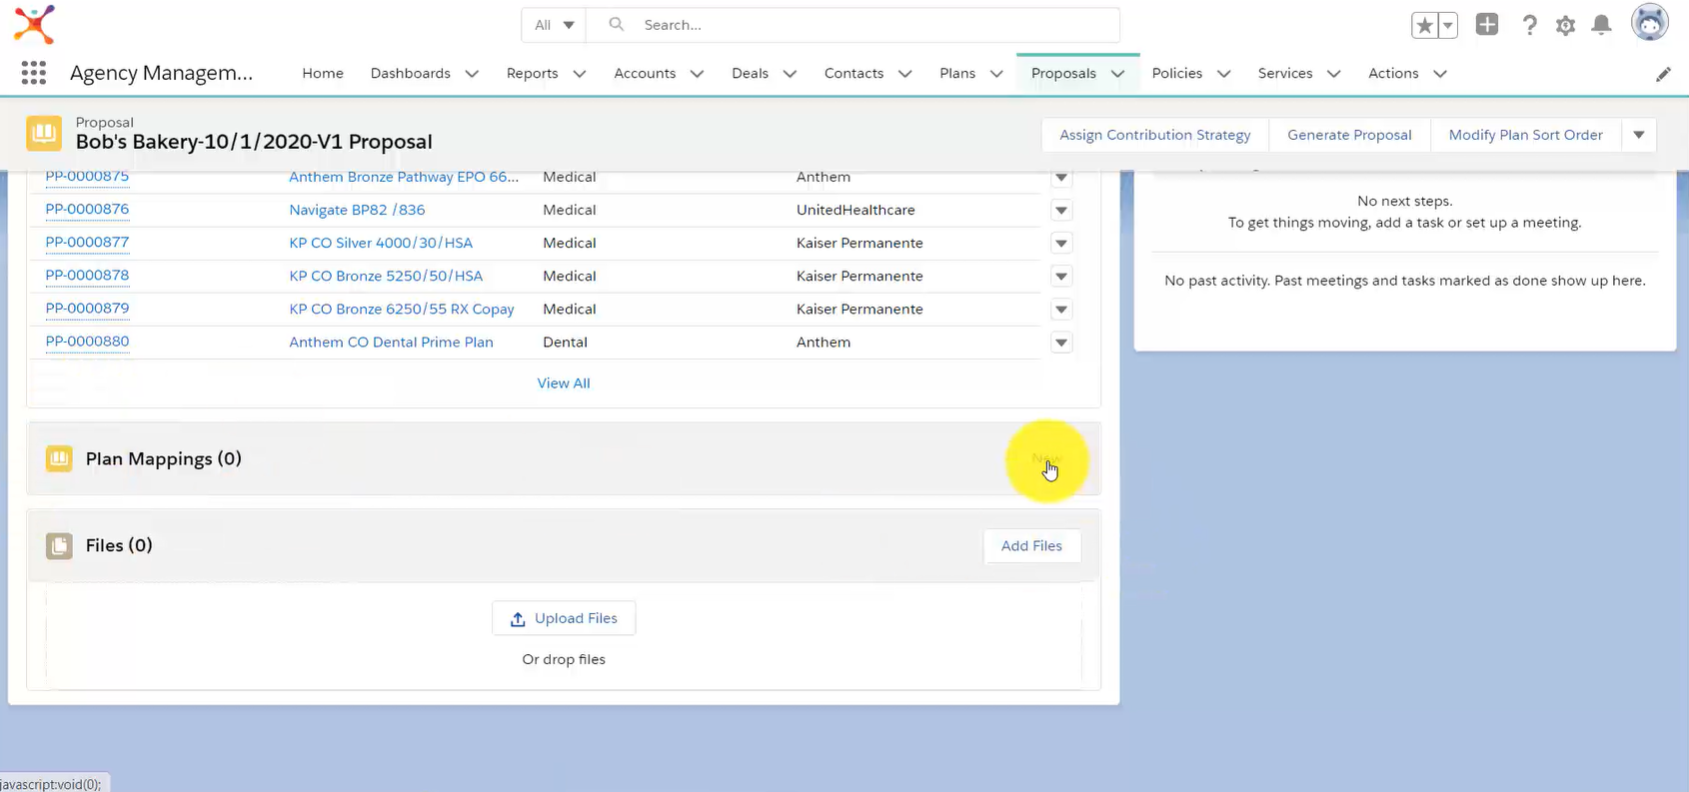
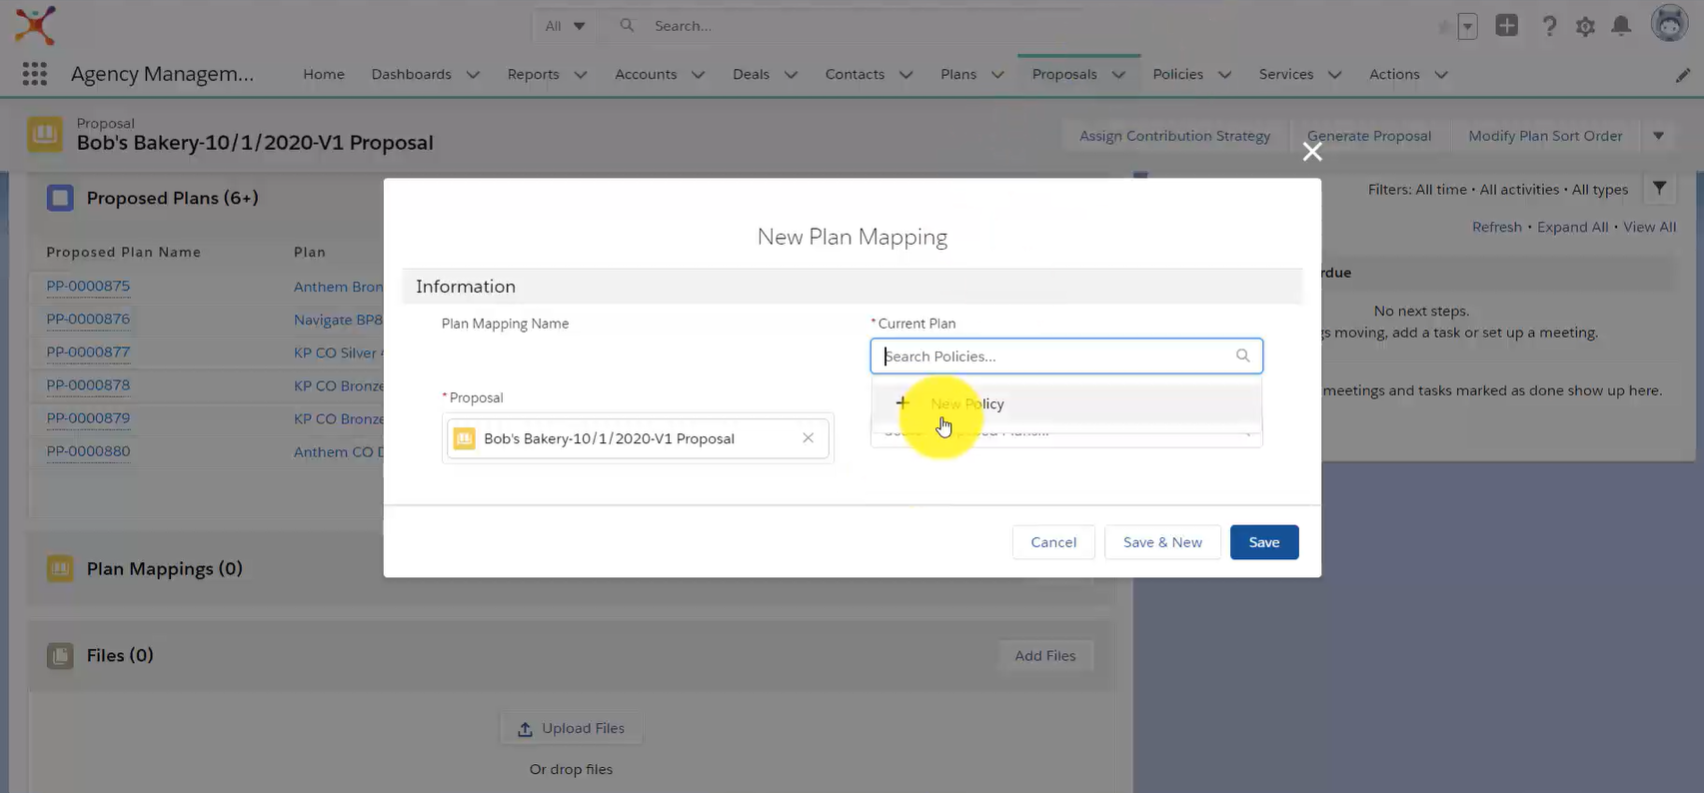
Navigate to the Plan Mappings section within your Proposal page, then click New.
Click + New Policy to create a New Policy.
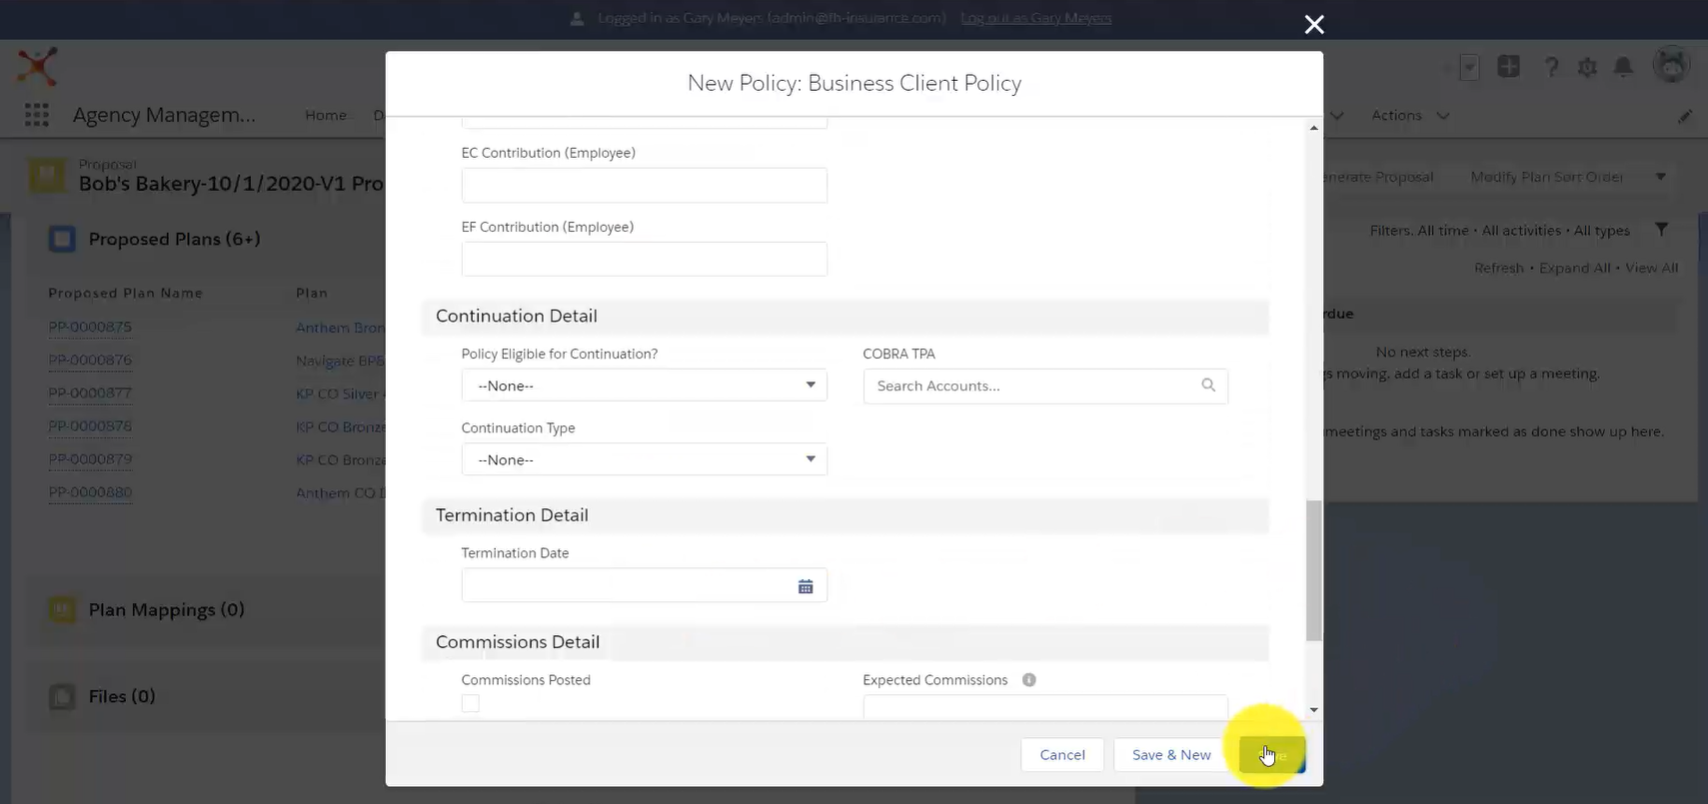
Select your Record Type, then click Next.

Complete all required fields and attach the Policy to the appropriate Account, Carrier, Plan, etc. Click Save.
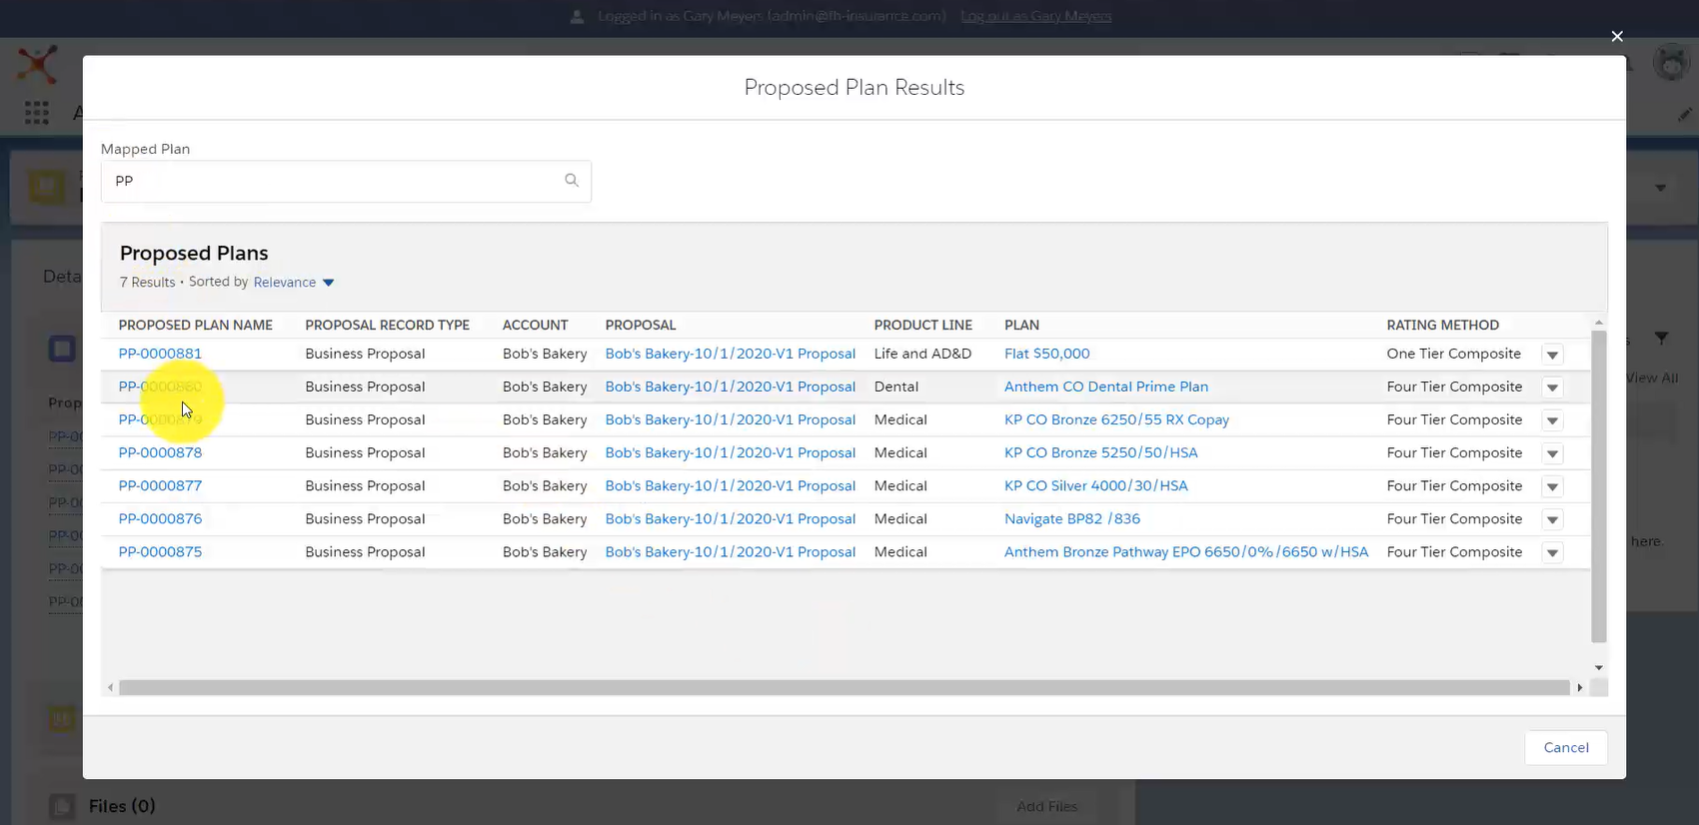
You’ve now created a Current Plan to compare to your Mapped Plan. Select a Proposed Plan using the Mapped Plan Search Bar, then select your desired plan from the popup menu.
Click Save once the correct Current and Mapped Plans have been selected.
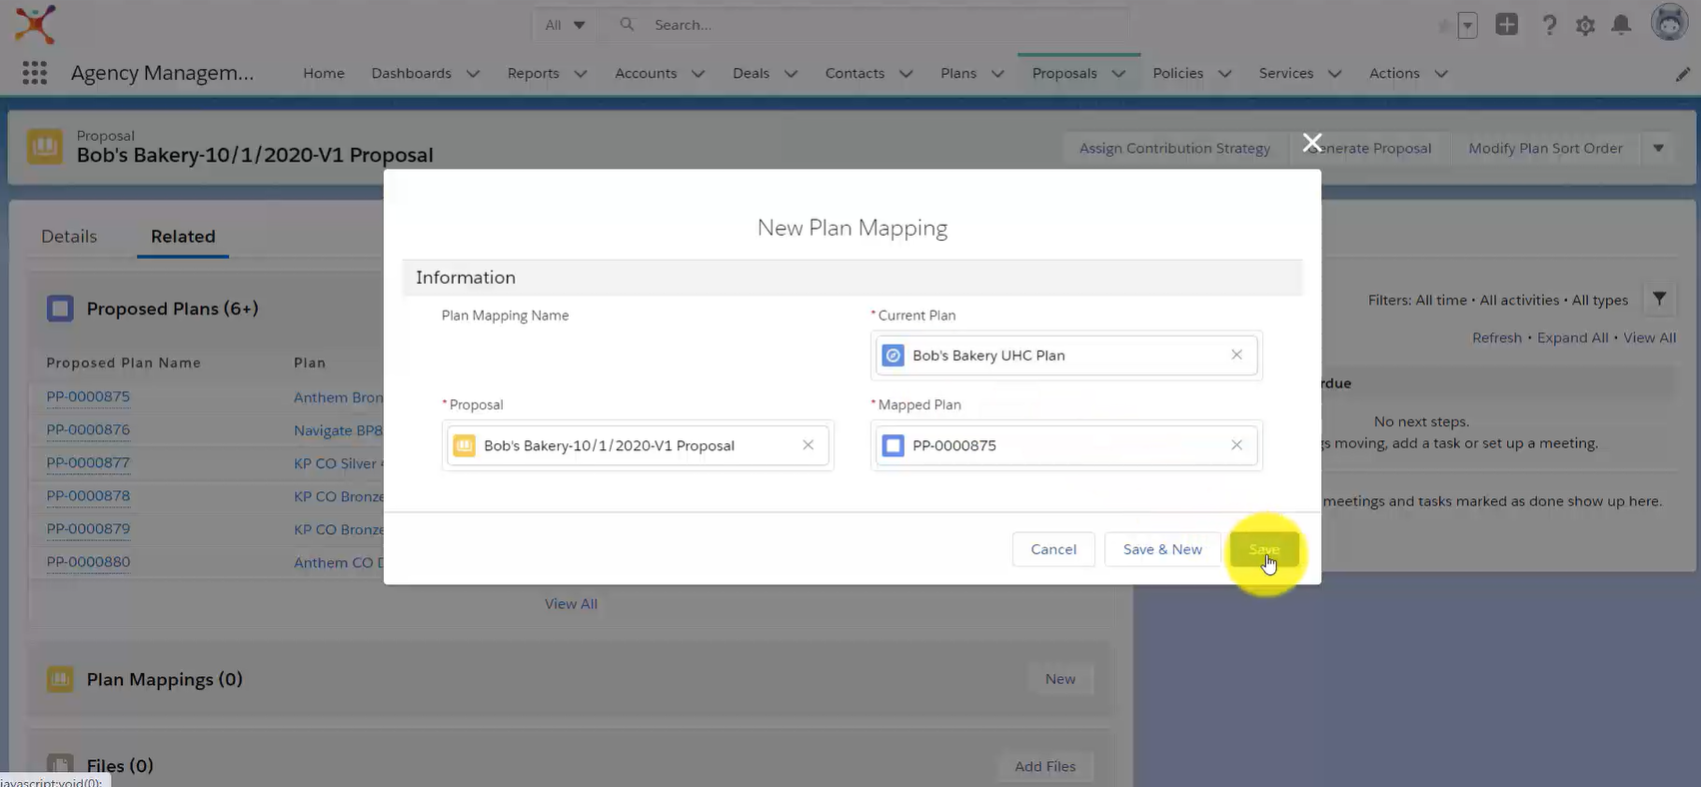
You can add up to three Current and three Mapped Plans in the Plan Mapping Section.
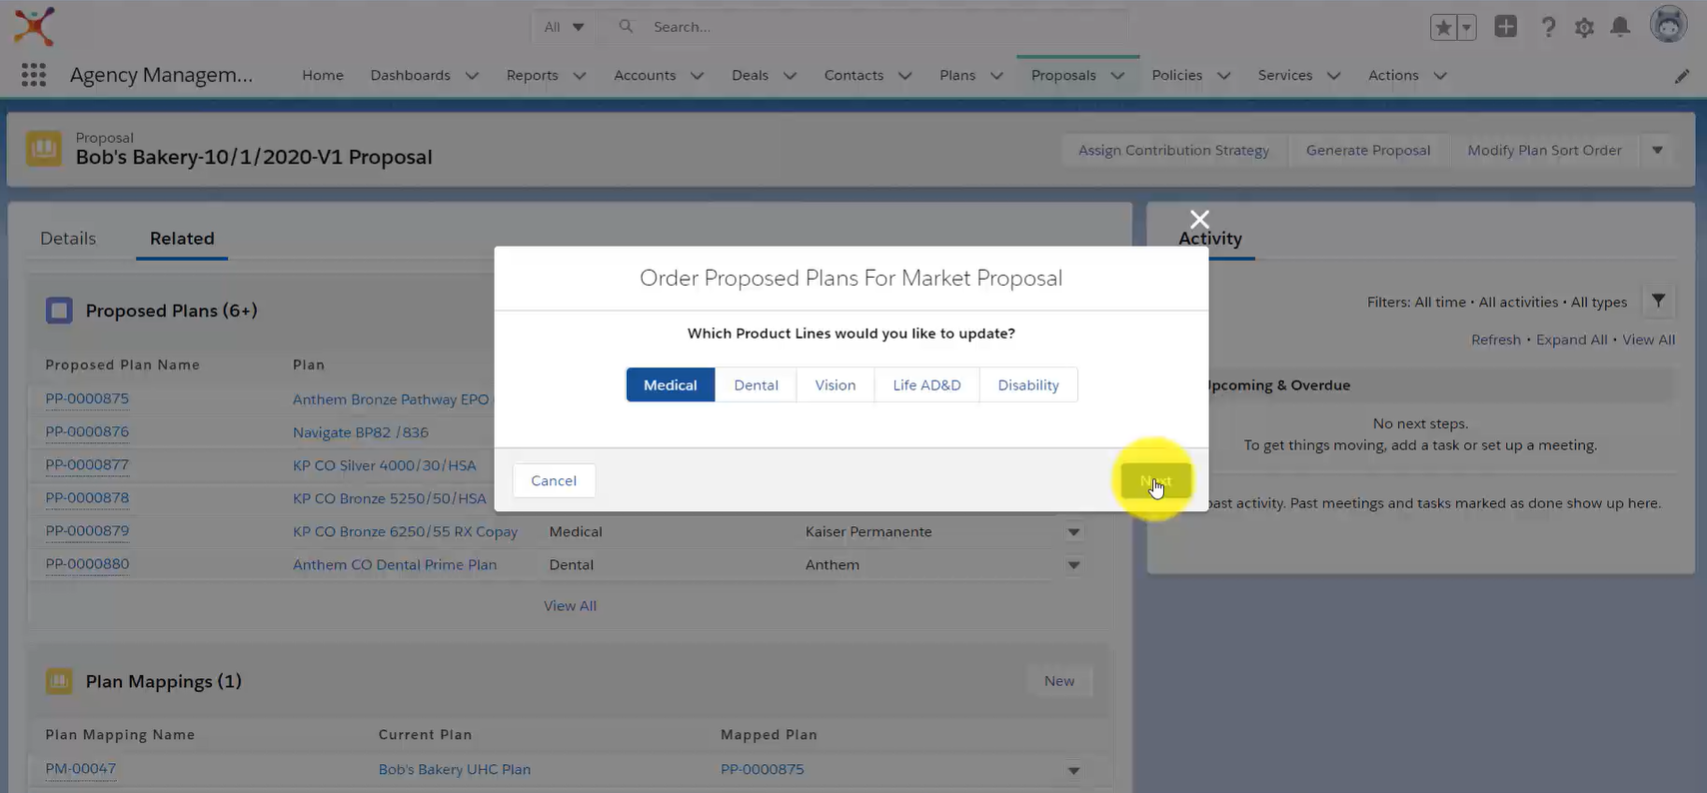
To modify your Plan order, click on the Modify Plan Sort Order button on the right hand side of the platform.

Select the Product Lines you would like to update, then click Next.
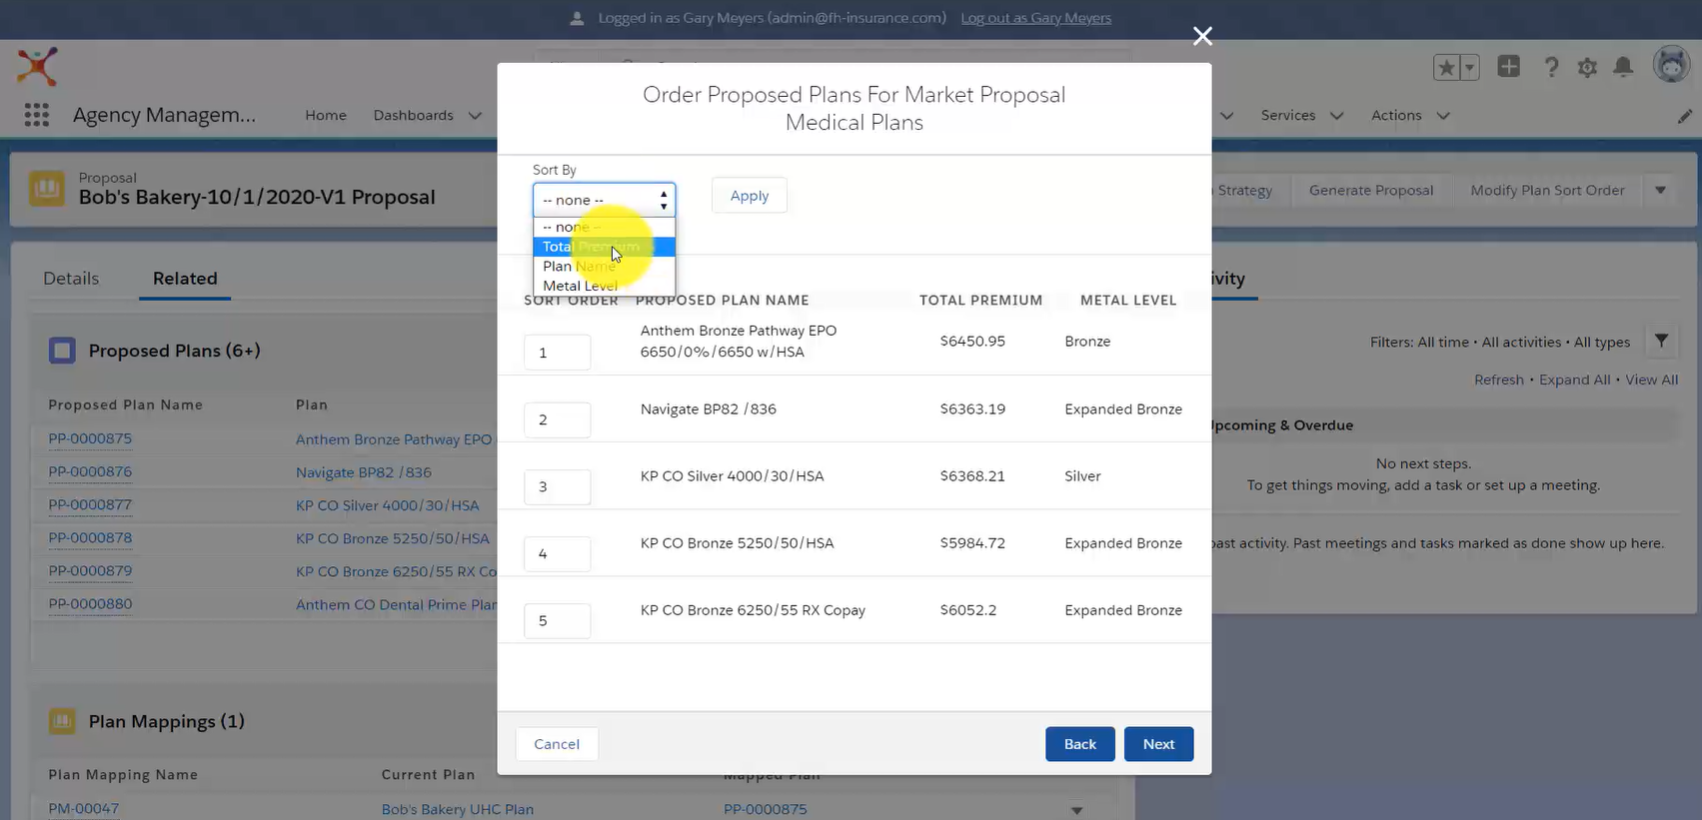
Click on the Sort By dropdown menu and select your desired filter. You can order Plans by Total Premium, Plan Name and Metal Level.
Click on Sort Direction to select either Low-High or High-Low, then click Apply.
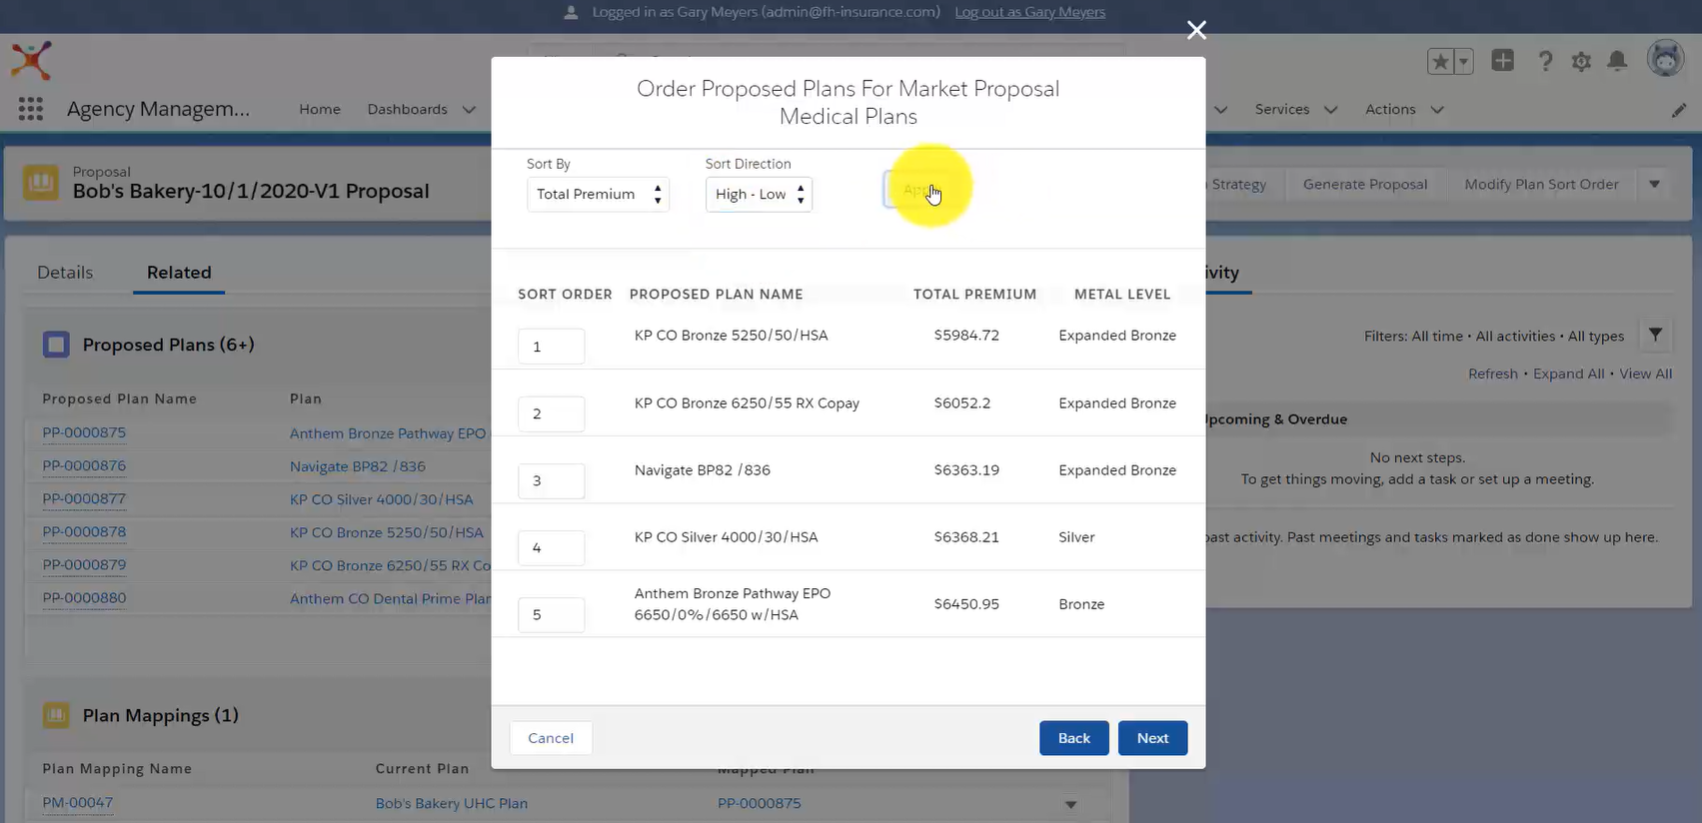
You can also manually change the Sort Order by editing the numbers to the left of each plan. Once you’ve identified the correct Plan Order, click Next.
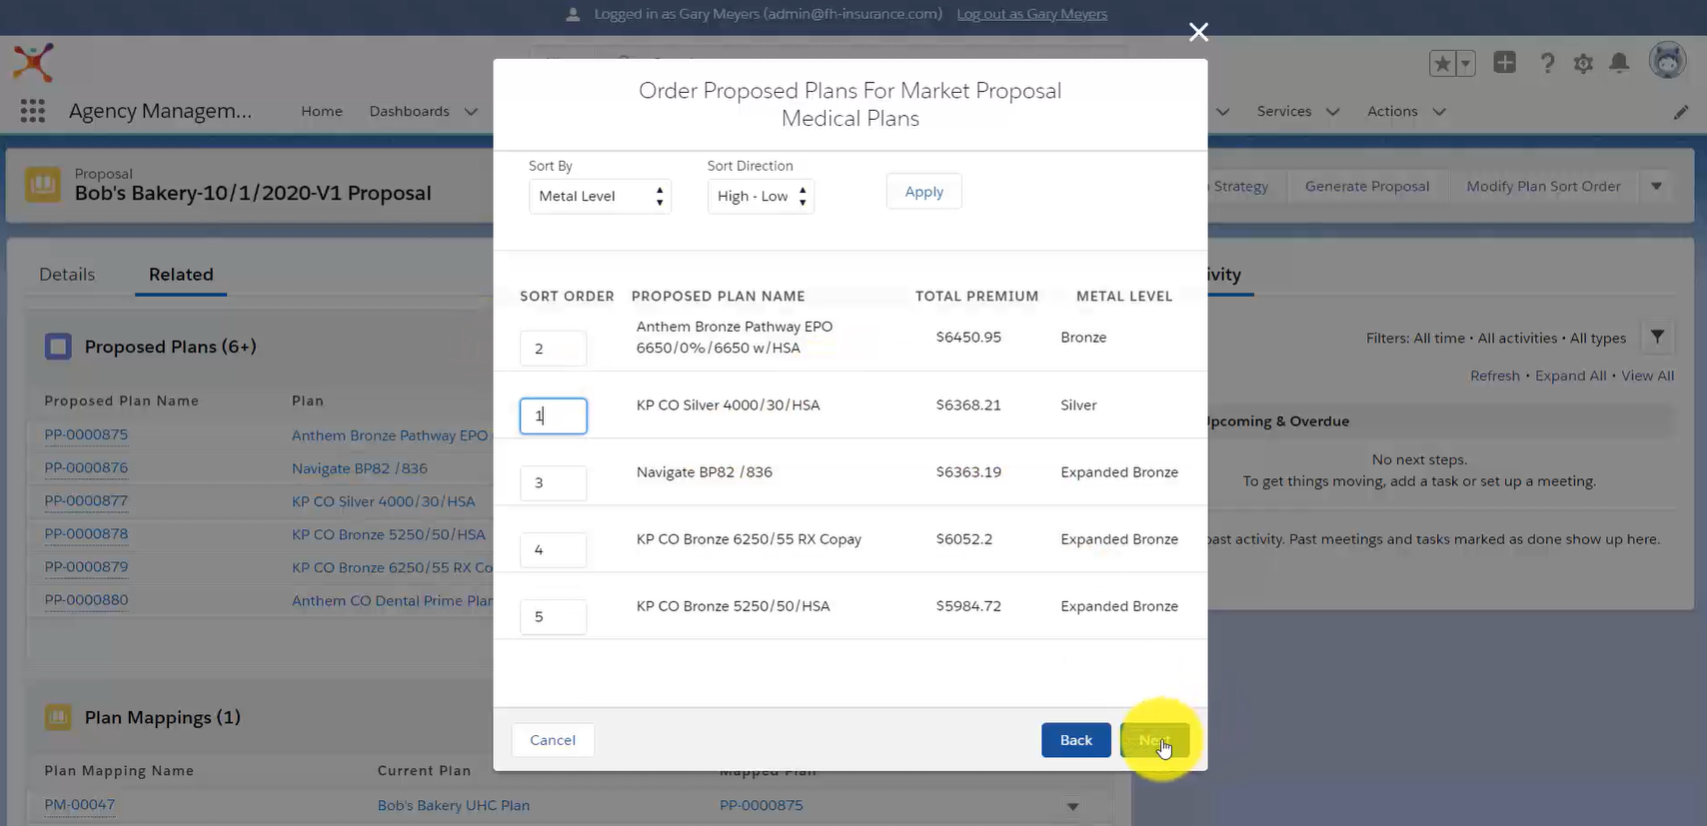
Review the Sort Order. If you need to make changes click Back to edit. Once your Sort Order is correct, click Save.

Apply Contribution Strategies
Click the Assign Contribution Strategy button in the right hand corner under the Navigation Bar.
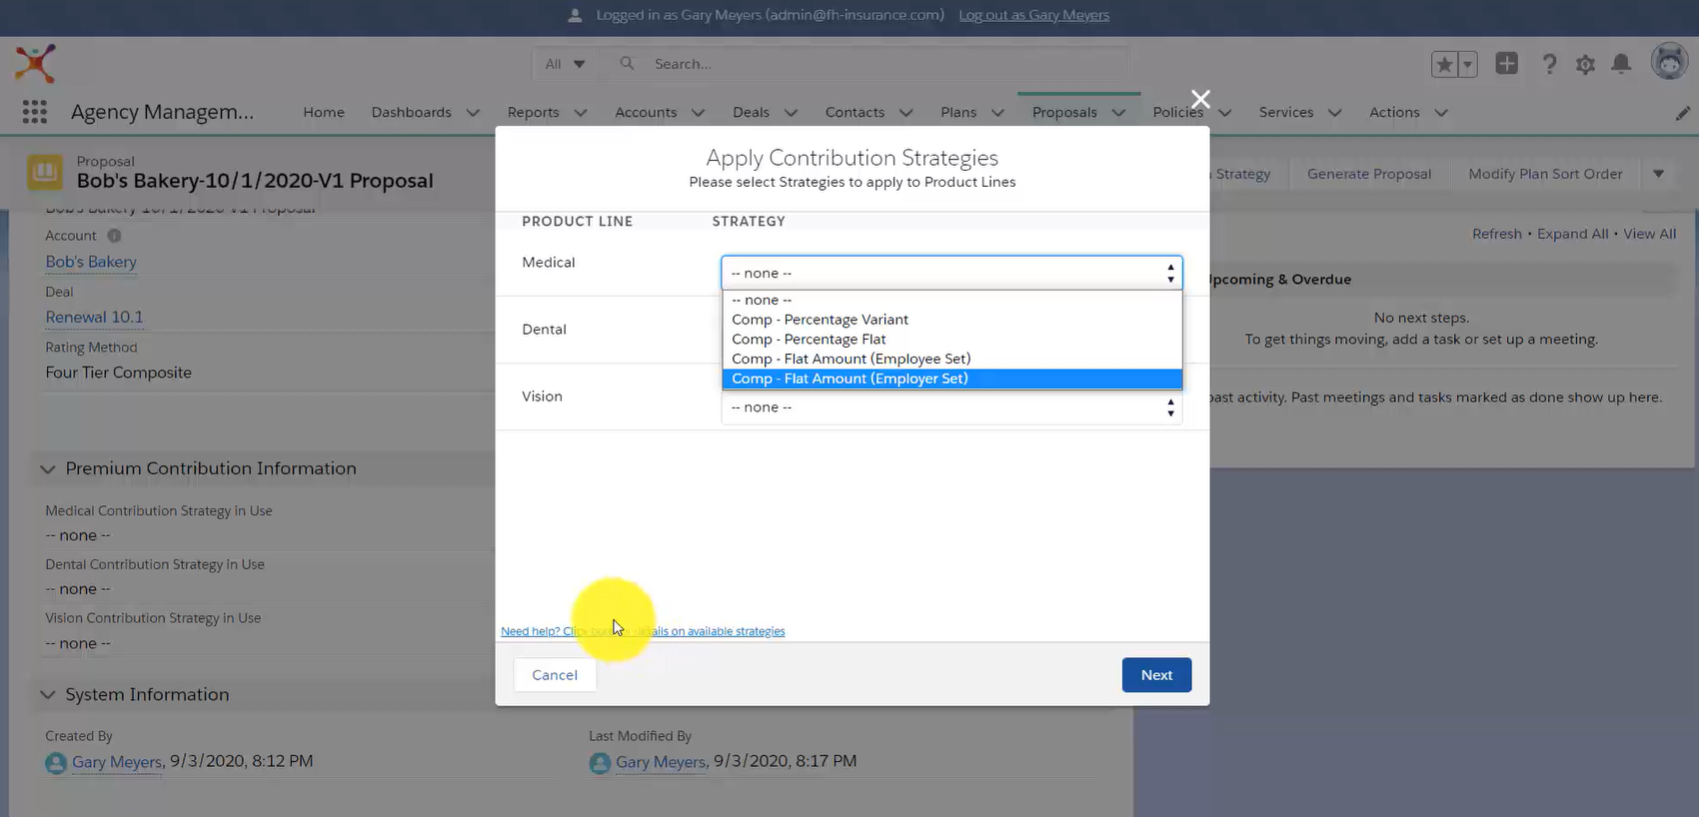
Within the popup menu, select the Contribution Strategy to apply to each Product Line, then click Next.
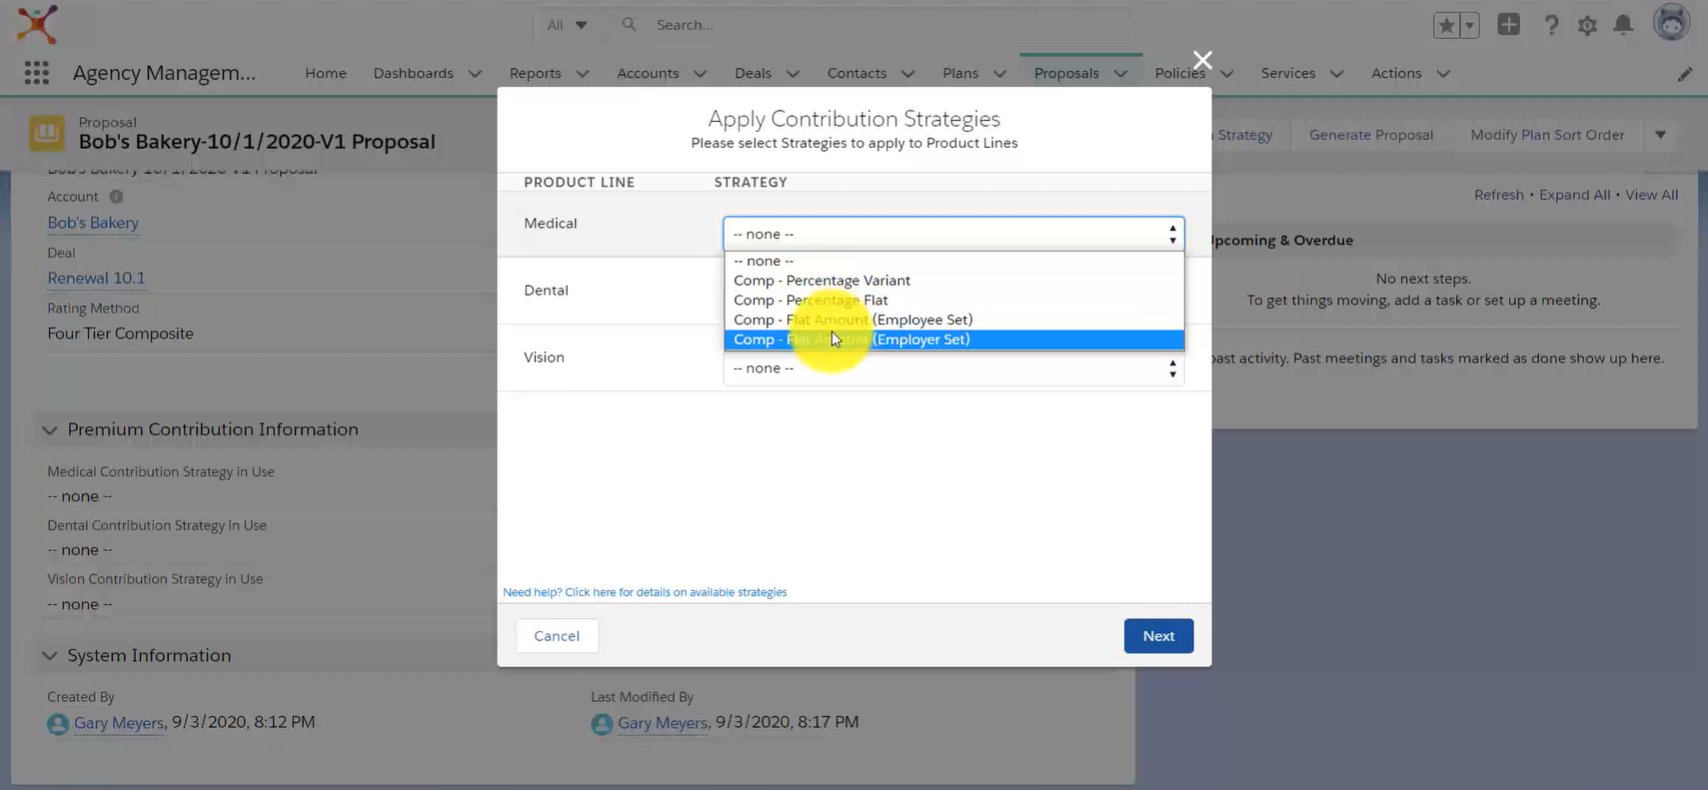
For assistance with Contribution Strategies, click on the Need Help button in the lower left hand corner of the popup. This will take you to our guide for Contribution Strategies.
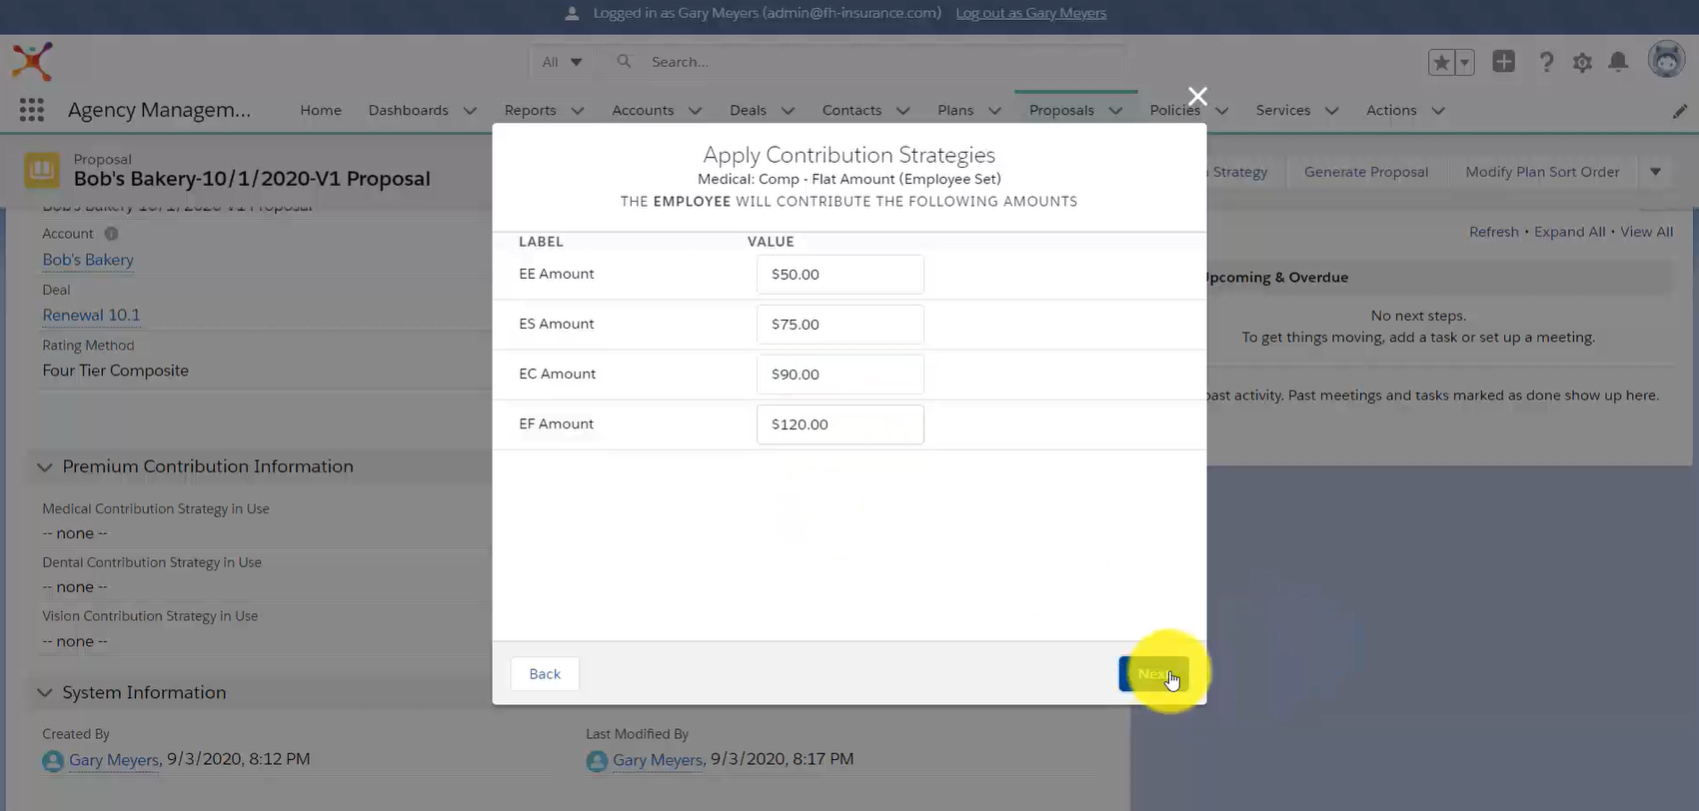
Once you define a Contribution Strategy and click Next, you’ll have the opportunity to input Contribution Values. Add the appropriate amounts then click Next to submit your Contribution Strategy.
Once a Contribution Strategy is selected, you’ll see that data within your Proposal.
Generate A Proposal
Click the Generate Proposal button in the right hand corner under the Navigation Bar to generate a Proposal.

Clicking the Generate A Proposal button will automatically direct you to Conga Composer and import the specific Plans, Rates, and other information stored in your Proposal page.
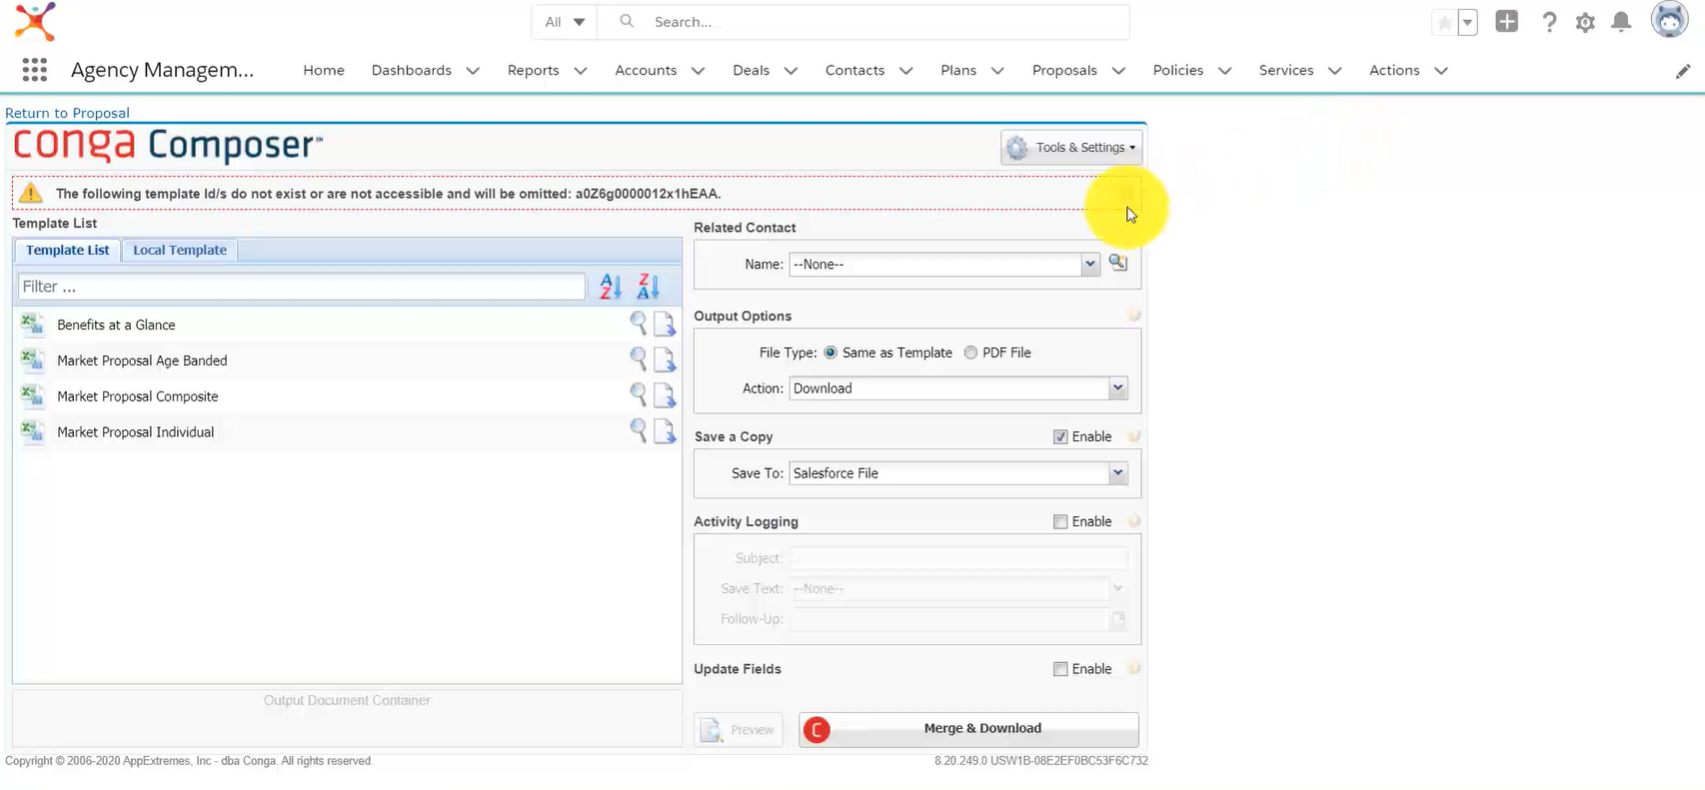
The Conga Composer contains four preset templates: Benefits at a Glance, Market Proposal Age Banded, Market Proposal Composite, and Market Proposal Individual.
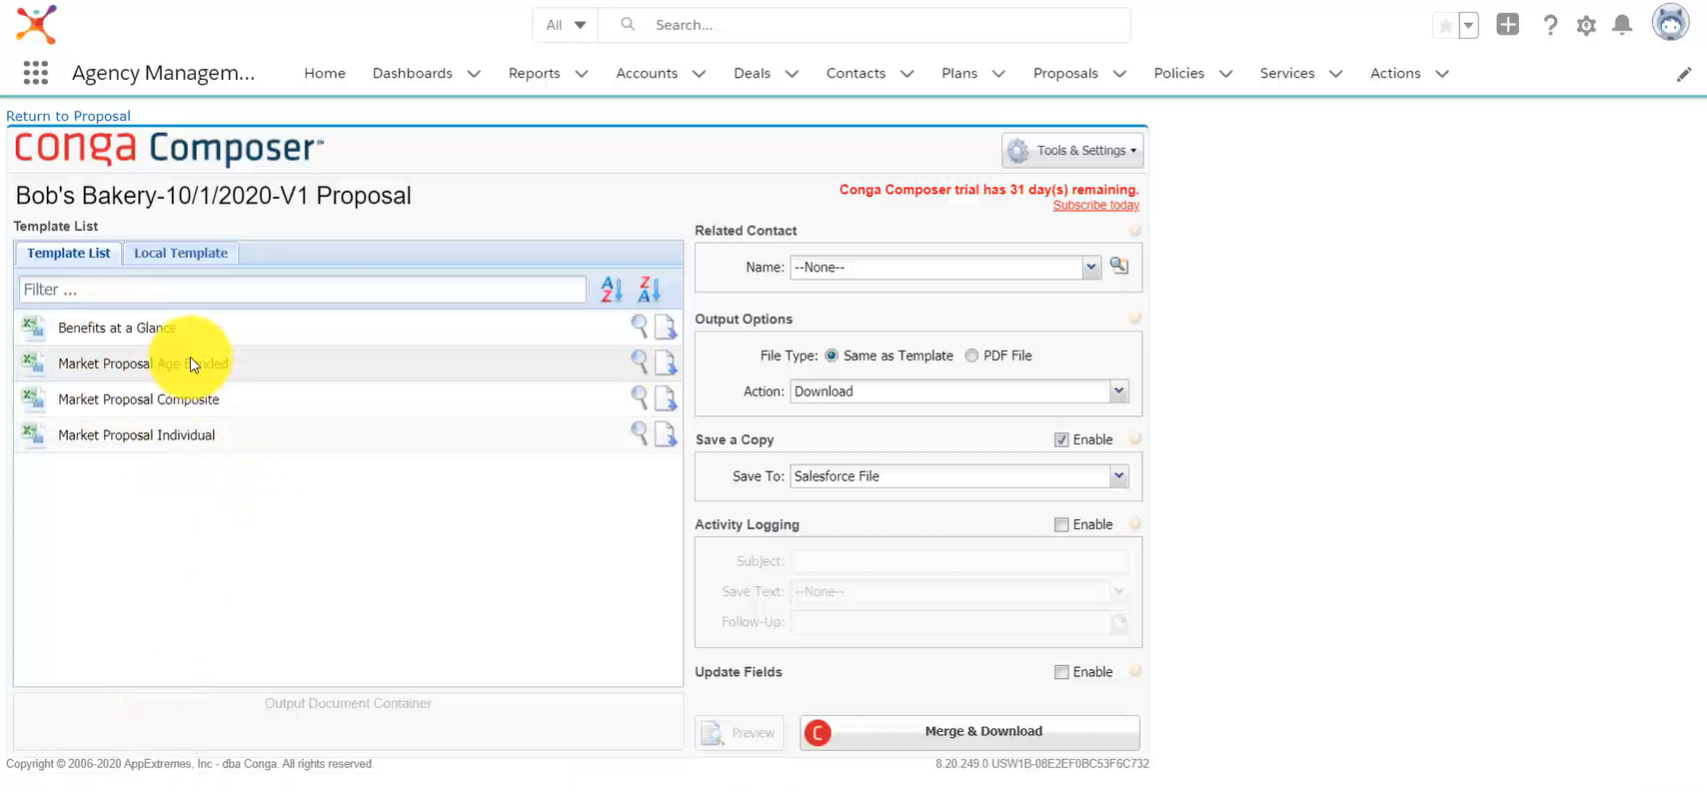
Click on the template you would like to select, for example, Market Proposal Composite.
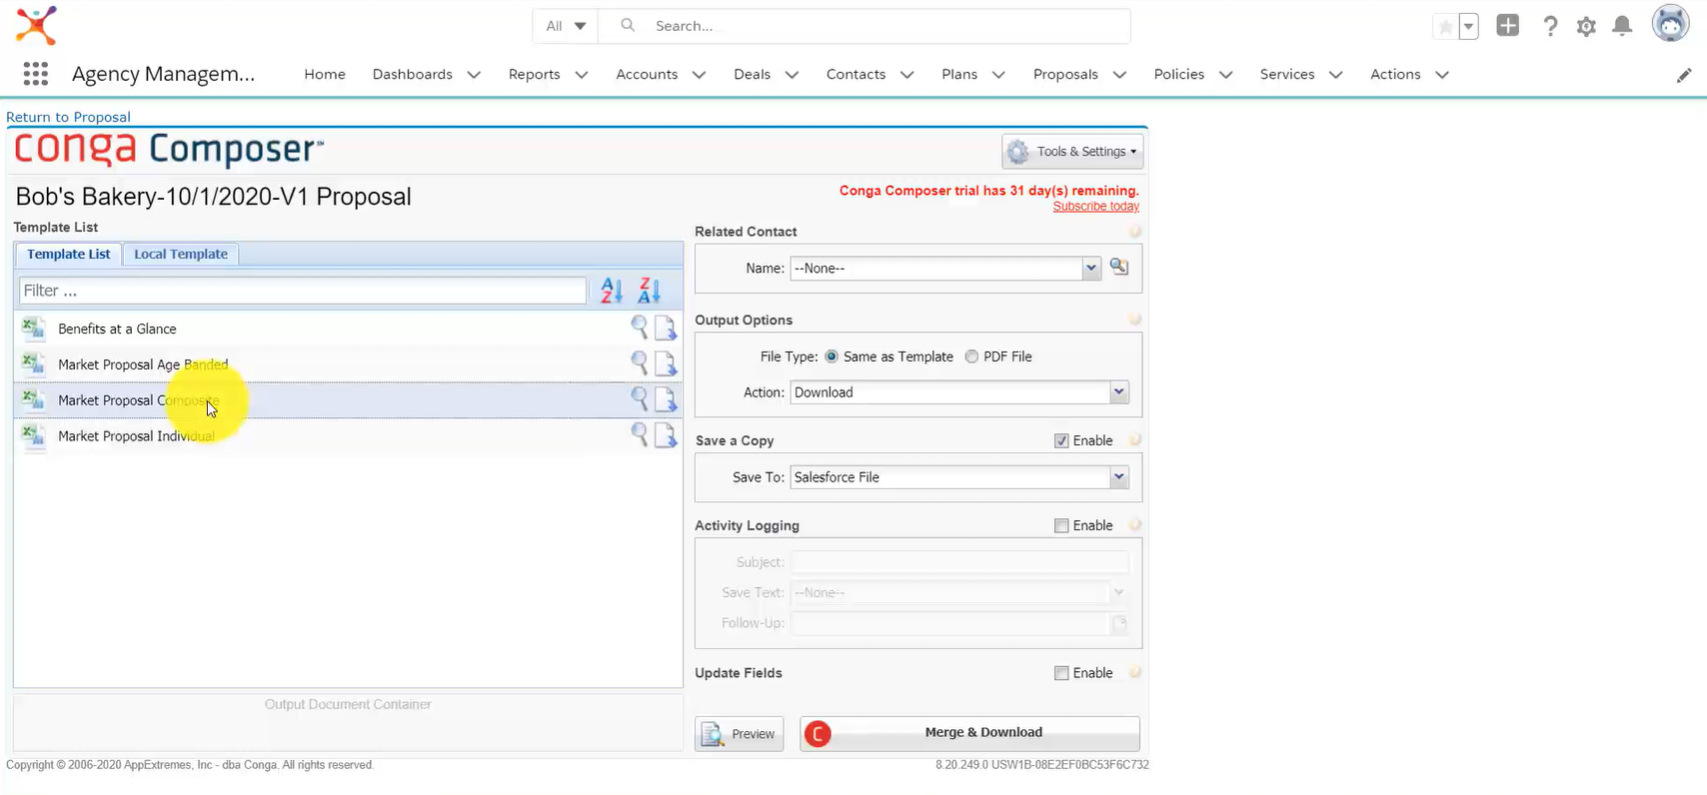
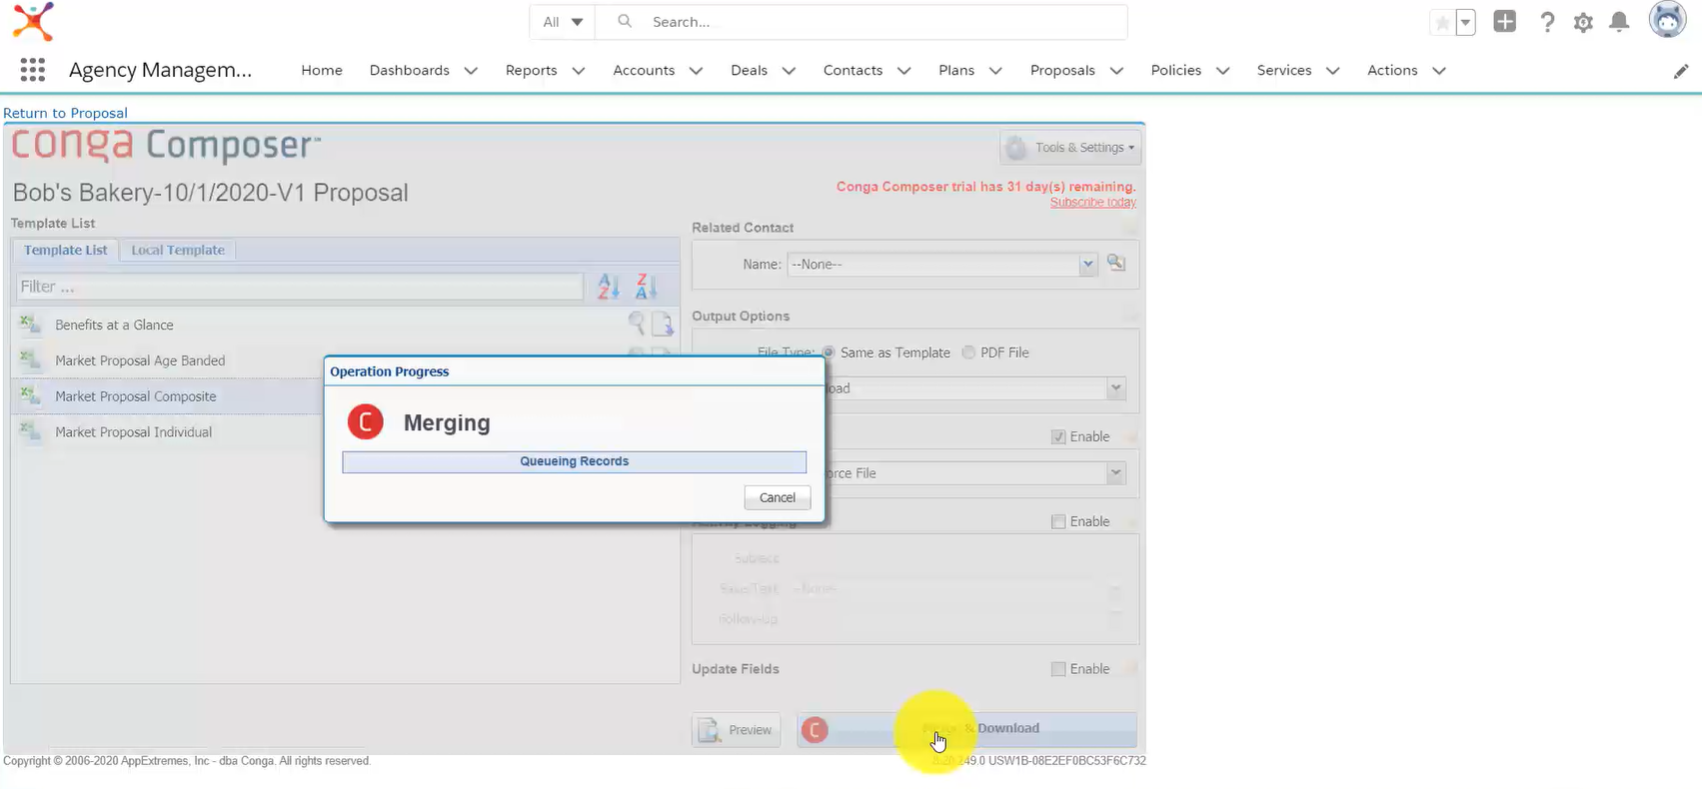
Click the Merge & Download button in the bottom right corner to initiate the export.
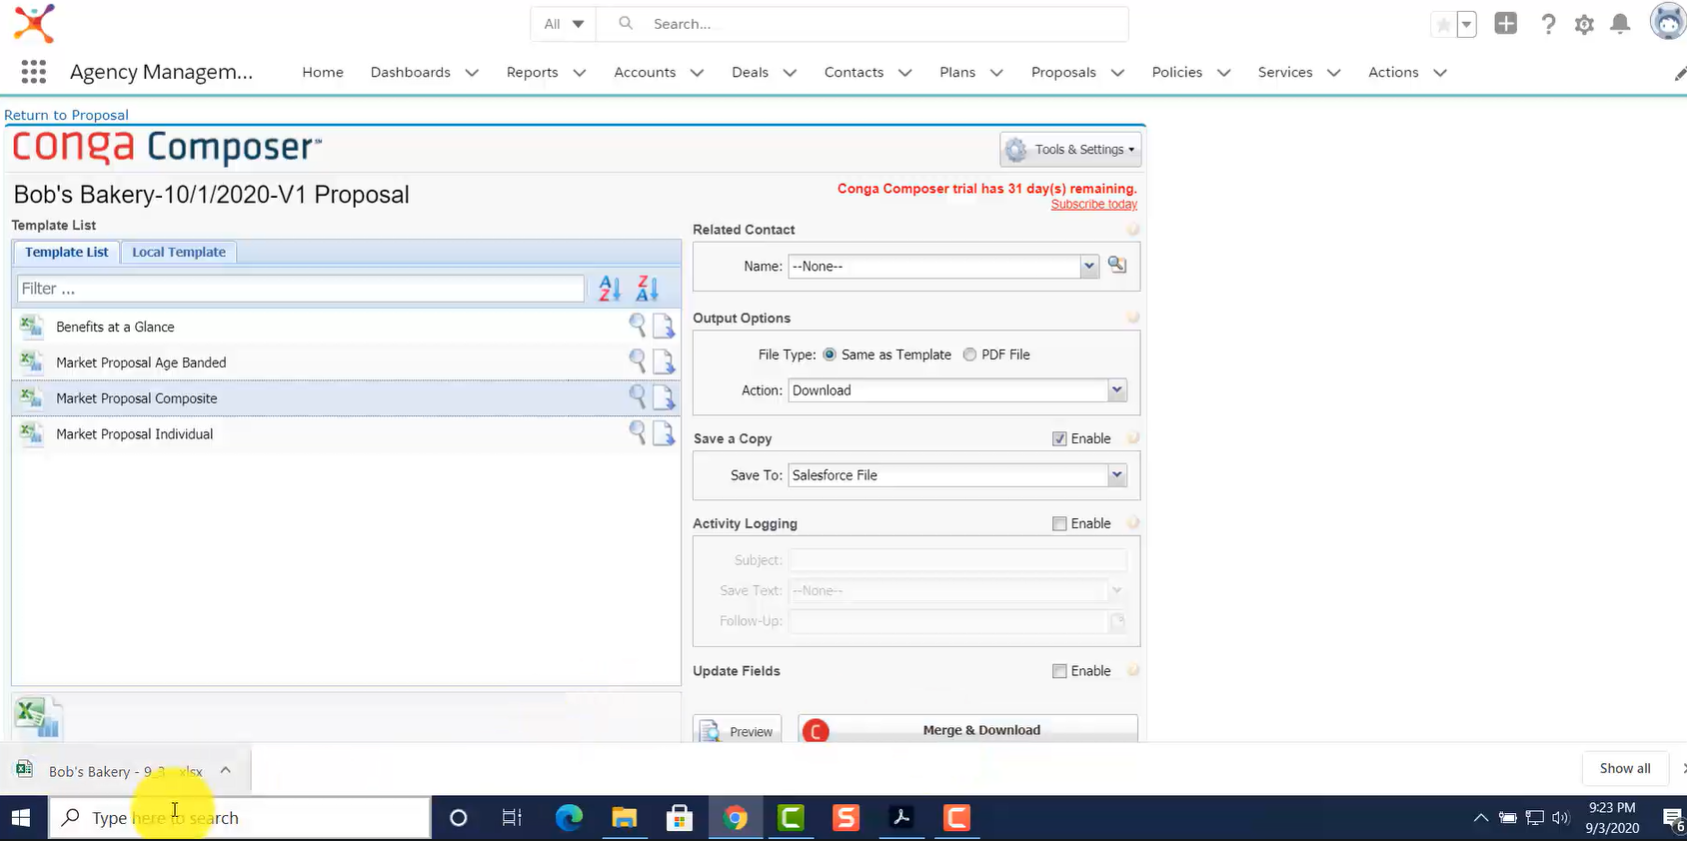
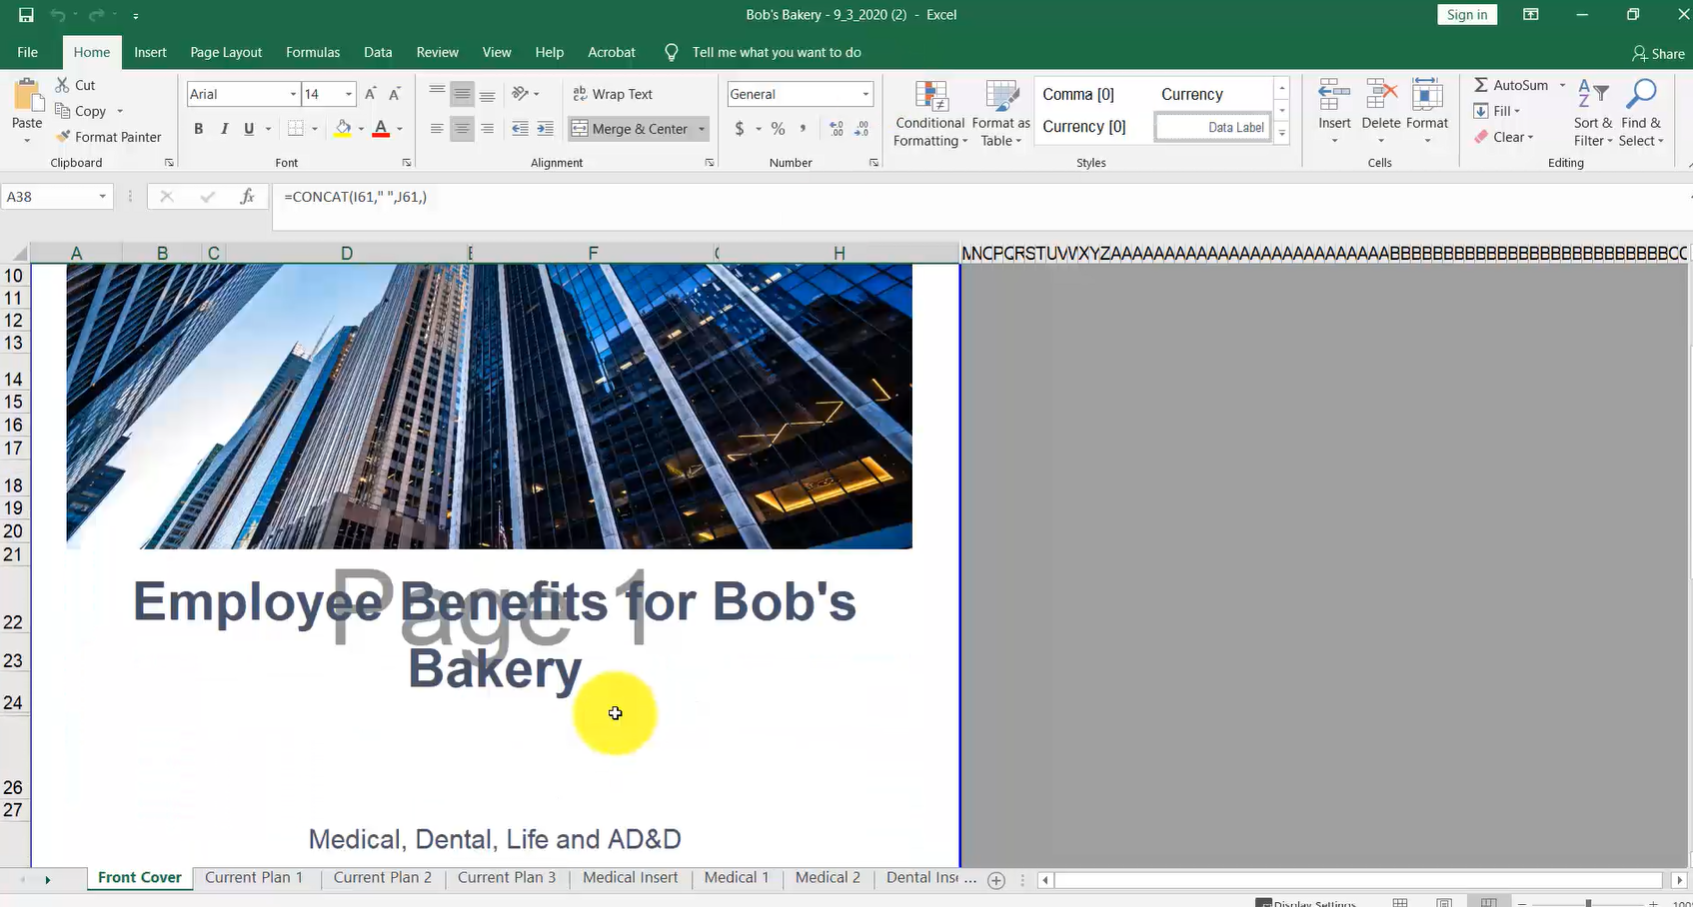
Your file will begin downloading in the lower left corner. Double click on the downloaded file to open it in Excel.
Once the Excel file opens, click Enable Editing. This will allow you to make changes to the document.
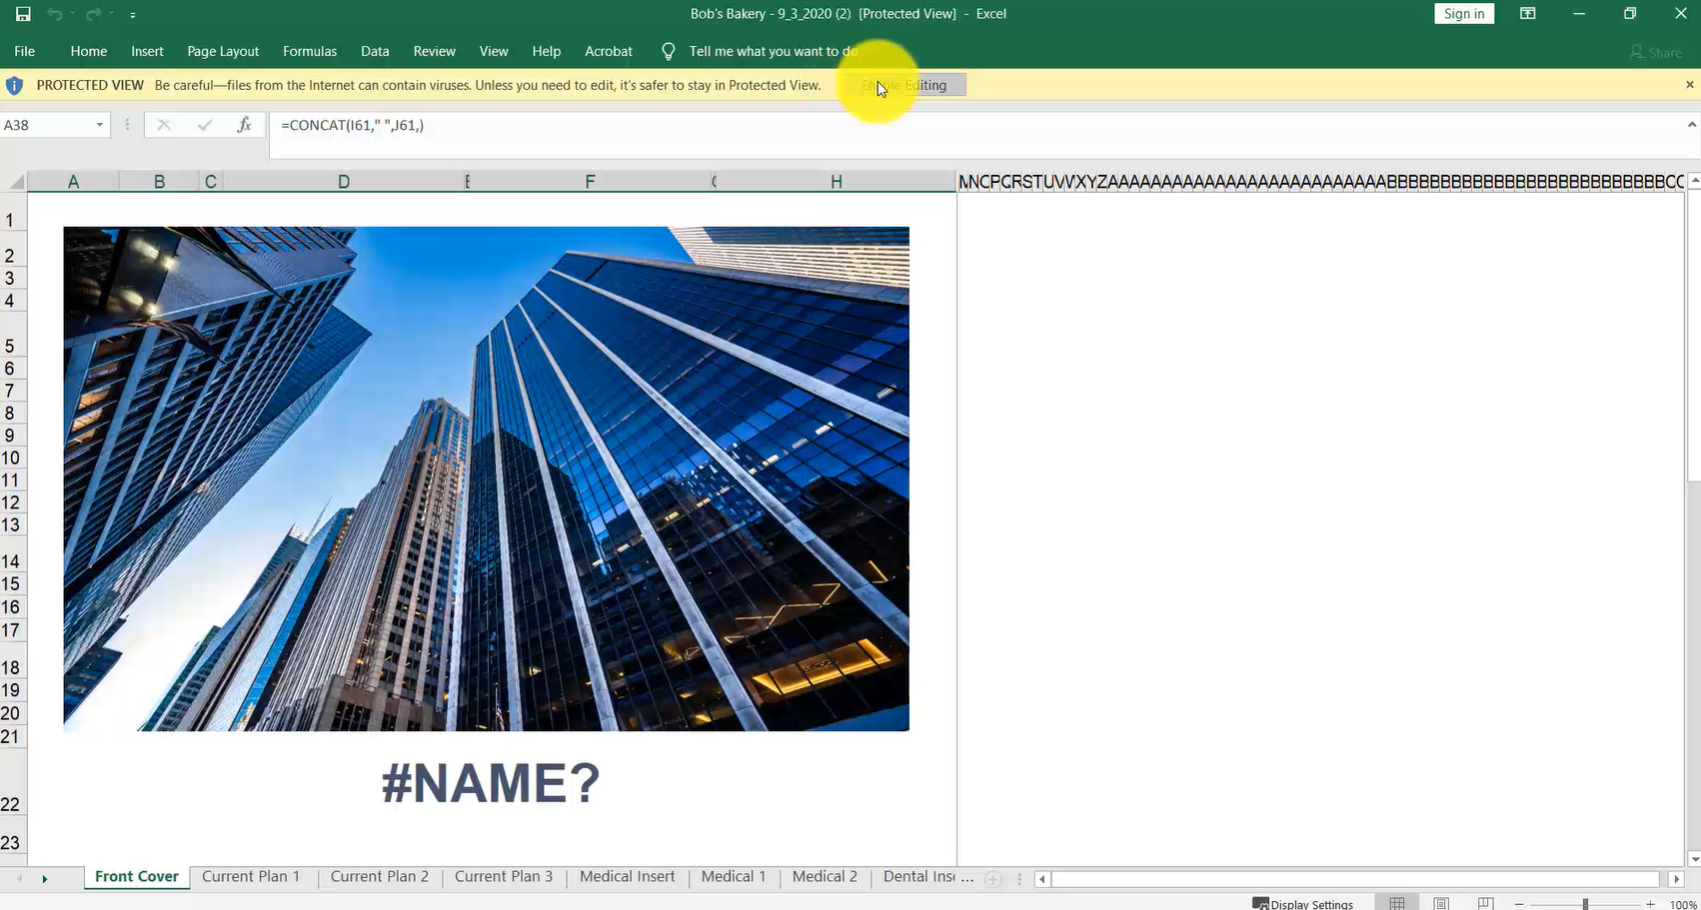
By clicking the Enable Editing button, you’ll automatically pull information from the Benelinx platform into your Proposal.
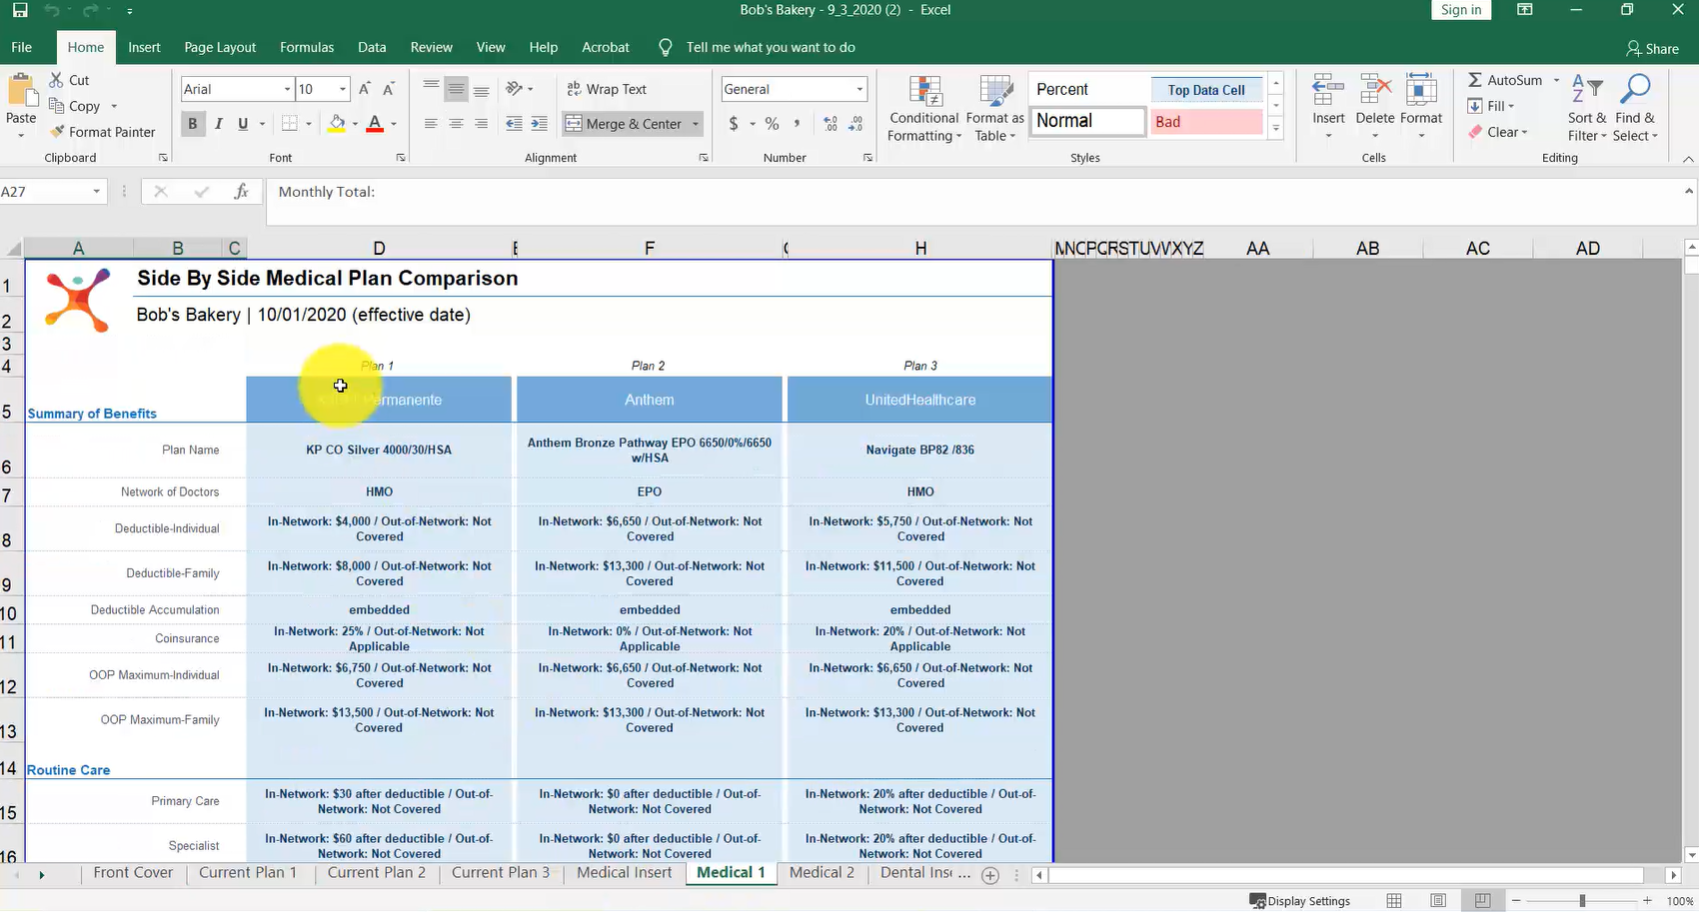
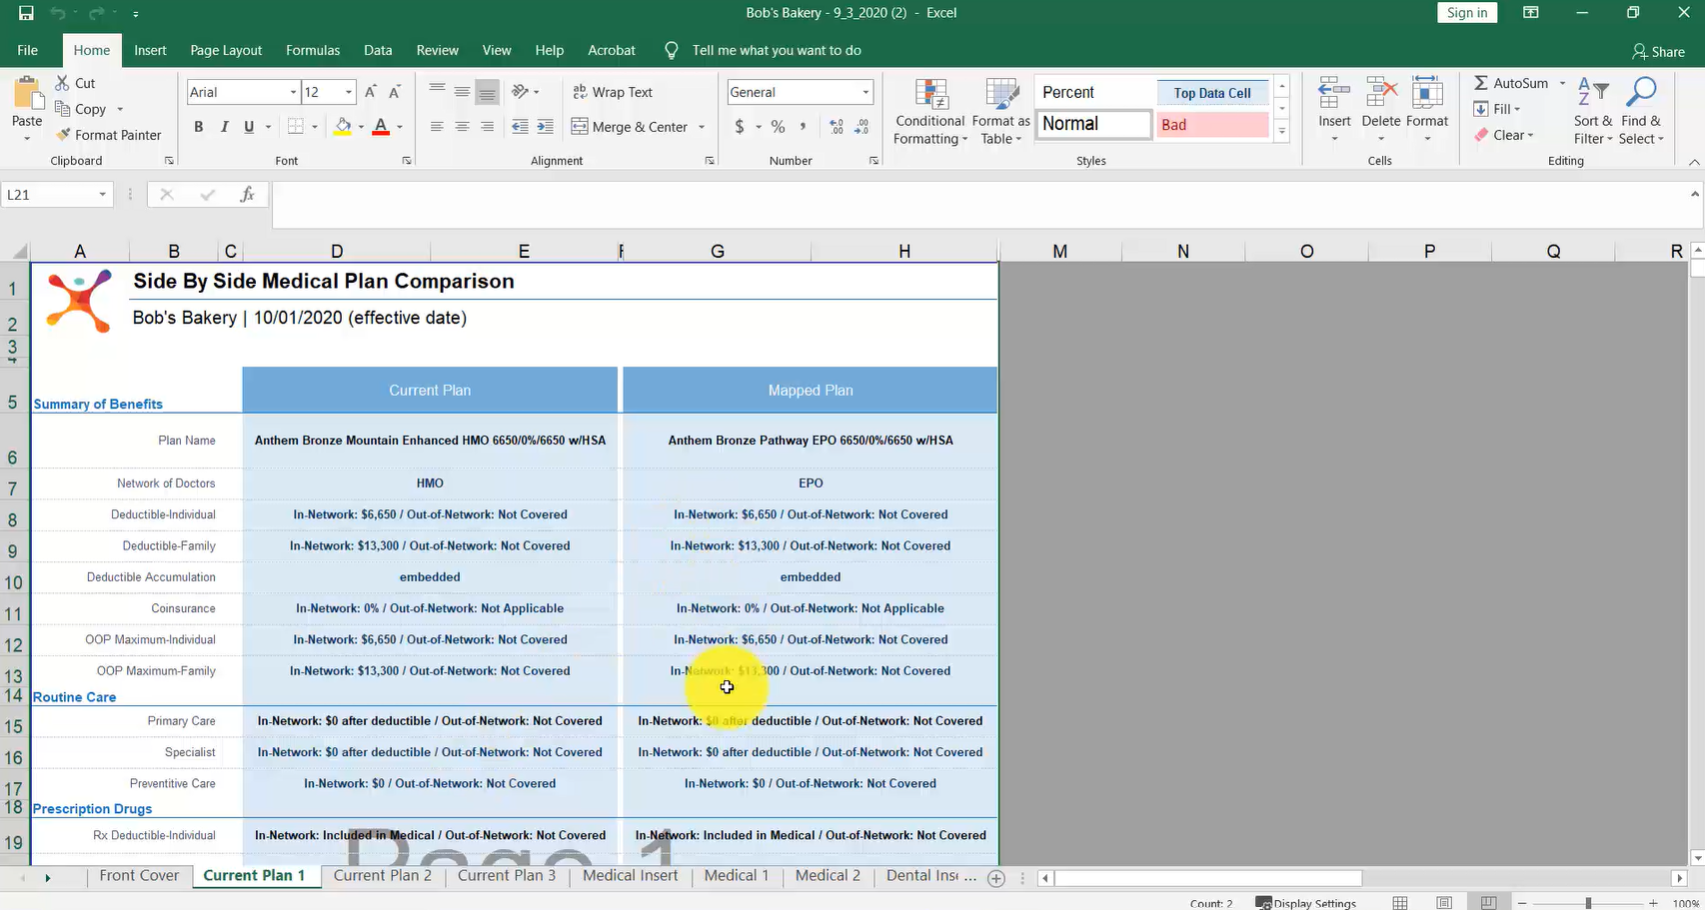
Click into the other spreadsheet tabs to view Current Plans vs. Mapped Plans.
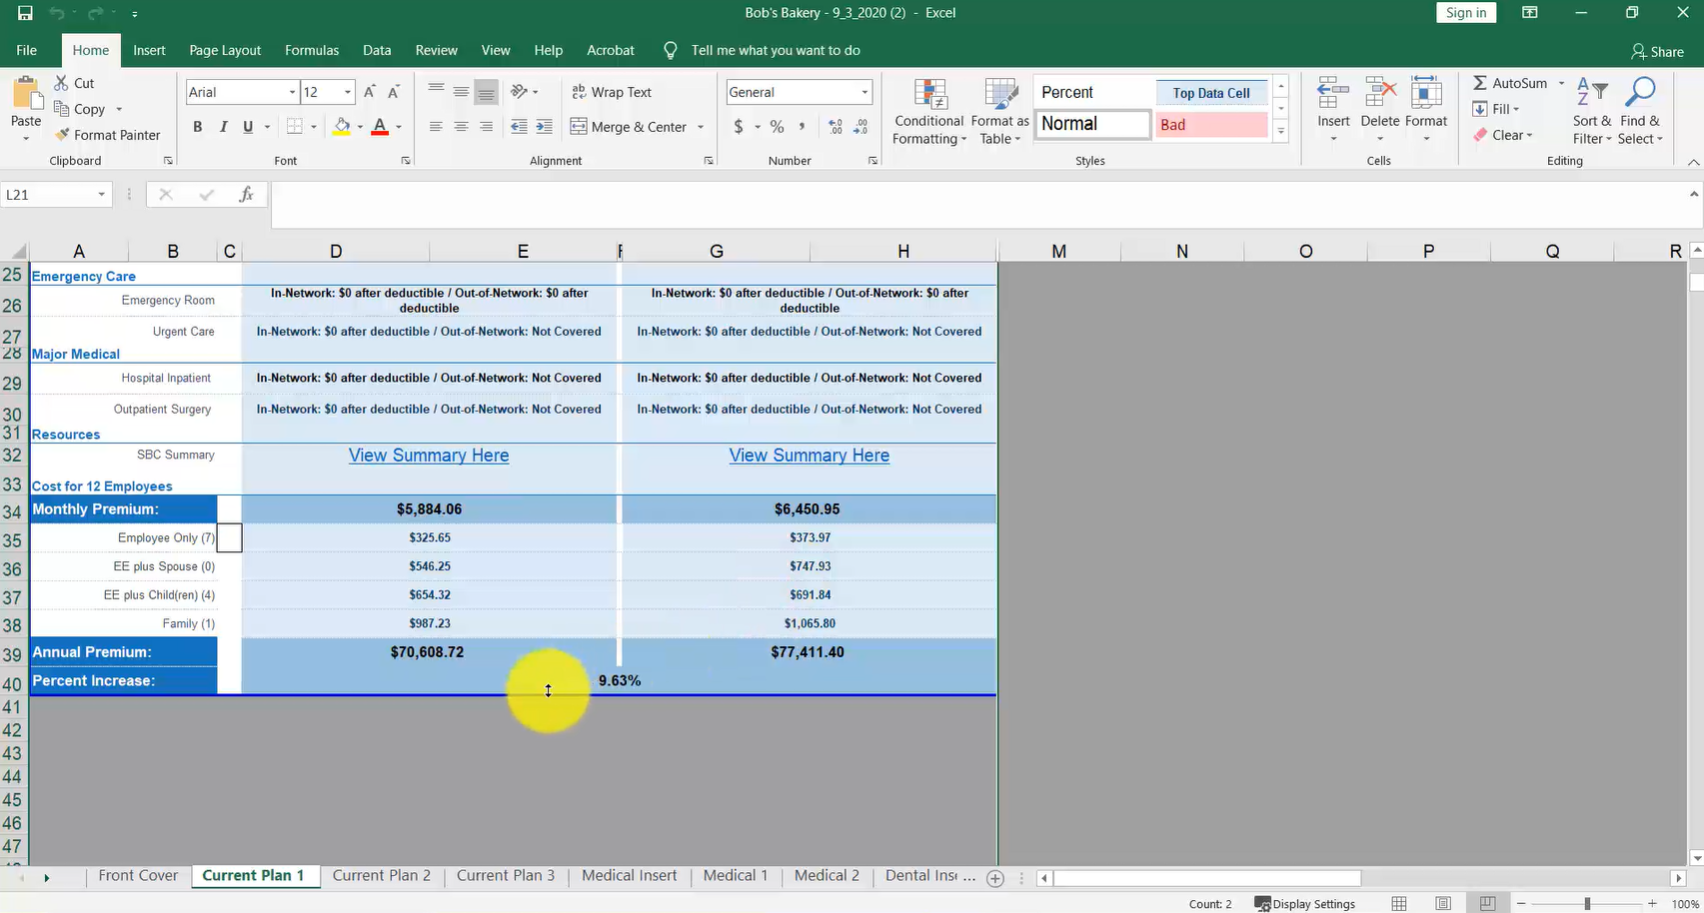
Scroll down to see Rates, Premiums and Percent Increases for your Current and Mapped Plans.
Click through additional tabs to see side-by-side comparisons of Medical Plan options, Dental Plan options, etc. Once you’ve reviewed the Proposal, click File>Save As to save a copy as a PDF, which can then be sent to your client.