Welcome to the Benelinx Workflow Process Series, which will take you through each phase of the sales & renewal process within the Benelinx system: Prepare, Propose, Present, and Update. Today, we’ll cover the Prepare Phase. You can watch the video or access step-by-step instructions below.
In the Prepare Phase, we’ll show you how to prepare your Agency data, upload Client data, and ensure all data is connected and fully functional within the platform.
Step-by-Step Instructions
This is what your Home page will look like initially. You can see that no data other than our preset Plan Library has been loaded into the platform.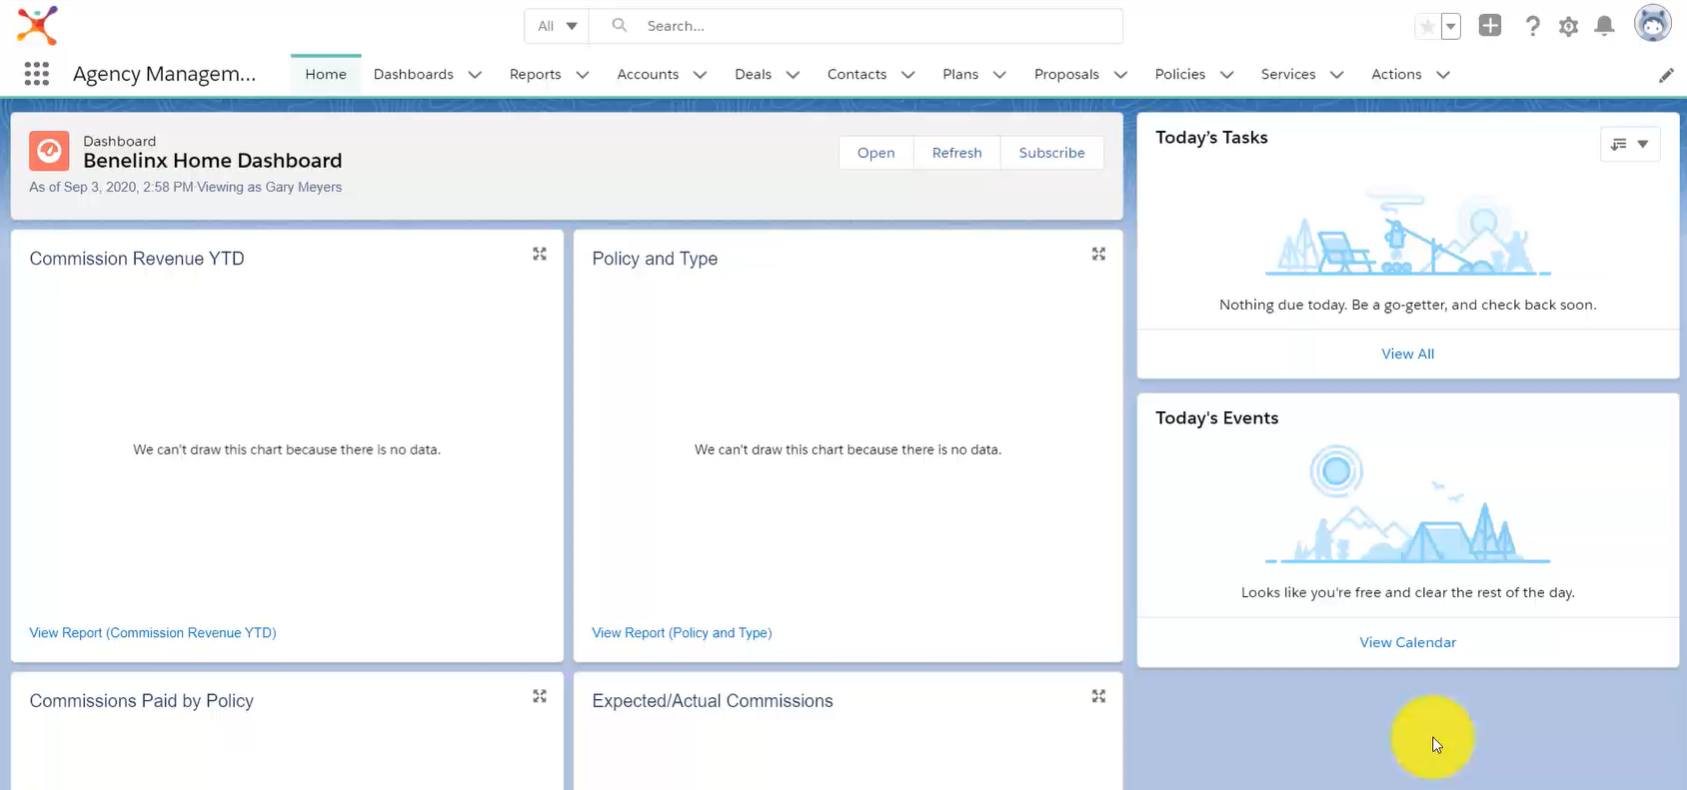
Step 1: create your agency account
The first step in setting up the platform is to create your Agency Account. To do so, click on the Accounts Object in the Navigation Bar.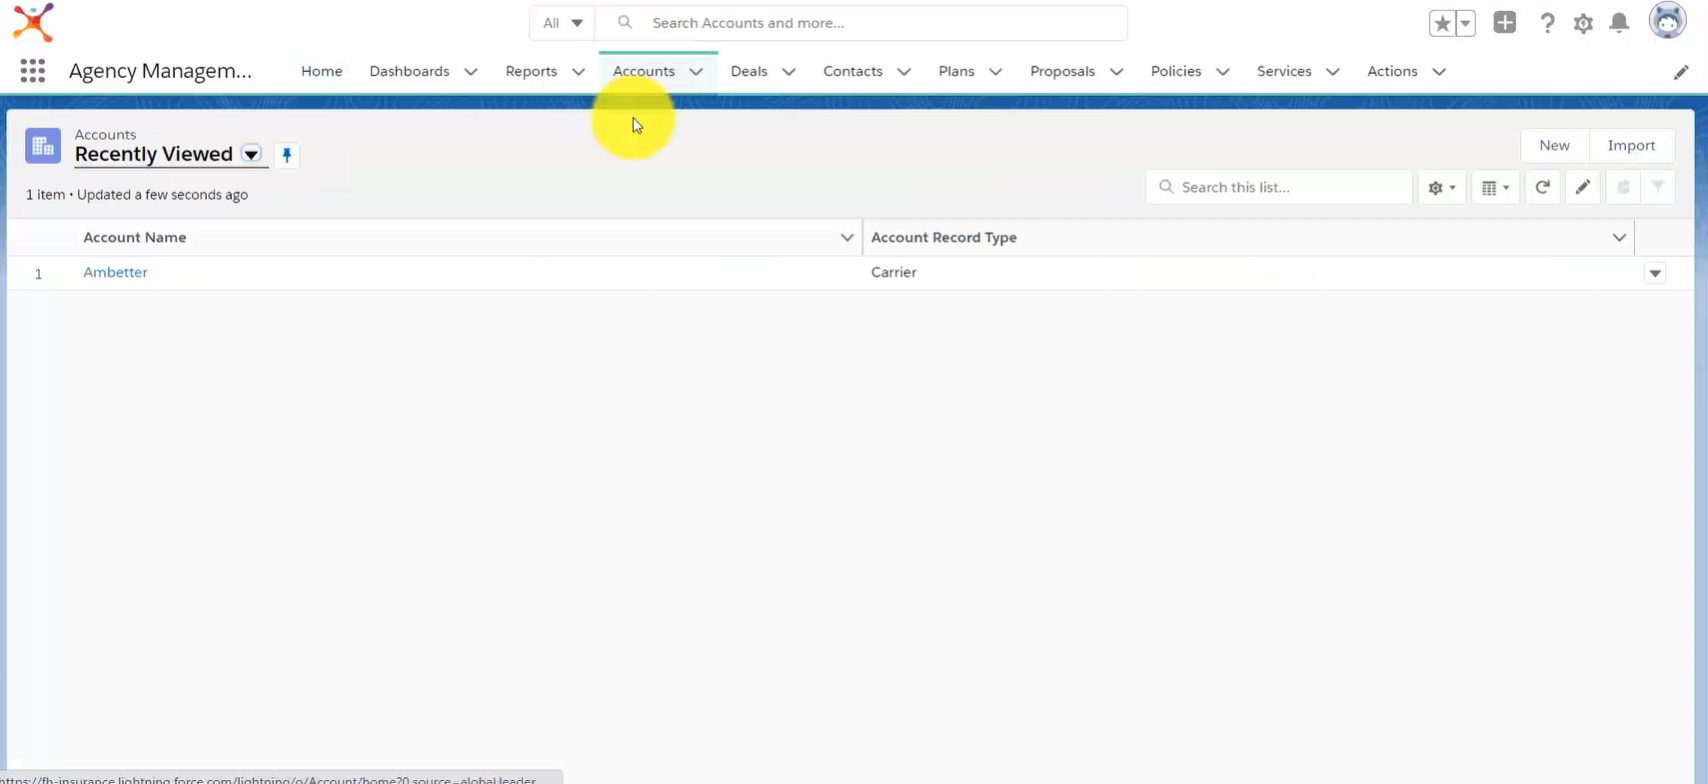
Then click on the New button on the right hand side of your screen. A popup menu will appear. Ensure the Agency Record Type is selected, then click Next.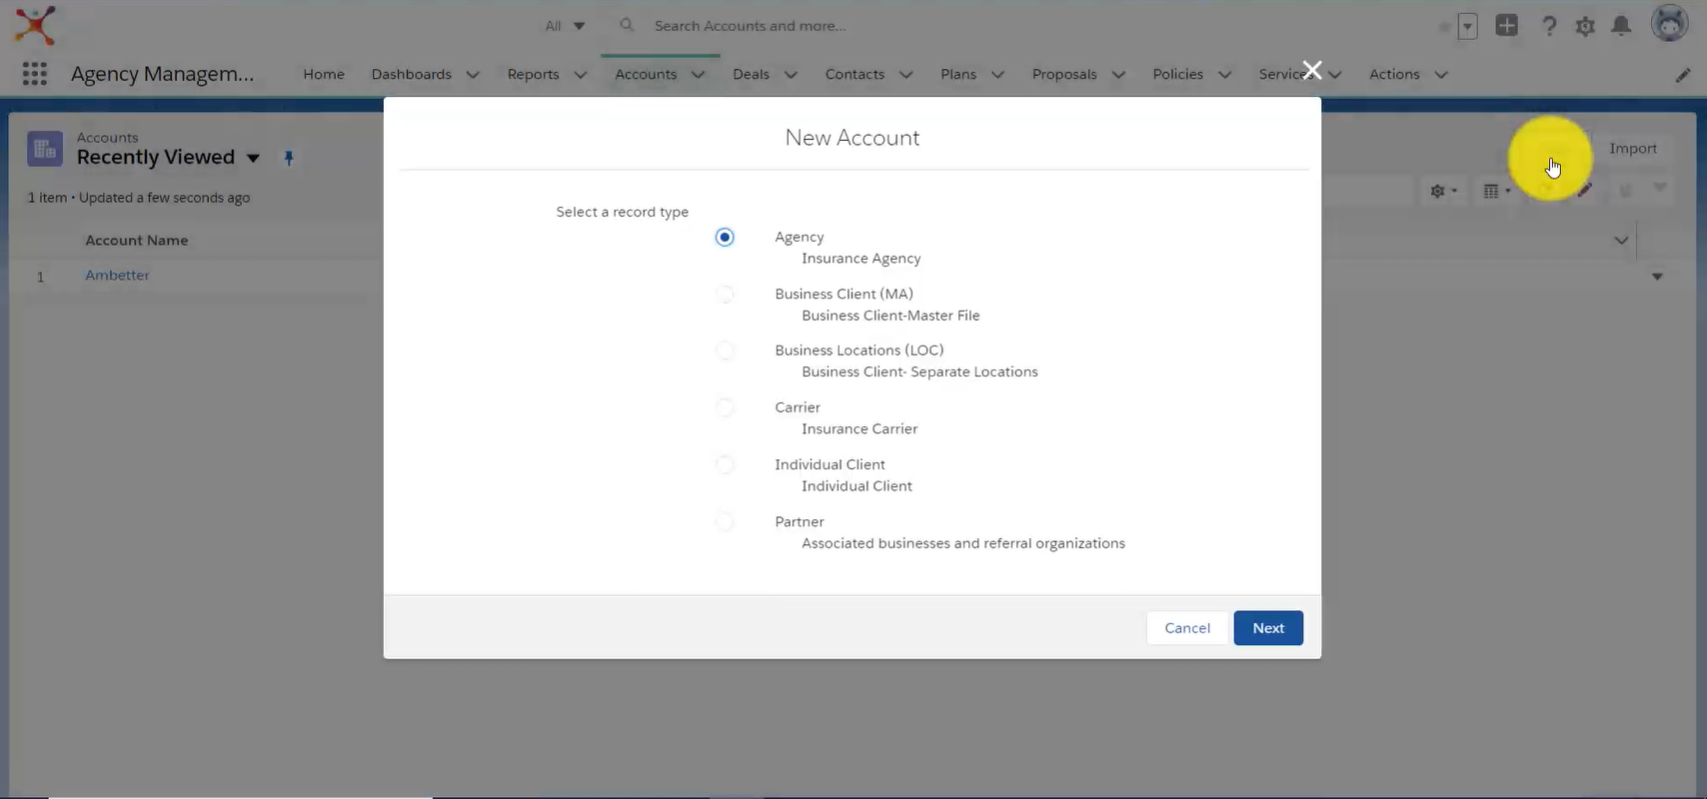
Add your Agency Information then click Save. Fields with an asterisk are required.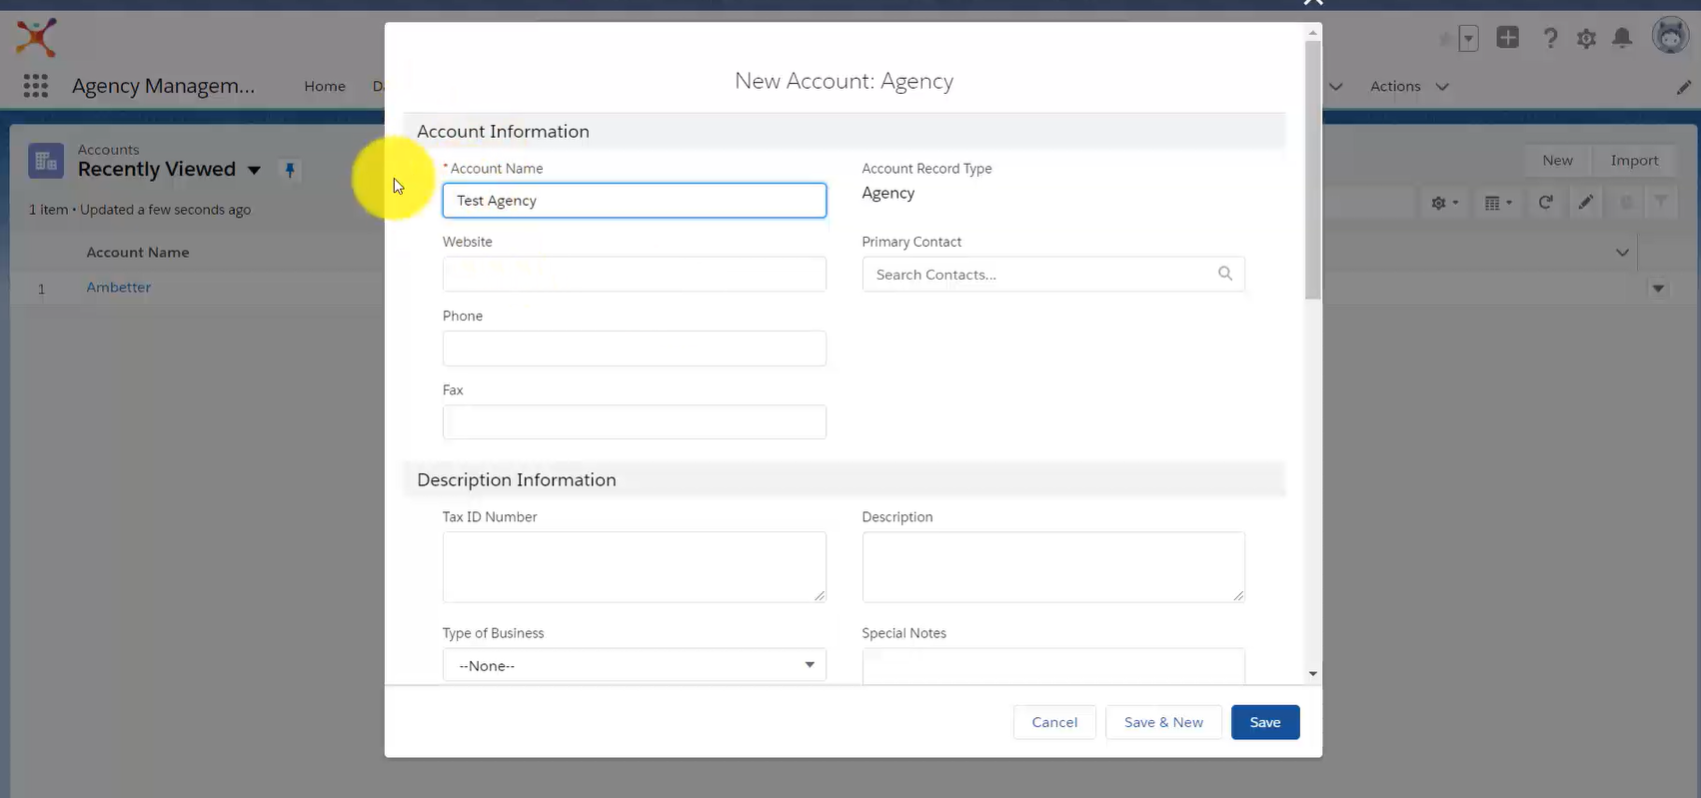
Your Agency Account will now be saved as a new Record.
Step 2: Add contact info
You can add your own Contact Information by clicking Primary Contact and selecting New Contact from the dropdown menu.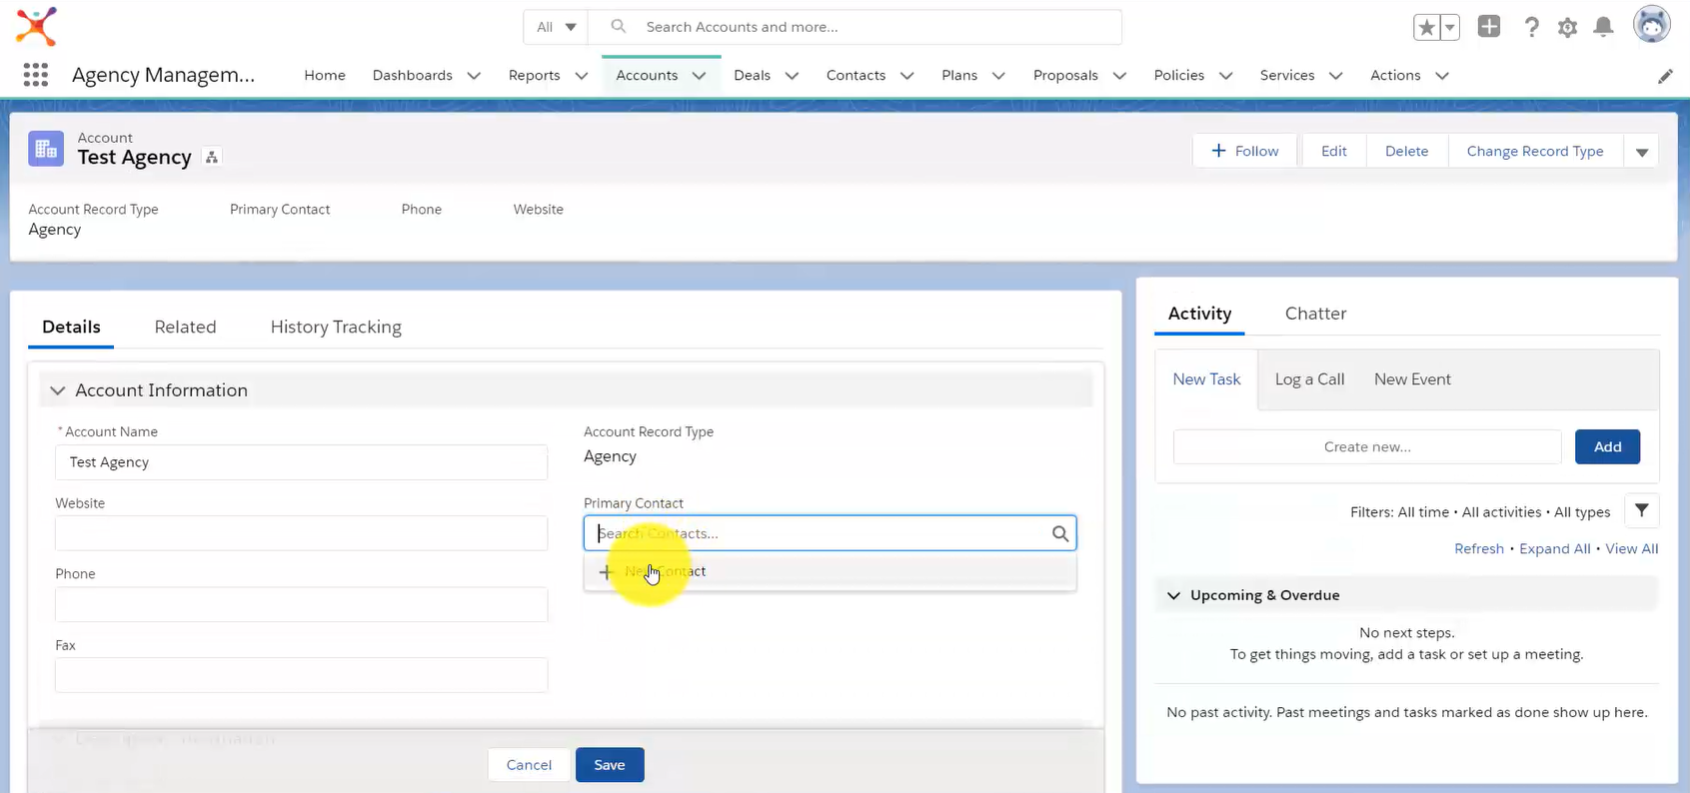
Or you can select Contacts from the Navigation Bar and click the New button.
Select the appropriate role for your Contact then click Next.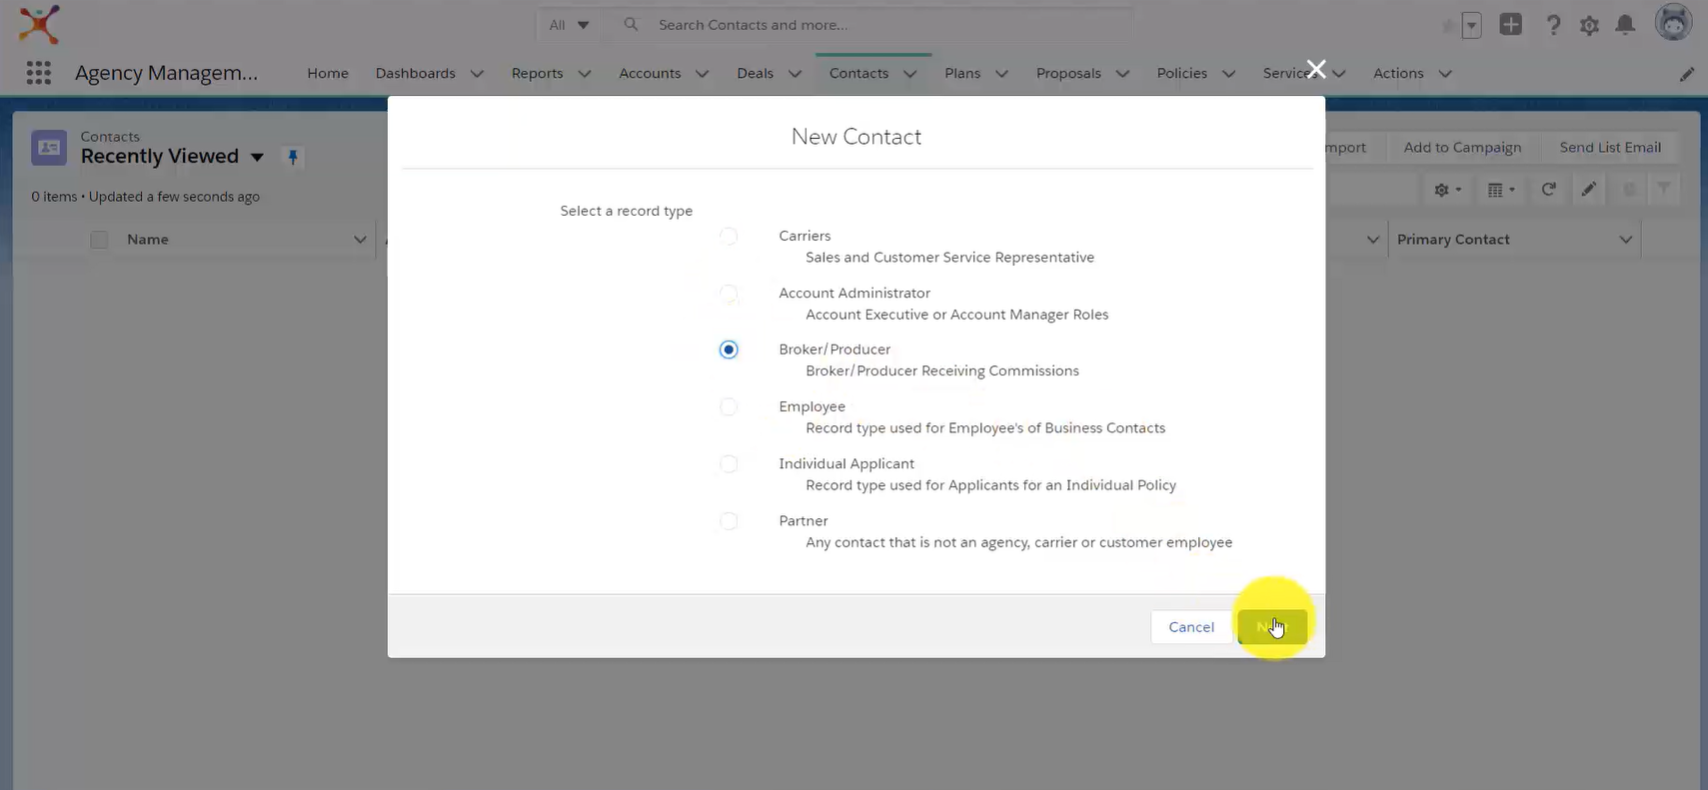
Enter your Contact information and click Save. Please note that your National Producer Number is required.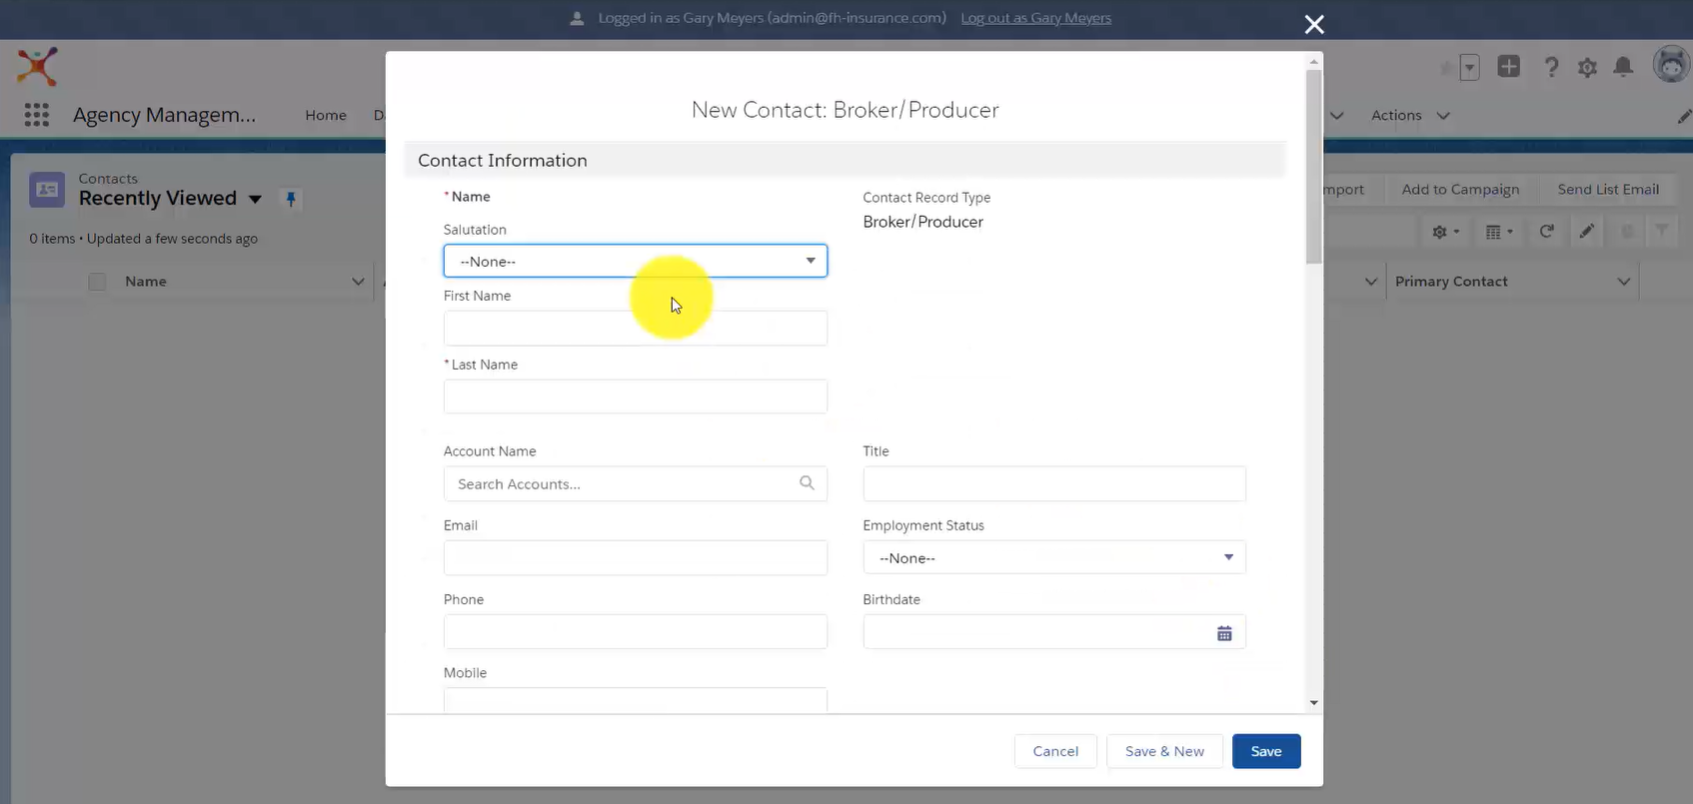
Step 3: Add Additional contacts
Once your Contact information has been saved, you can click on Contacts then New to add additional contacts from your organization.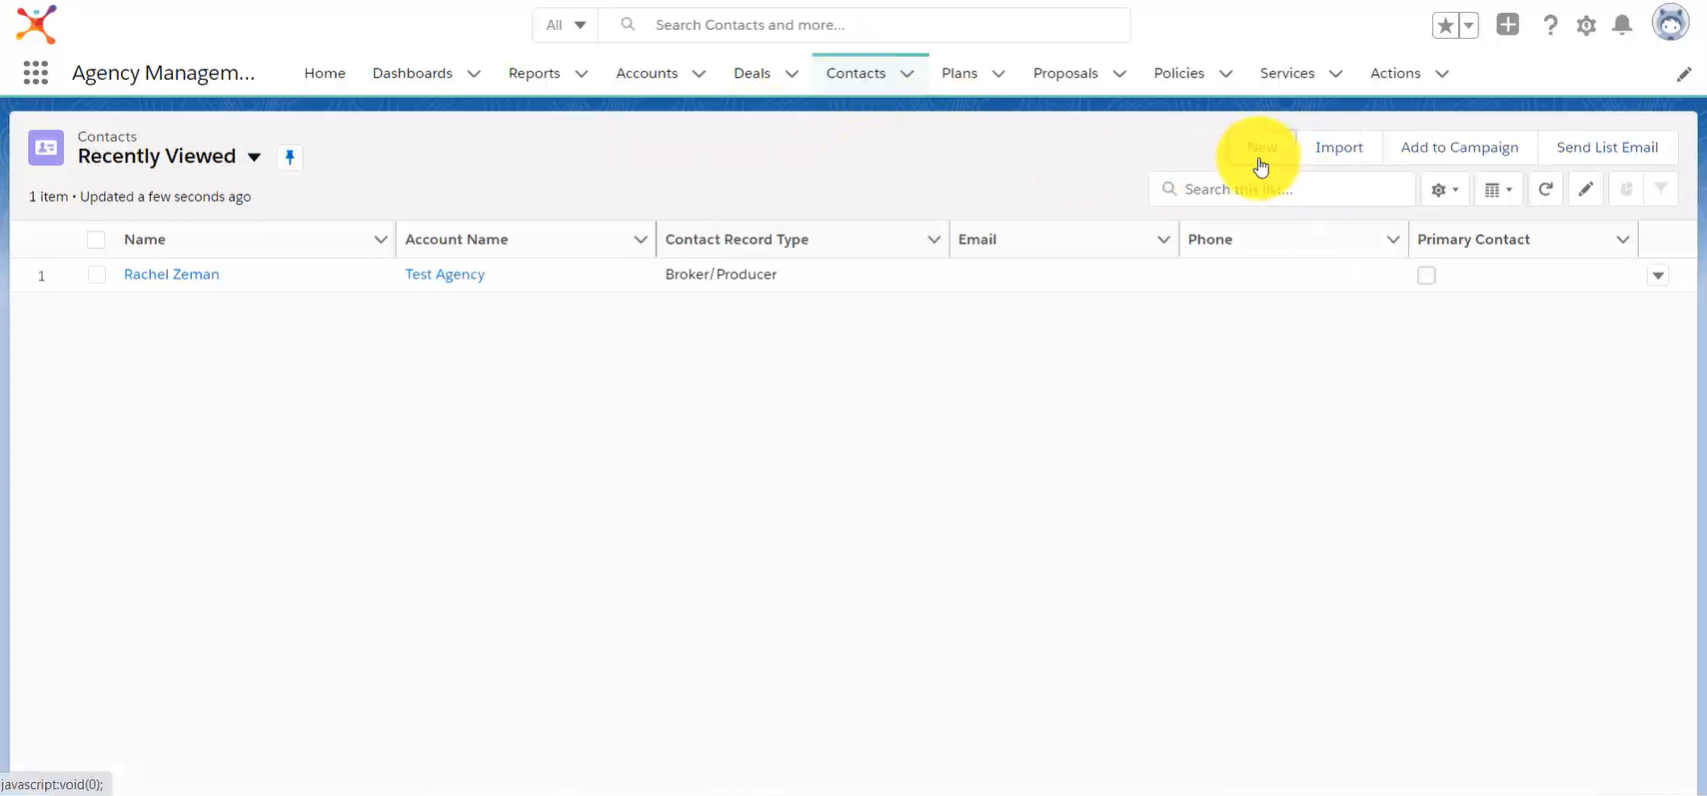
Step 4: set up a Business Account
Next, click on Accounts then click the New button to set up a Business Account.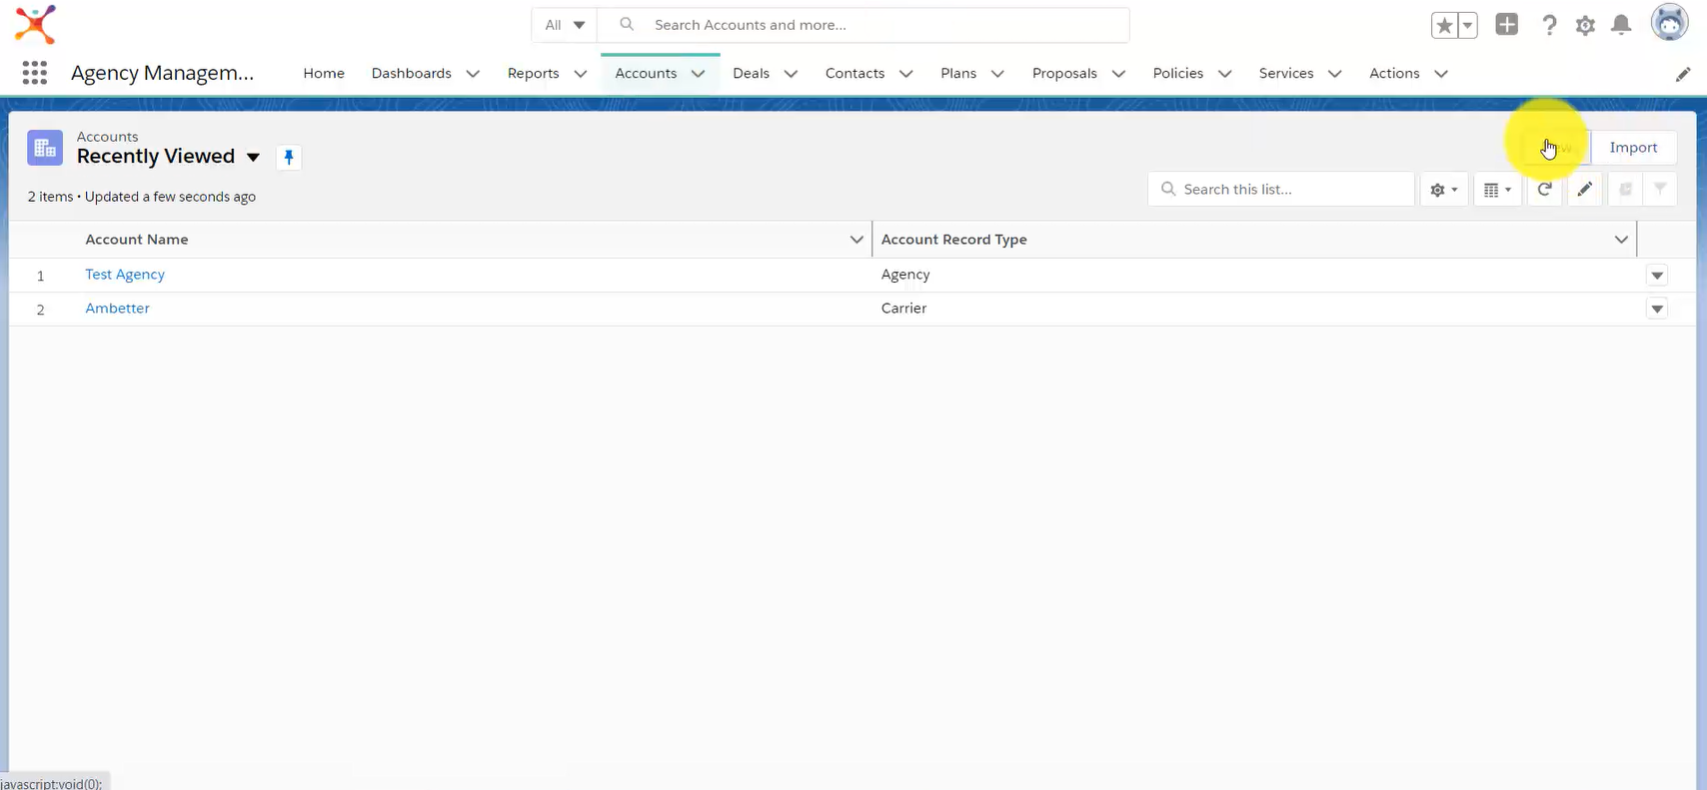
Select Business Account (MA) from the popup menu and click Next. Never select Business Location (LOC) — that is used to store Census data only.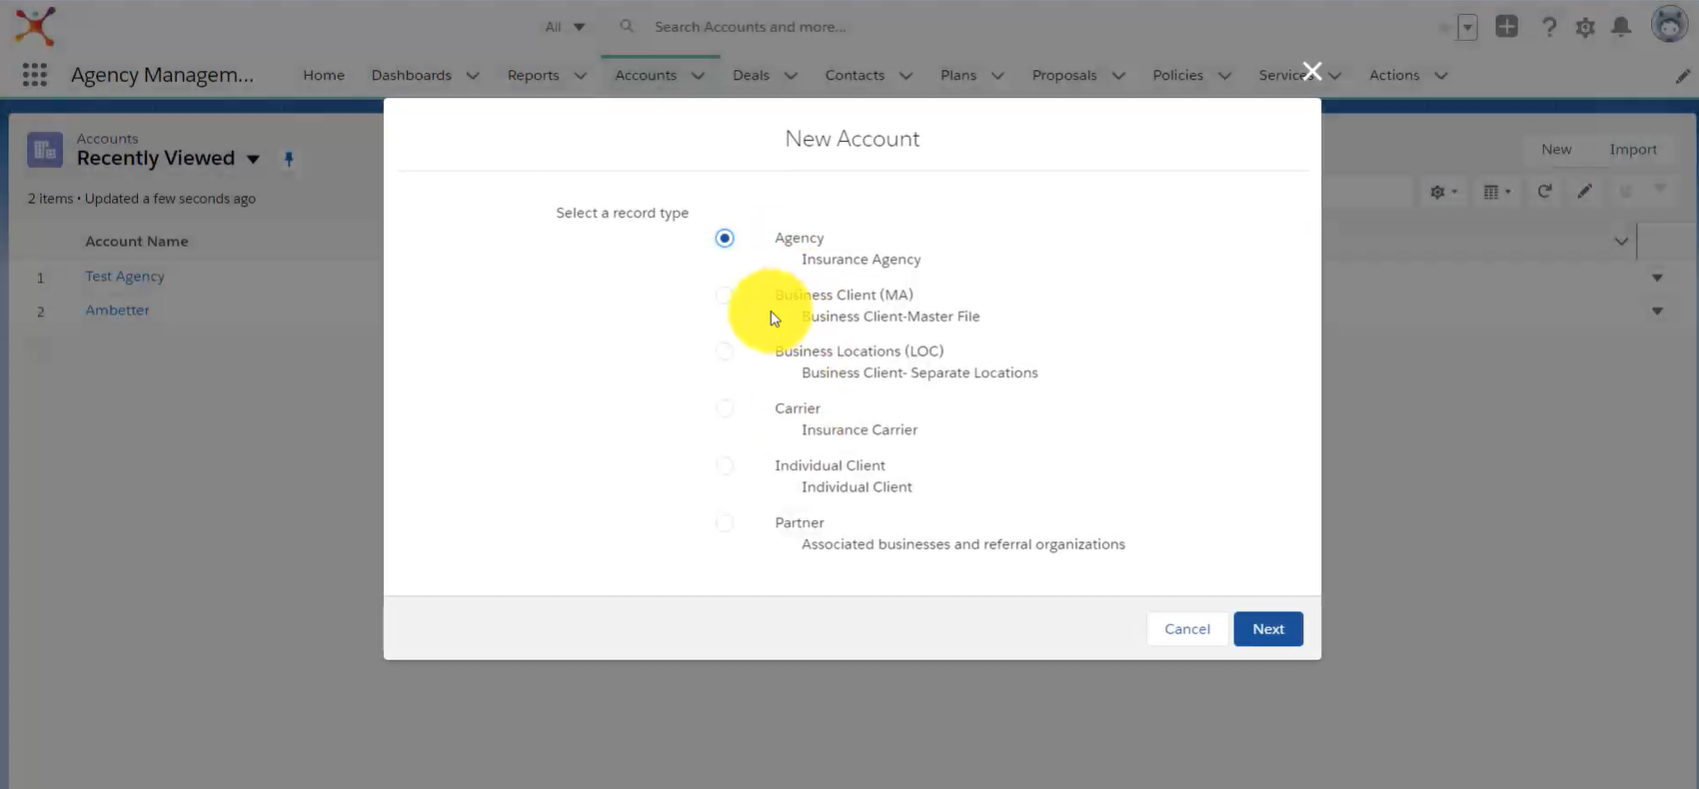
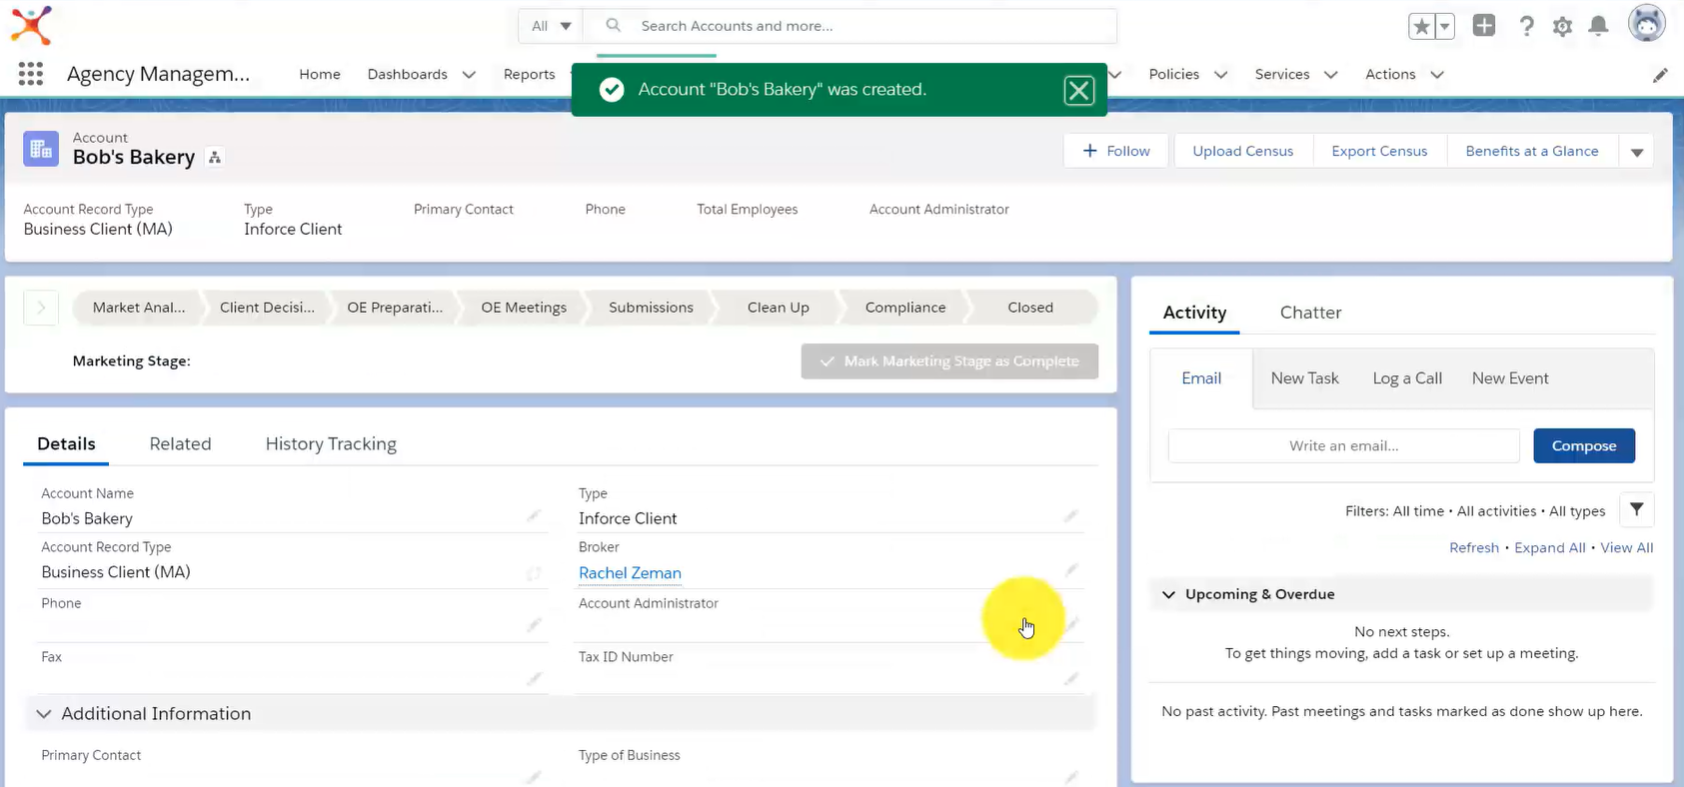
Enter your Business Client Account information and click Save. You must attach a Broker to the account and enter an SIC Code. We recommend updating your Benefits Requirement information if possible — it’ll save you time when you generate Benefits Booklets.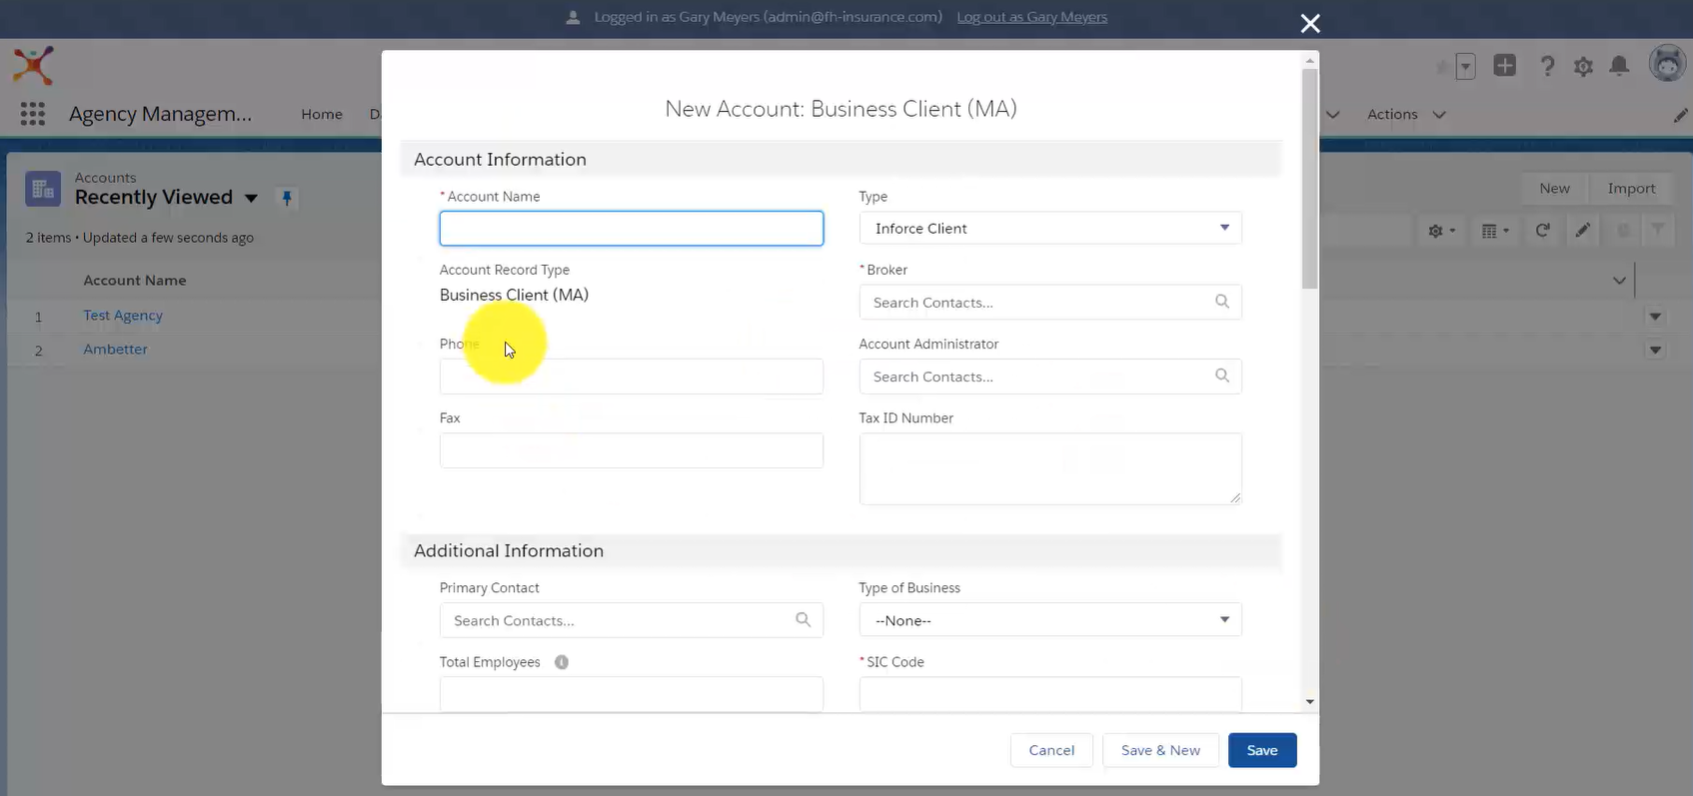
You can now access the information you updated at any time within the Account. Your Account will also be linked to your selected Broker and Agency.